(Enlarge)
|
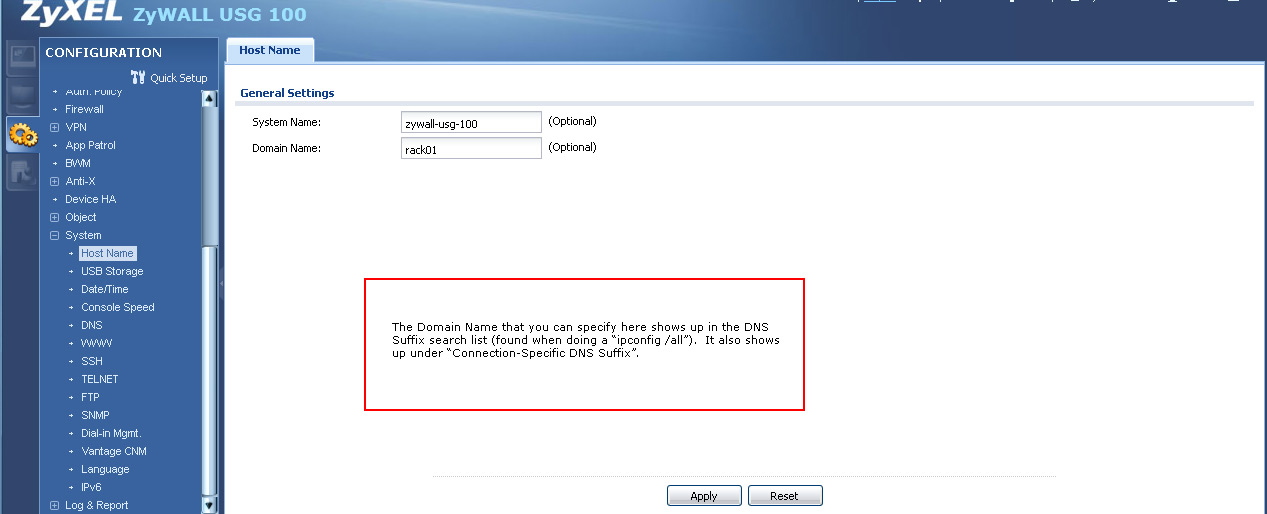
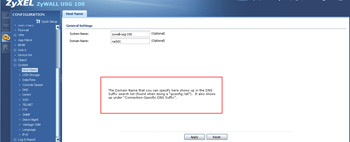
- The first thing you will probably want to do is assign the host name that will show up with queries such as "nslookup".
|

(Enlarge)
|
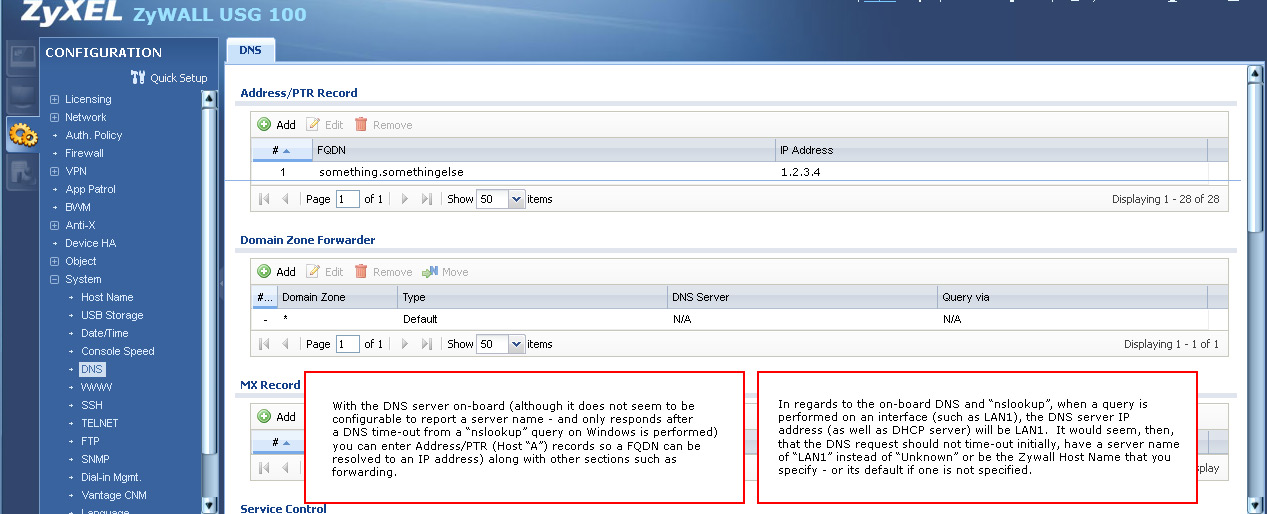
- From this page you can set up your host records (ptr) - an example is provided, domain zone forwarding, MX records (if you are supporting email) and service controls.
|
(Enlarge)
|
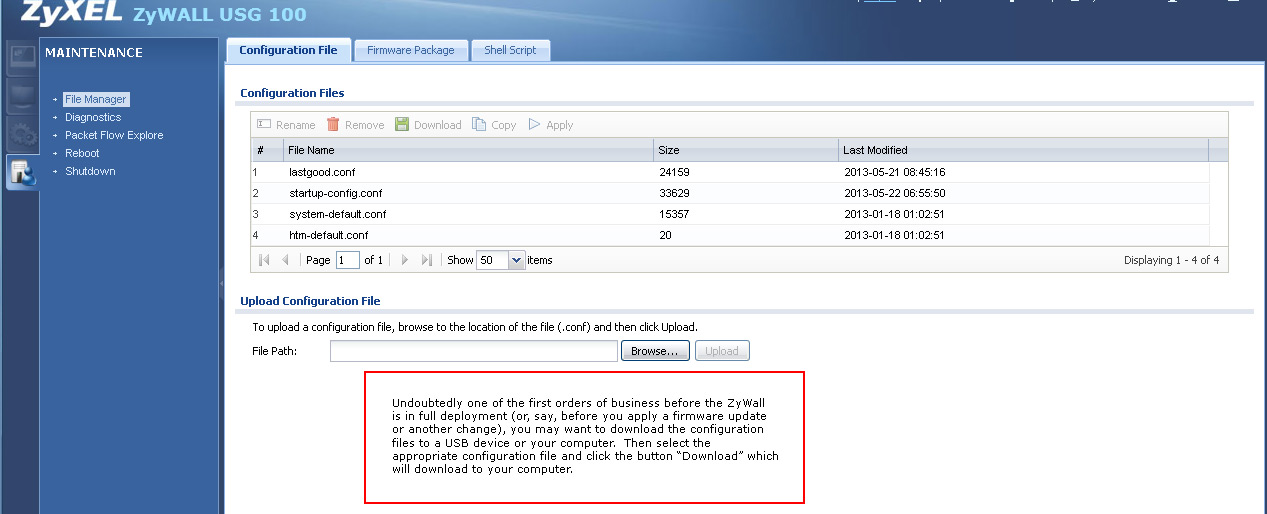
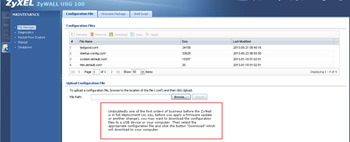
- It is always a good idea to backup the configuration of the firewall before making changes. Speaking of that, the ZyWall documentation suggests to "shutdown" the device via the GUI. It does not actually shut off the device but provides a timer that allows it to "freeze" itself; you have to physically unplug it to truly shut it down after it completes (takes a few minutes). As an additional note, when powering on the ZyWall, it takes a few minutes before the SYS light becomes solid instead of blinking.
|

(Enlarge)
|
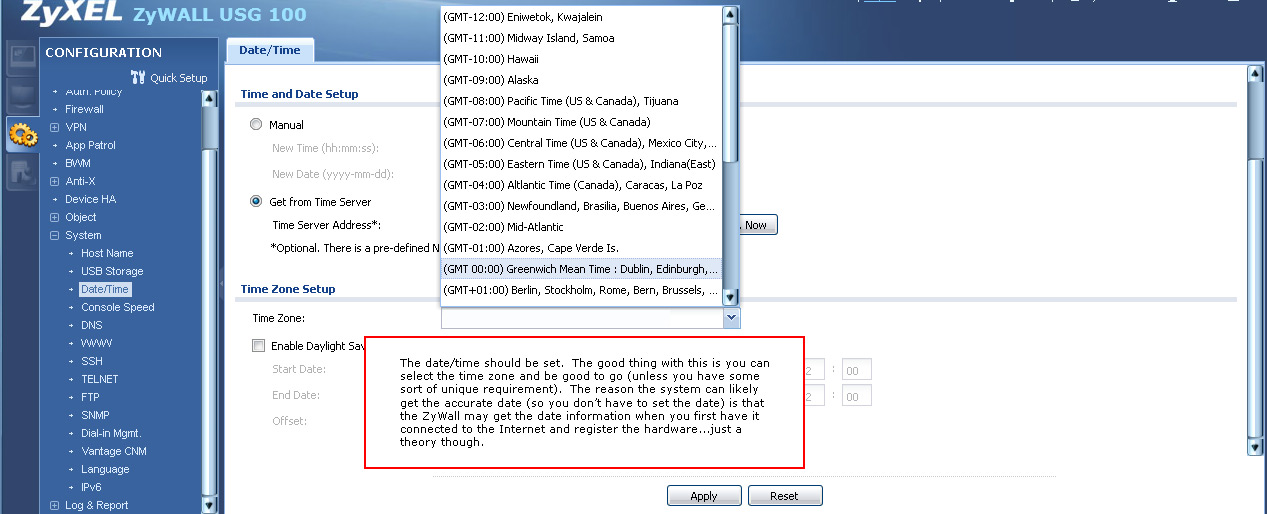
- You'll most likely want to set the date and time (especially if you are going to PCI-compliant route). Here's where to do that.
|

(Enlarge)
|
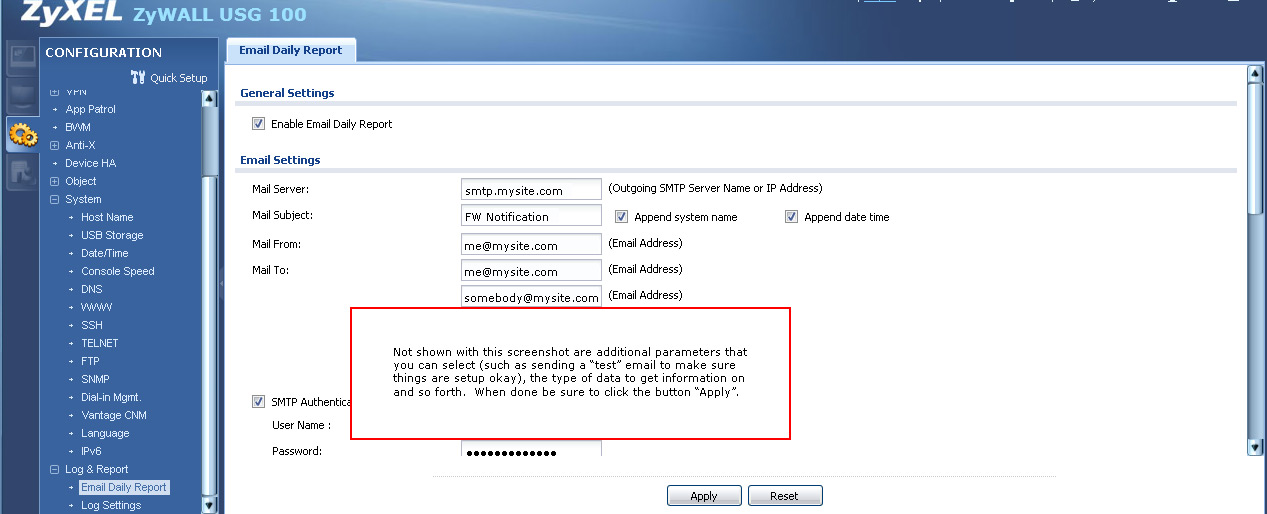
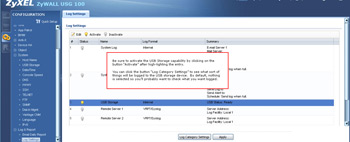
- The ZyWall can email you reports on activity. It is important to note that this ZyWall model does not seem able to interface successfully with SMTP from gmail over SSL.
|
(Enlarge)
|
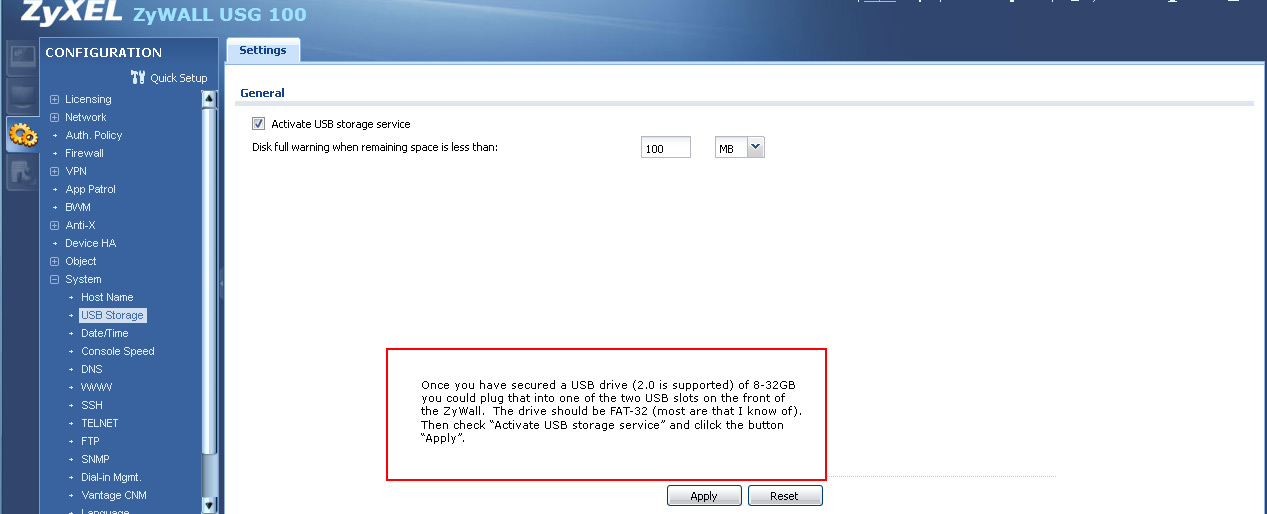
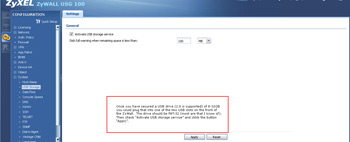
- Rather than use the very limited on-board storage capacity, you may want to pick up a USB drive and plug it into the ZyWall (one of the USB plugs on the front). You'll need to activate the USB storage as shown.
|
(Enlarge)
|
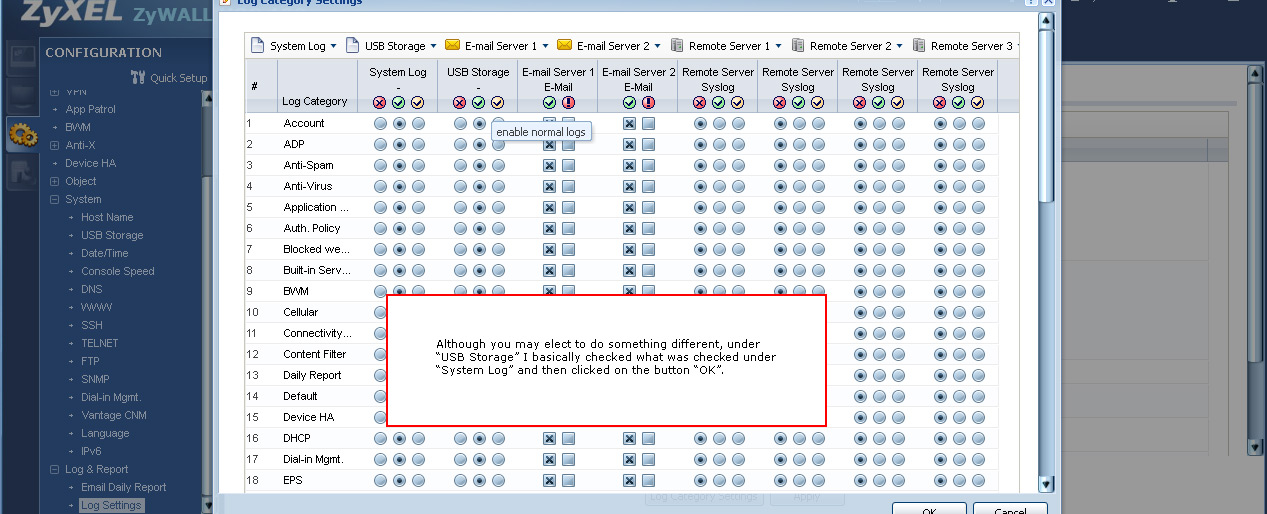
- From this page you specify the type of USB logging that will go to the USB drive.
|
(Enlarge)
|
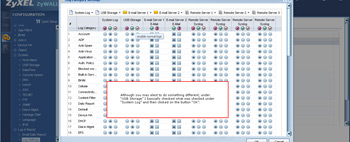
- From this page you then select what you want logged for the USB storage.
|
(Enlarge)
|
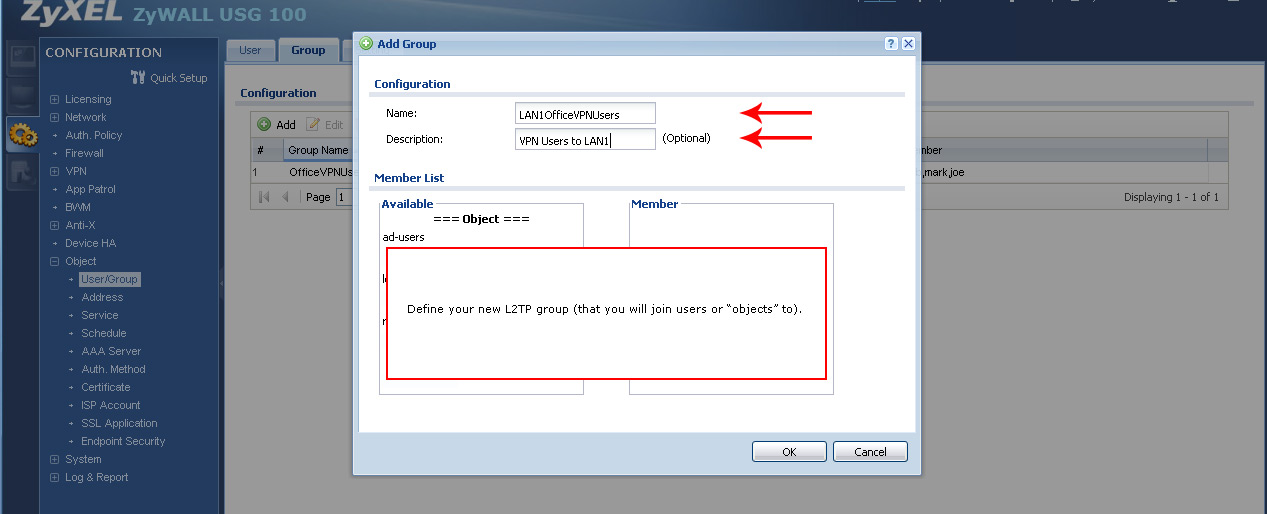
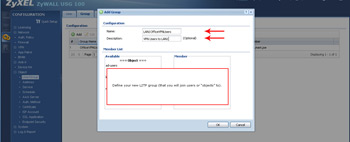
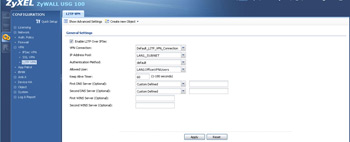
- Next up, you may have users who will want to connect to the office network (which you can segment into multiple LANs, etc). This example is for L2TP VPN and creating a group which will contain the users.
|
(Enlarge)
|
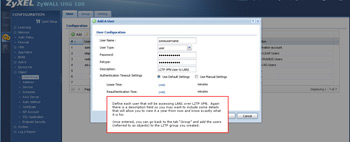
- Once the group has been created you can create the user accounts. Once you are finished, add those users to the group.
|
(Enlarge)
|
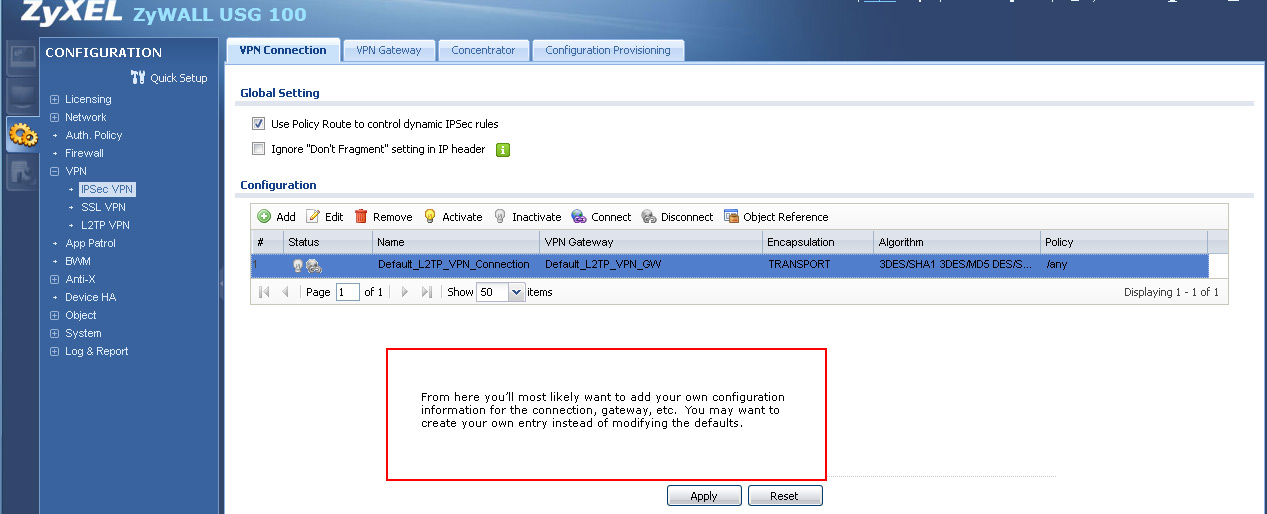
- Under the L2TP VPN section, select the group you created and the LAN it applies to.
|

(Enlarge)
|
- If you enabled IPSEC over VPN for the L2TP, you'll need to complete the IPSEC VPN section according to your unique configuration.
|

(Enlarge)
|
- You can change the IP address of ZyWall ports, such as LAN2. This is invaluable if you have to support some really old legacy hardware.
|
(Enlarge)
|
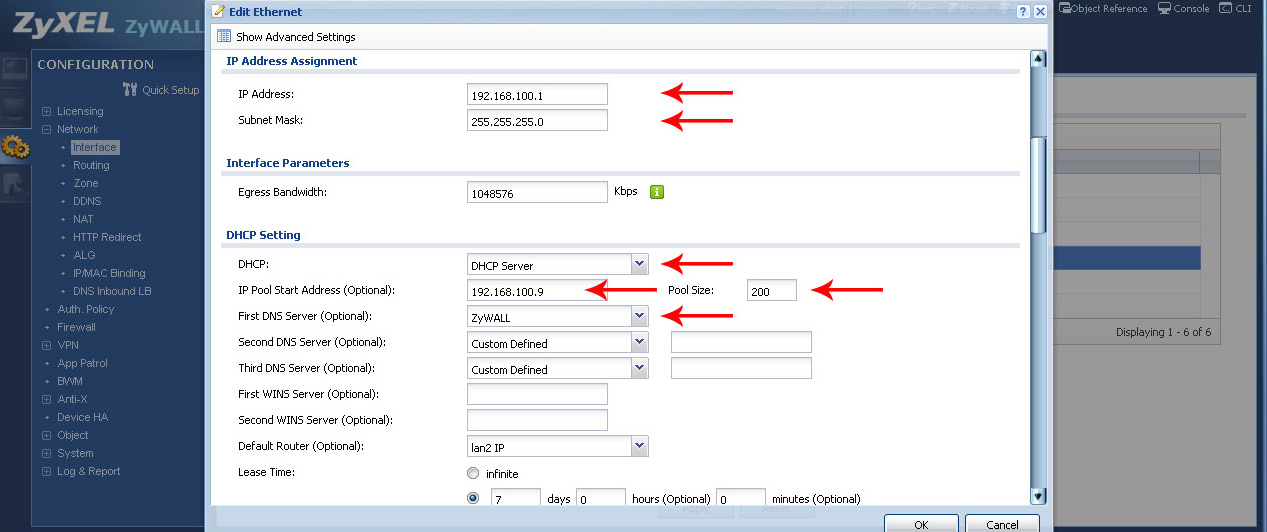
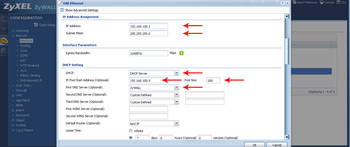
- The "IP Address Assignment" section is the actual IP that you assign to the port itself. Using the DHCP section allows you to issue IP addresses to users/devices connecting to the LAN port.
|
(Enlarge)
|
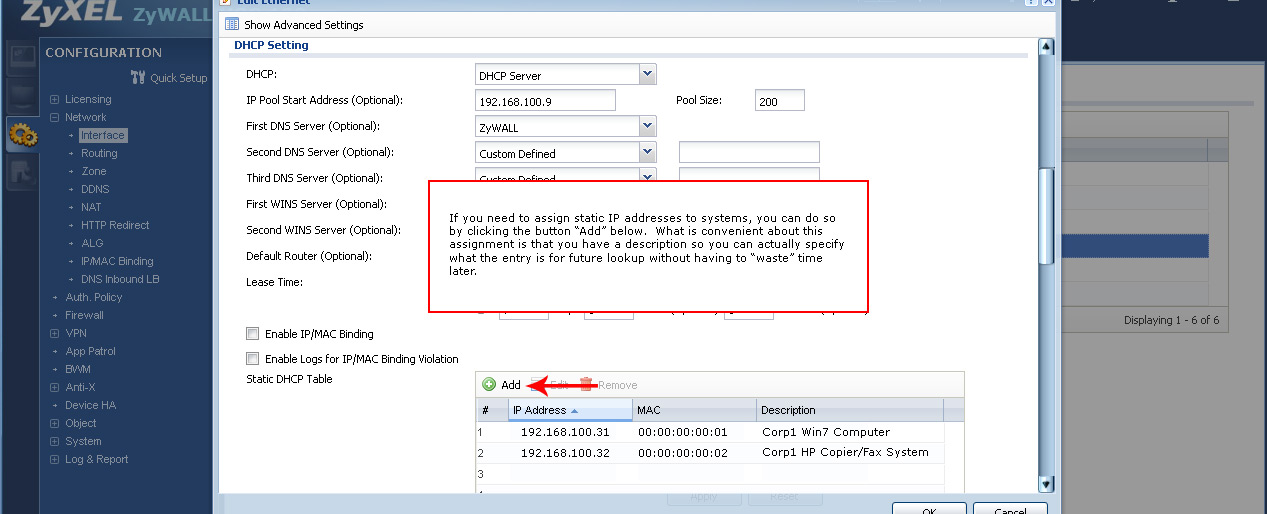
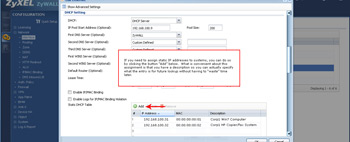
- Since you'll have a variety of users connected to one or more of your LAN ports, you can dynamically assign them IP addresses as well as reserve IP addresses for specific MAC addresses (among other things).
|

(Enlarge)
|
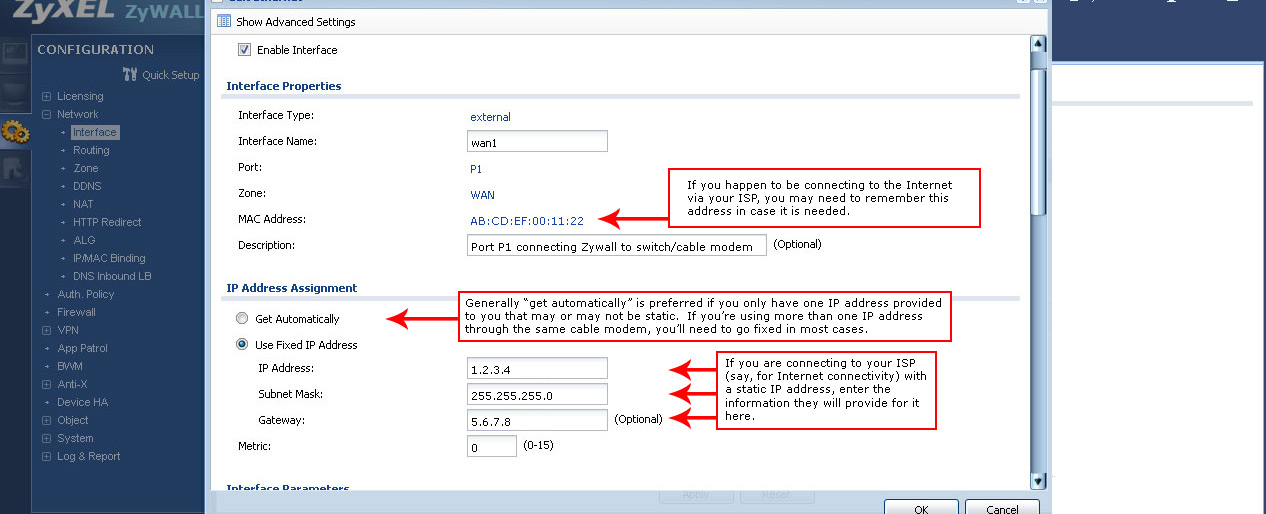
- Undoubtedly you'll want to be able to connect the ZyWall to the "outside" or the Internet in this case (if that is how you are using it). Most of the time, especially if you don't have a static IP assigned to you, you'll want to use the automatic selection. However, if you have a static IP (and you want to do a manual configuration), or if you have multiple static IP addresses assigned and one is allocated for supporting traffic after the ZyWall (say you have a Cable Modem -> Switch -> ZyWall), you'll have to specify the static IP information here.
|

(Enlarge)
|
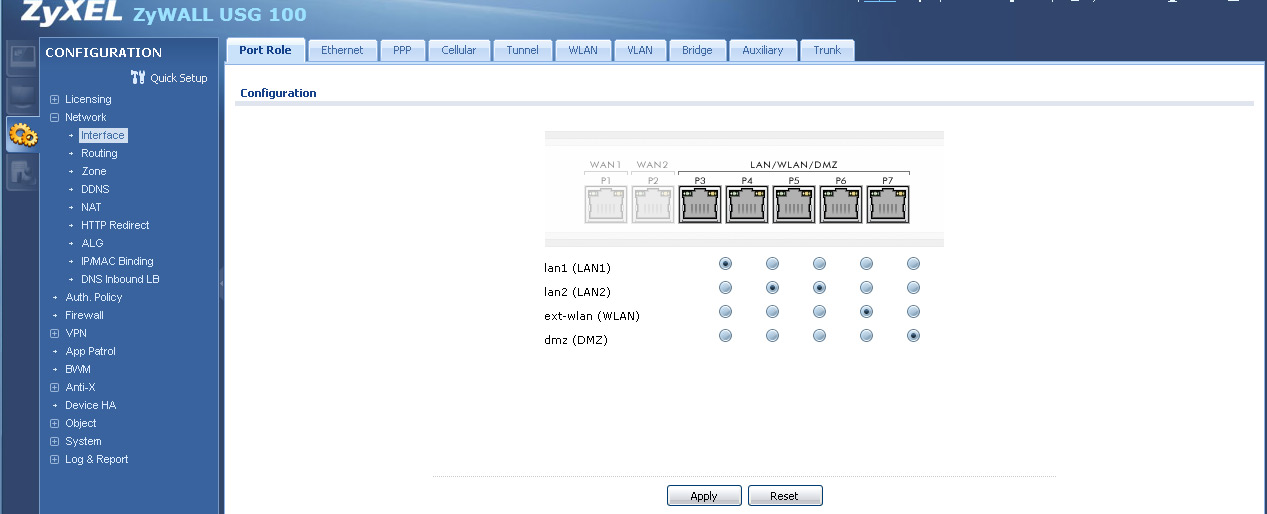
- From this section you an dynamically re-assign ports and subnets. Great if you need more than one port to support a specific segment of your network or you want to change up things like what port the DMZ is on.
|
(Enlarge)
|
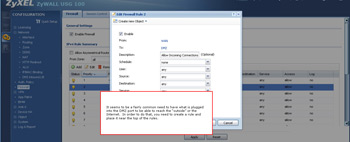
- It is common to setup servers on the DMZ that should be able to reach the "outside" - the WAN. In order to do that you have to setup a rule to allow the traffic.
|
(Enlarge)
|
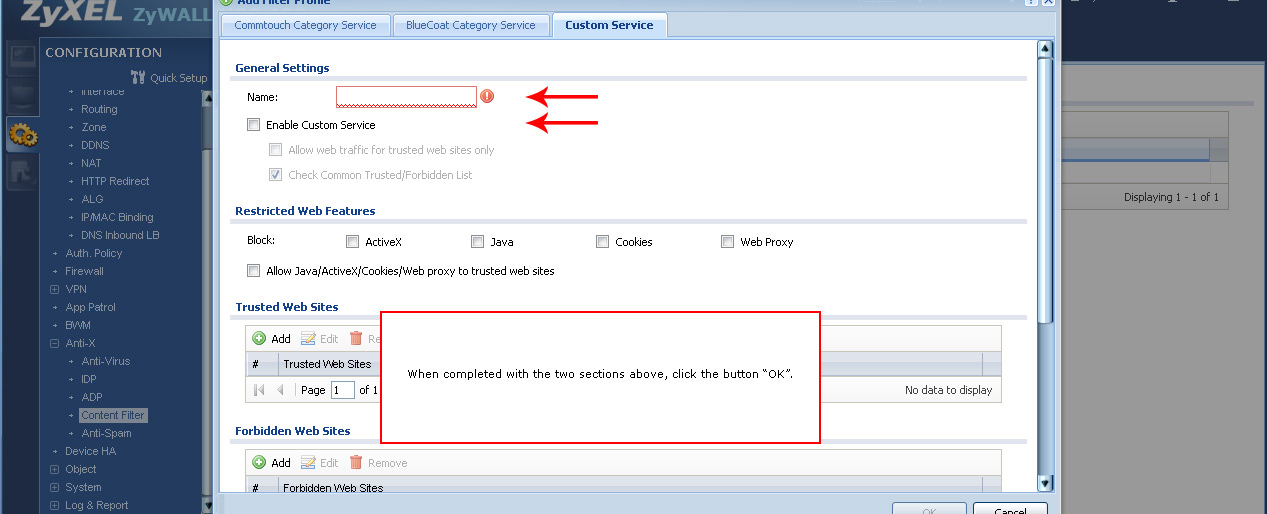
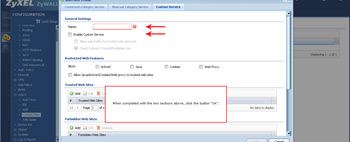
- Next up is traffic filtering and block your users from accessing various resources such as a website (referred to as "Custom Service"). Complete the two sections indicated to begin.
|
(Enlarge)
|
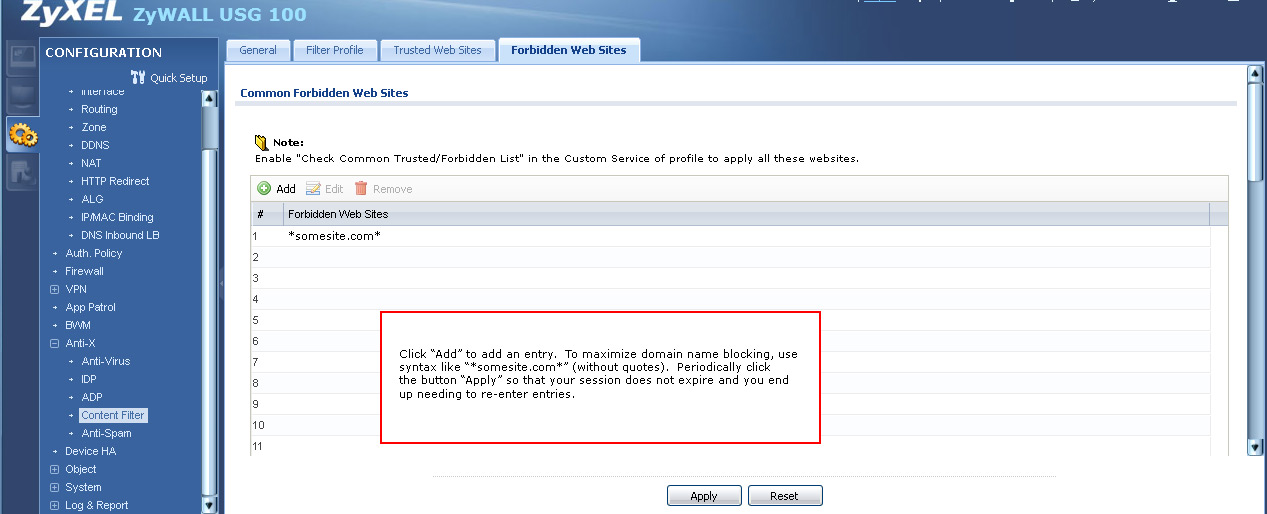
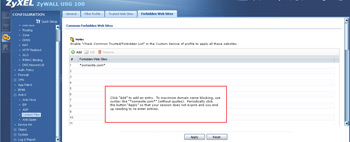
- Under "Forbidden Web Sites" enter those resources you don't want to allow. For best blocking ability use the wildcard before and after the domain name such as *somesite.com*. That is needed because if you enter "somesite.com" the user could specify "www.somesite.com" or "somesite.com/index.html" and still access the resource.
|

(Enlarge)
|
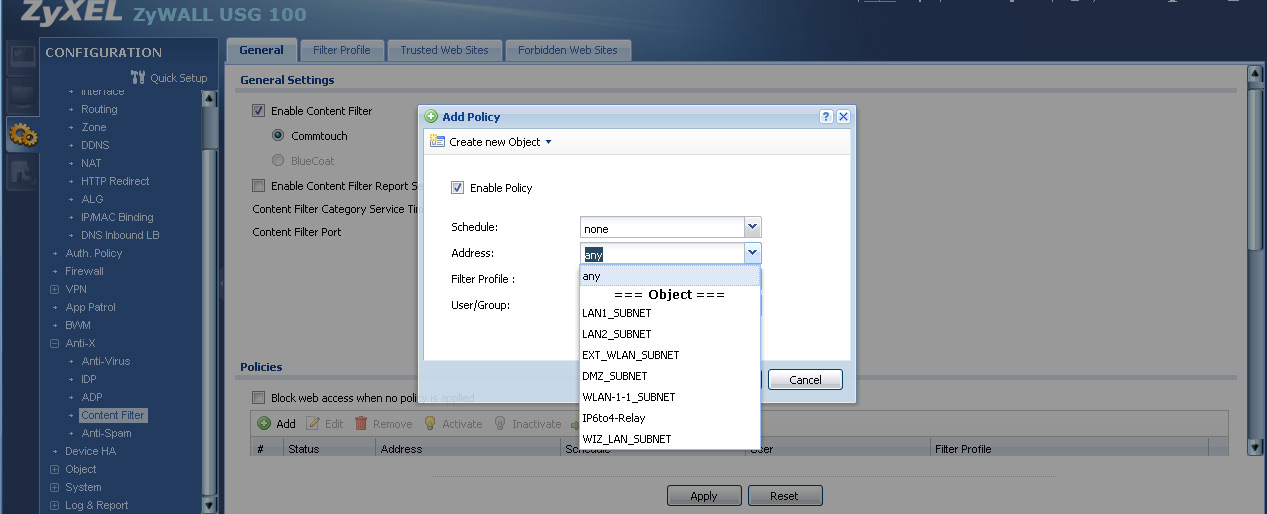
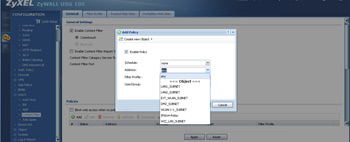
- Once you've got all the resources defined that you want to block, create a policy for it.
|
(Enlarge)
|
- After the policy is created, attach it to the subnets you want it to filter.
|
(Enlarge)
|
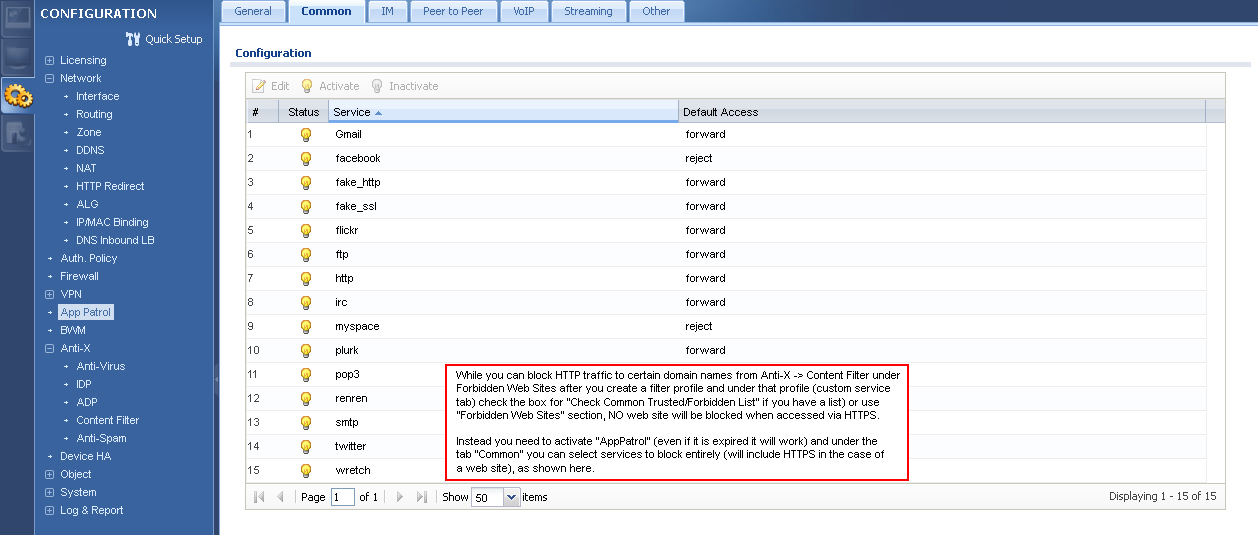
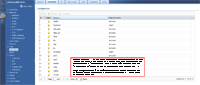
- It is important to note that while you can block websites via resources you've defined and created a policy for, those URL's will only be blocked if a user on the network attempts to access them over regular HTTP (port 80). If such a resource may be accessed over HTTPS, the firewall will not block it.
- Instead, to block access to a resource when requested over HTTPS, you have some capabilities with what is known as "AppPatrol".
|