(Enlarge)
|
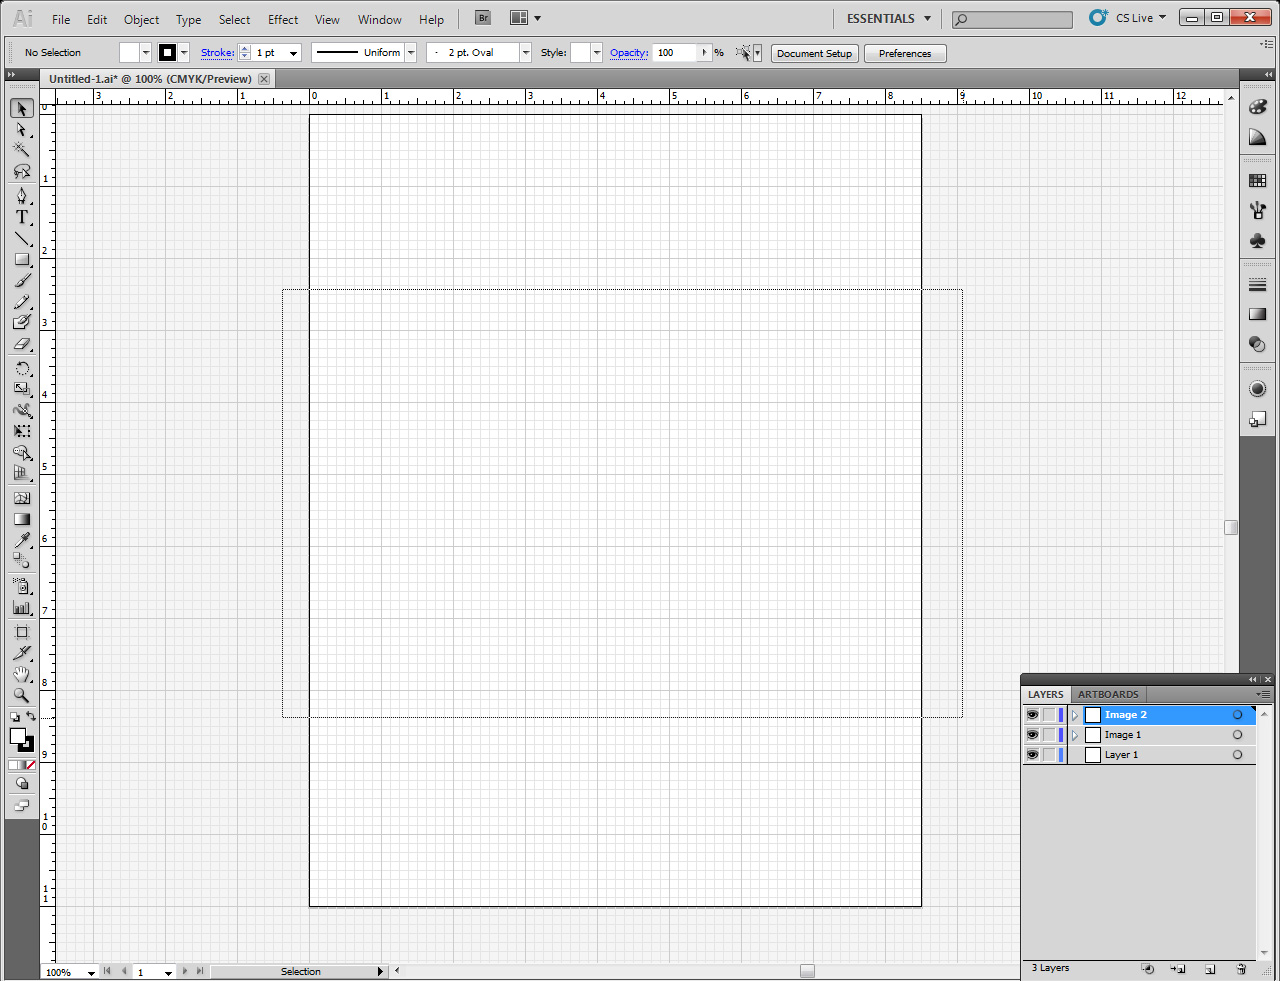
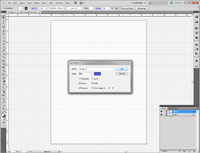
- Select some dimensions for the new document. In this case, the default was selected for Adobe Illustrator CS5.
|
(Enlarge)
|
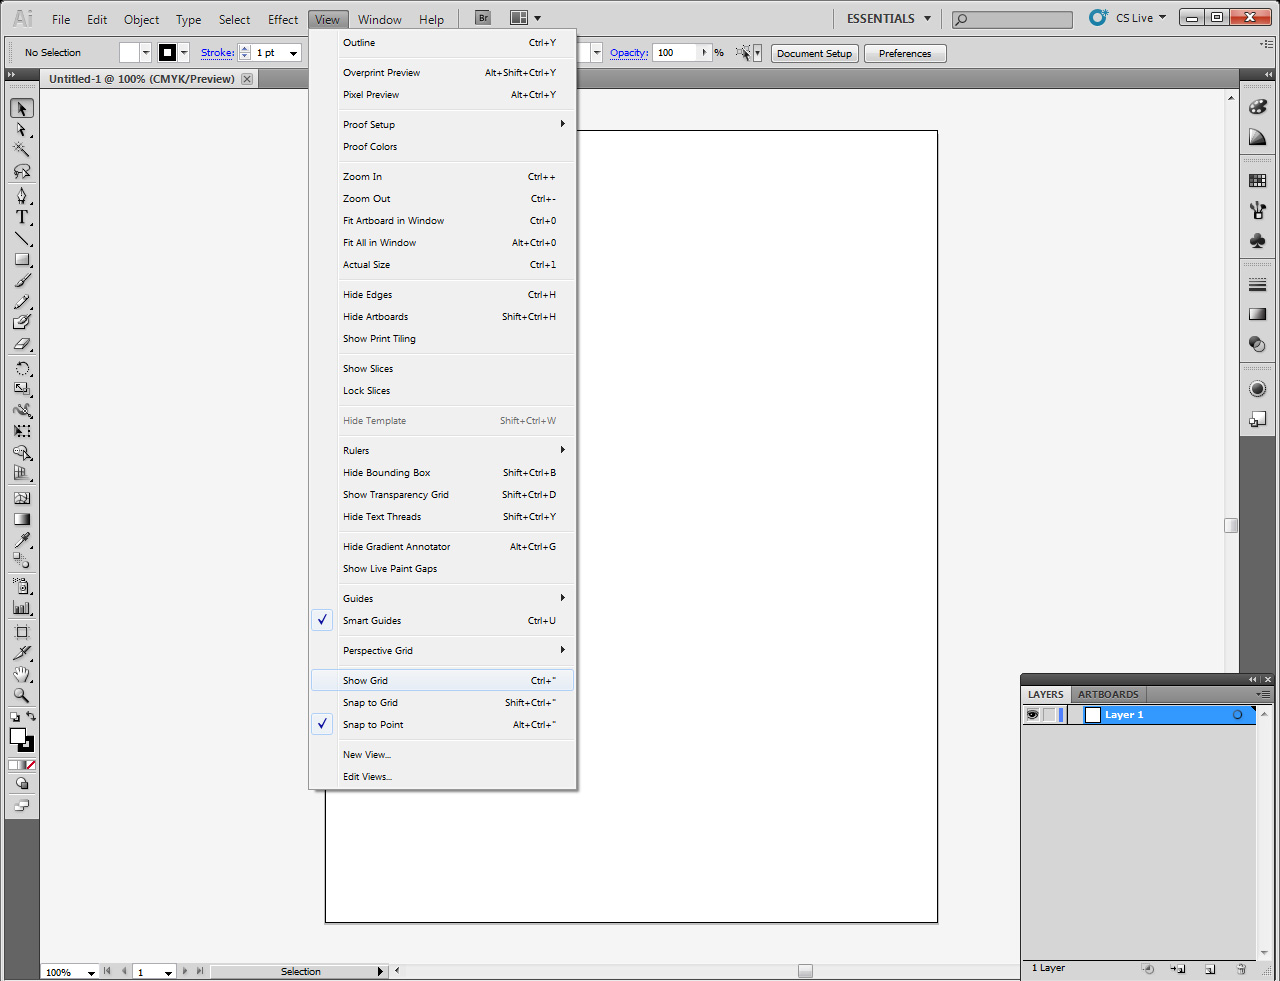
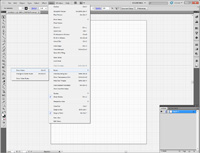
- To help with positioning layers and content, click "View" and select "Show Grid".
|
(Enlarge)
|
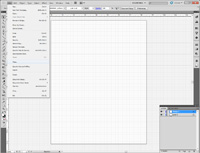
- To show the rulers, click "View", hover over "Rulers" and select "Show Rulers".
|
(Enlarge)
|
- From the layers window, create a new layer. The name for this tutorial is "Image 1". The color selected is blue (this will serve as the outline color of the shape in the image).
|
(Enlarge)
|
- From the top menu, click "File" and then select "Place...". Browse to the JPG image and select it.
|
(Enlarge)
|
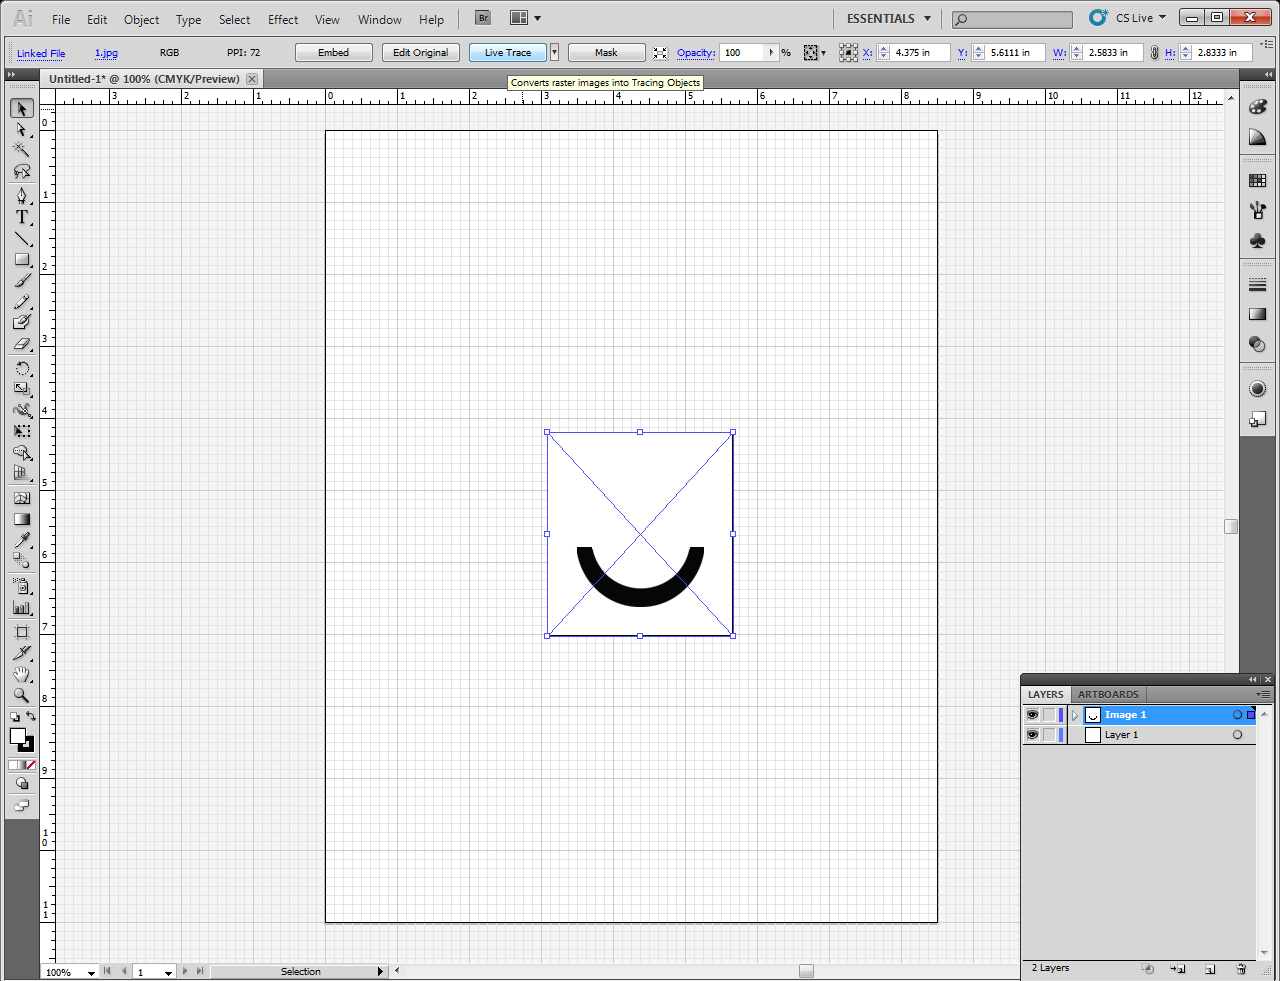
- The JPG image will show up in the document. Click on the button "Live Trace".
- NOTE: Live trace may end up creating multiple traces for a given "side" of your image. You should see if you can select more than one "side" or line in the same area and if it is an echo or duplicate, you may want to delete what is extra. I recently discovered that having multiple lines so close together can cause havok on the material being cut with a laser because the laser is doing more work for a "side" than what may be needed.
|
(Enlarge)
|
- Next, click on the button "Expand".
|
(Enlarge)
|
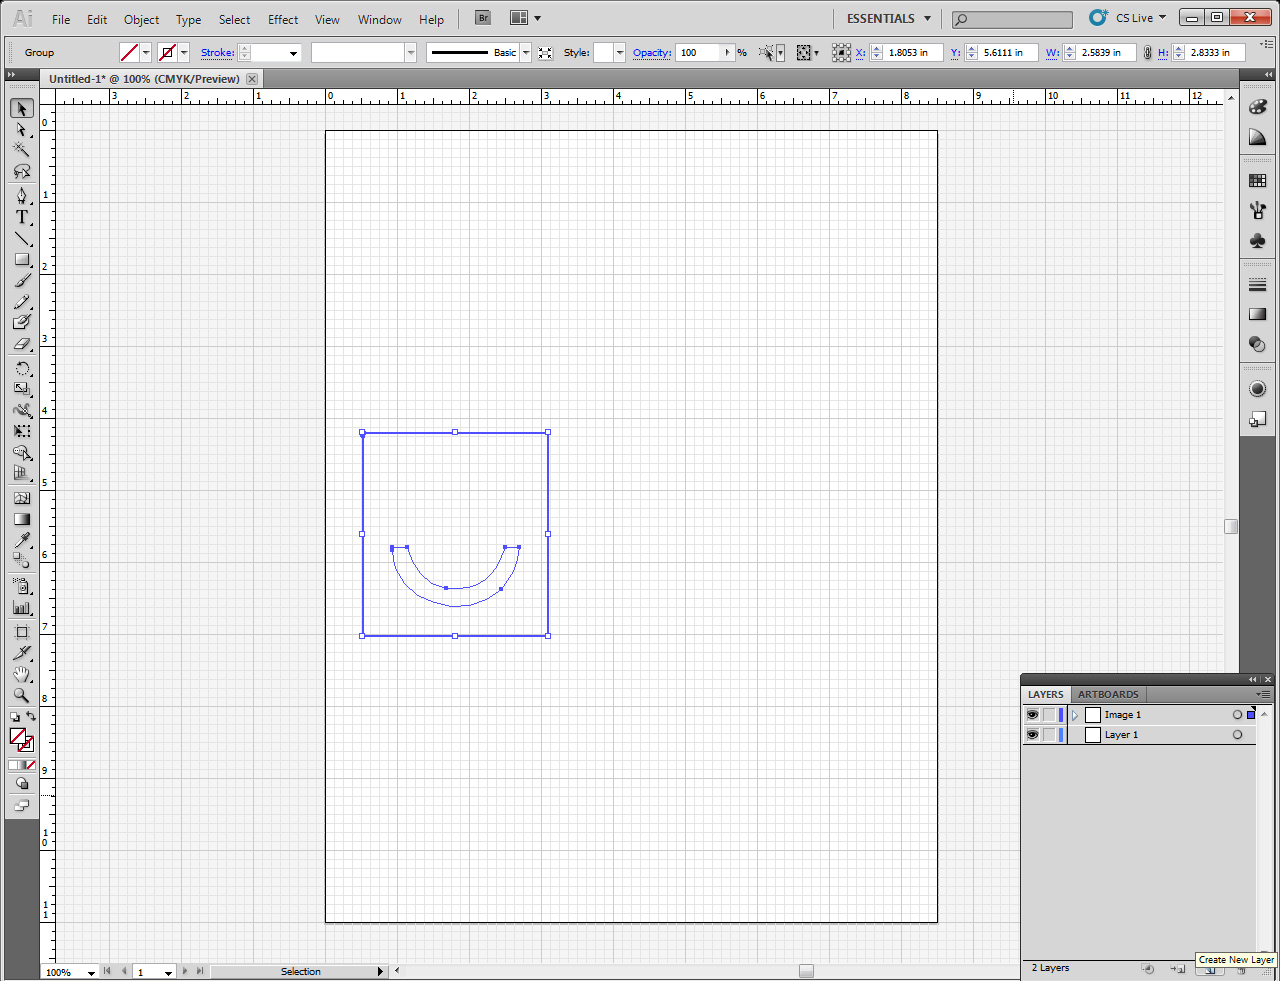
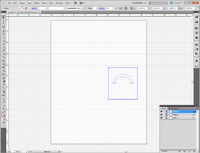
- The top bar should now change for the grouping. Click the small down arrow next to the question mark to bring up a color palette. Select the first block with the red line "[None]".
|

(Enlarge)
|
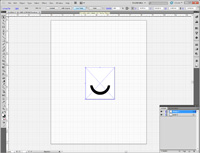
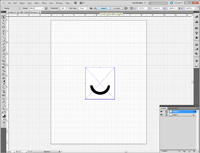
- At this point you should have an object with no fill and no stroke. The first "image" is now vector-ready.
|
(Enlarge)
|
- The next handful of steps will be incorporating a second image into the document (using the same steps as previously demonstrated). At this point, after creating a third layer, click on "File" and select "Place...".
|
(Enlarge)
|
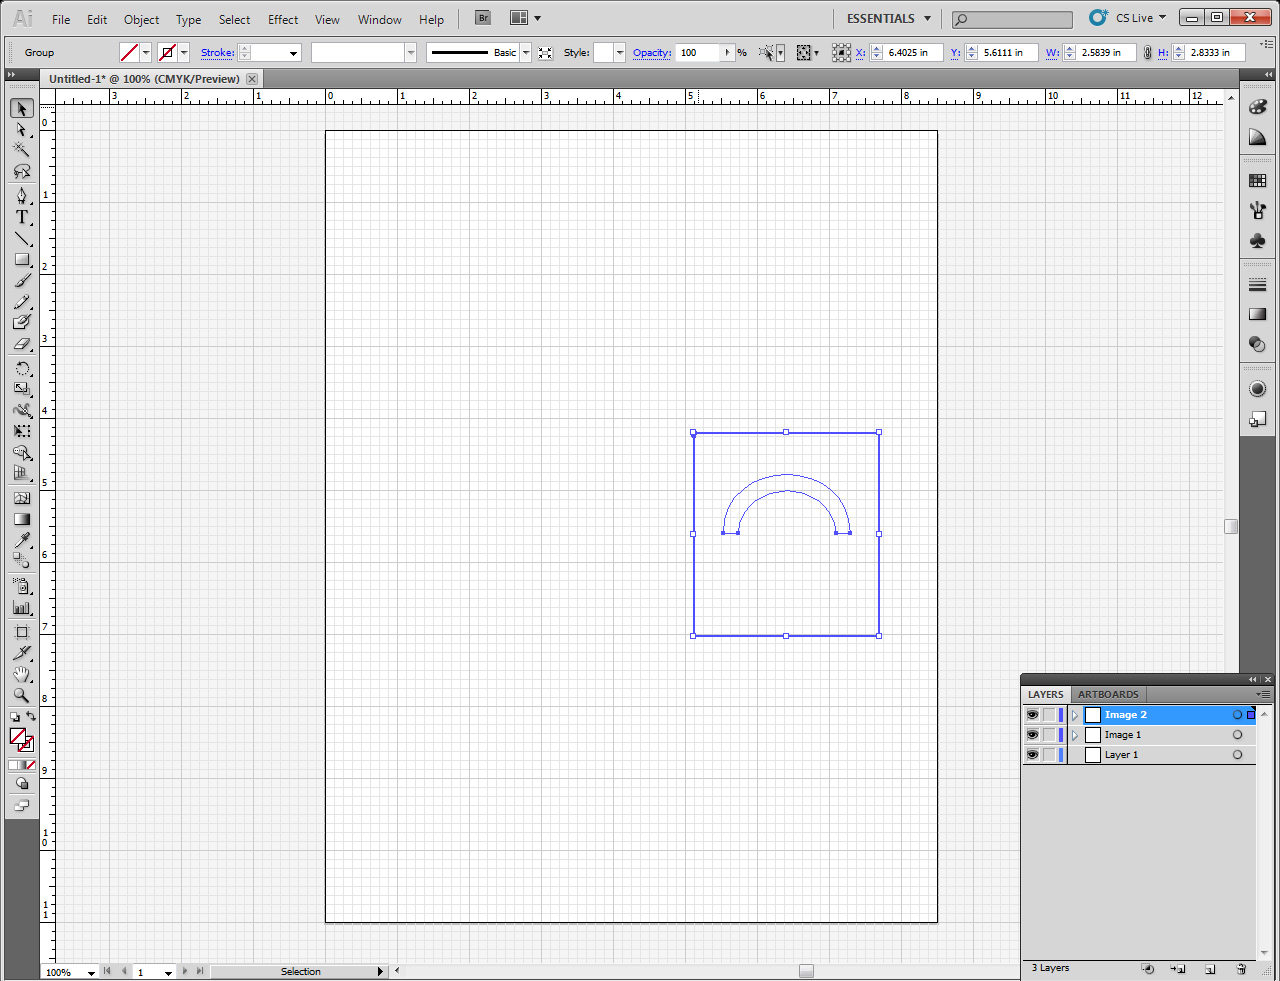
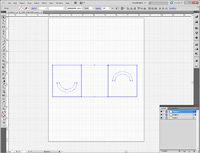
- Don't worry if you cannot see the first image - remember there is no stroke or fill for it. WIth the second image I moved it to the right (so we can see the layers side by side later on).
|

(Enlarge)
|
- Click on the button "Live Trace".
|

(Enlarge)
|
- Next, click on the button "Expand".
|

(Enlarge)
|
- The top bar should now change for the grouping. Click the small down arrow next to the question mark to bring up a color palette. Select the first block with the red line "[None]".
|
(Enlarge)
|
- At this point you should have an object with no fill and no stroke. The second "image" is now vector-ready.
|

(Enlarge)
|
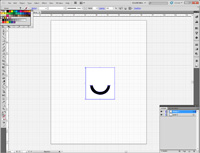
- Now, if you click the document you'll notice the second layer disappear.
|

(Enlarge)
|
- Highlight the region with the objects in it.
|
(Enlarge)
|
- You'll notice the content in the layers is visible again. Now, to just keep it visible without having to highlight it...
|

(Enlarge)
|
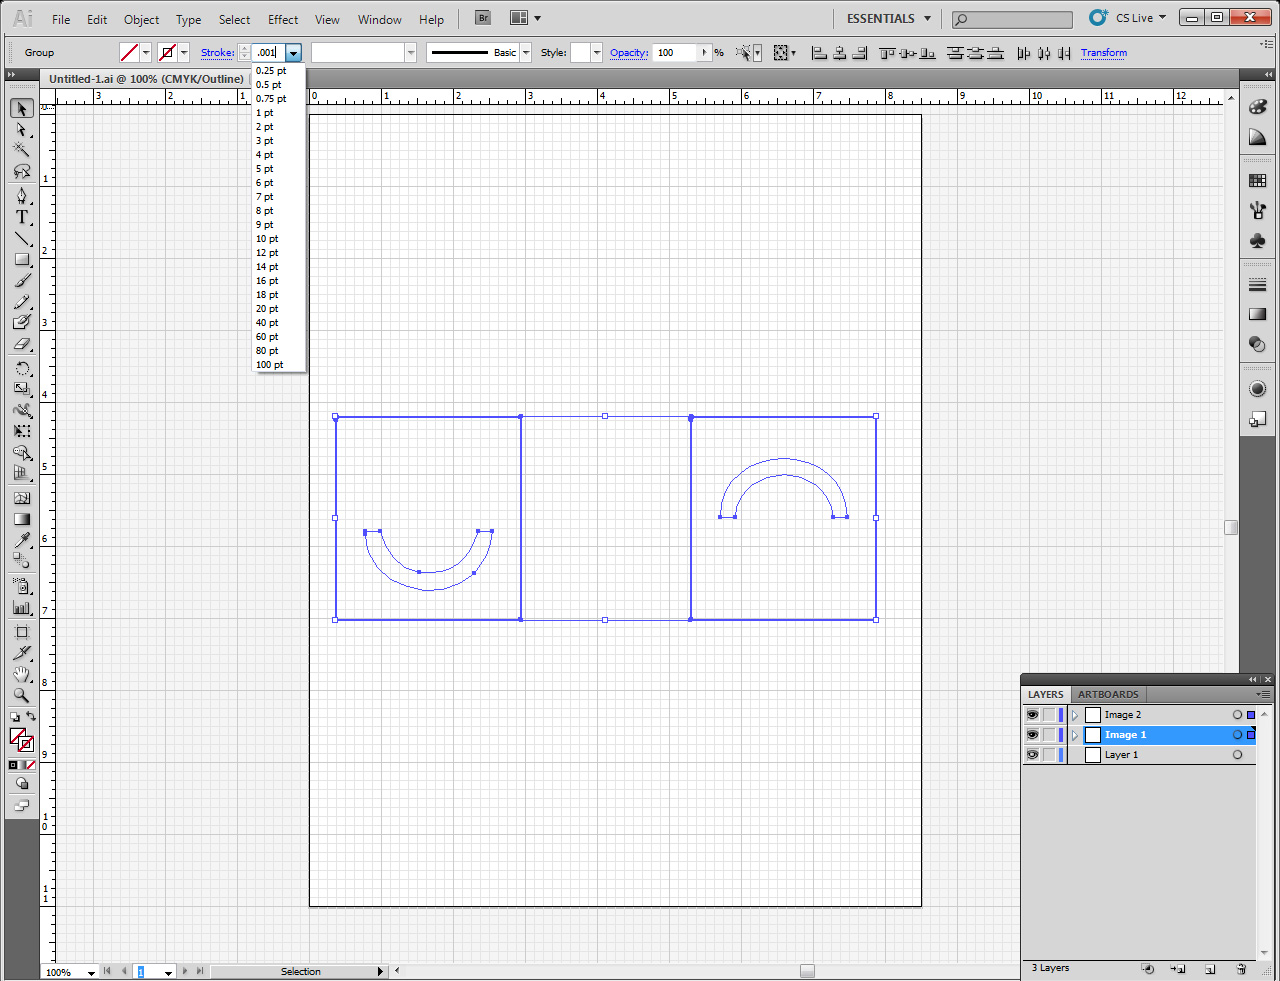
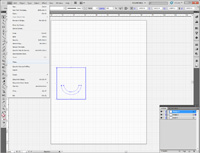
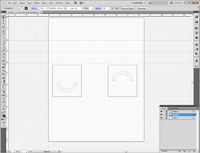
- In the top bar, next to "Stroke:" enter a small number such as .001 (you can select something larger in the drop-down but the paths/outlines will be thicker).
|
(Enlarge)
|
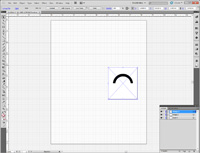
- At this point you'll see the content in the layers re-appear because there's some type of stroke defined.
|

(Enlarge)
|
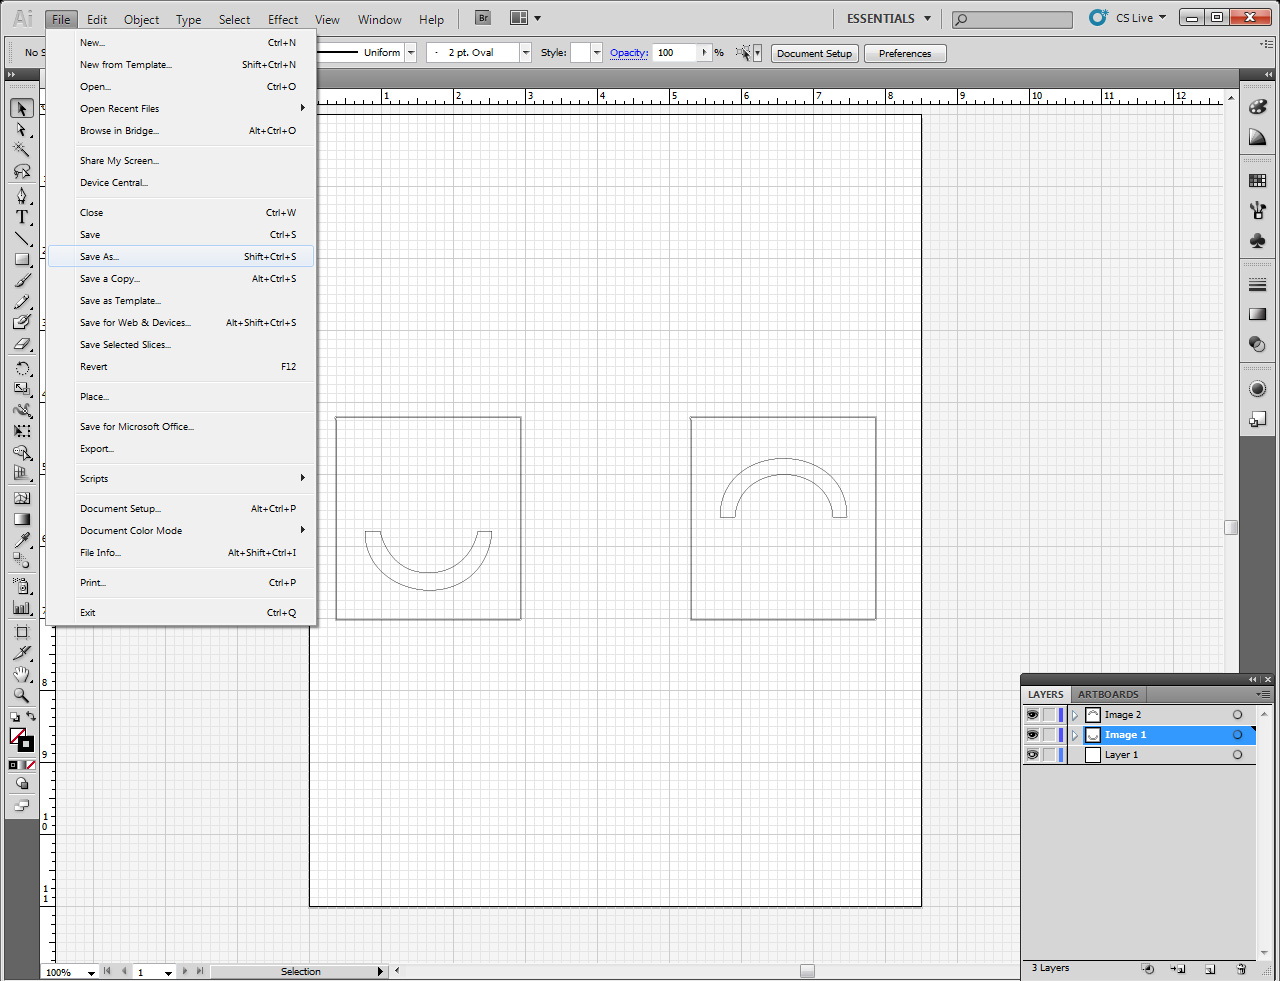
- If you are new to Adobe Illustrator CS5, there are a few save options to be aware of which is a flip-flop of how saving is done with Photoshop. Click on "File" and select "Save As...".
|

(Enlarge)
|
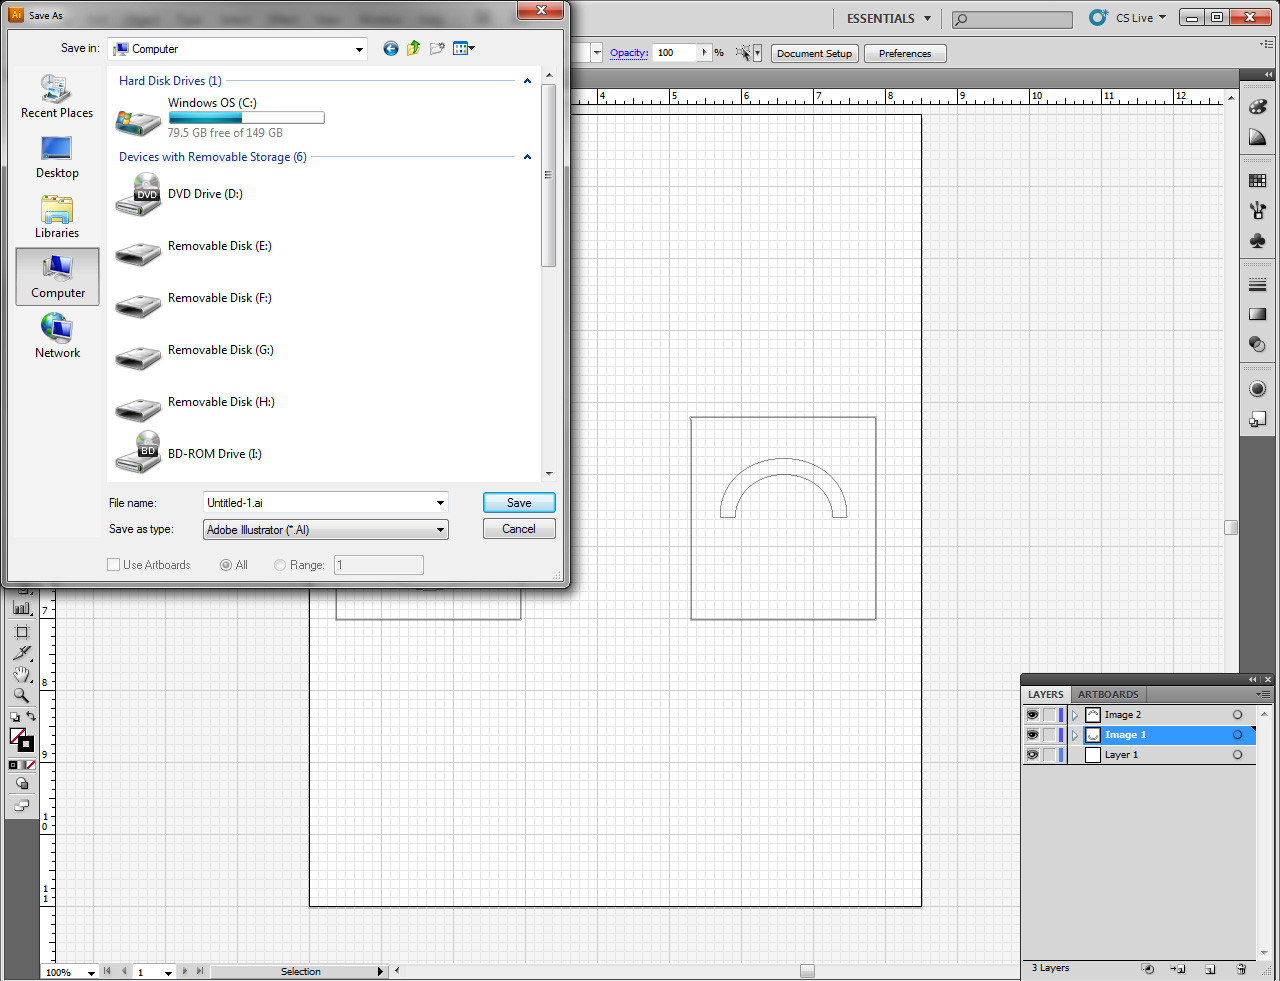
- Specify a location to save the AI file to.
|

(Enlarge)
|
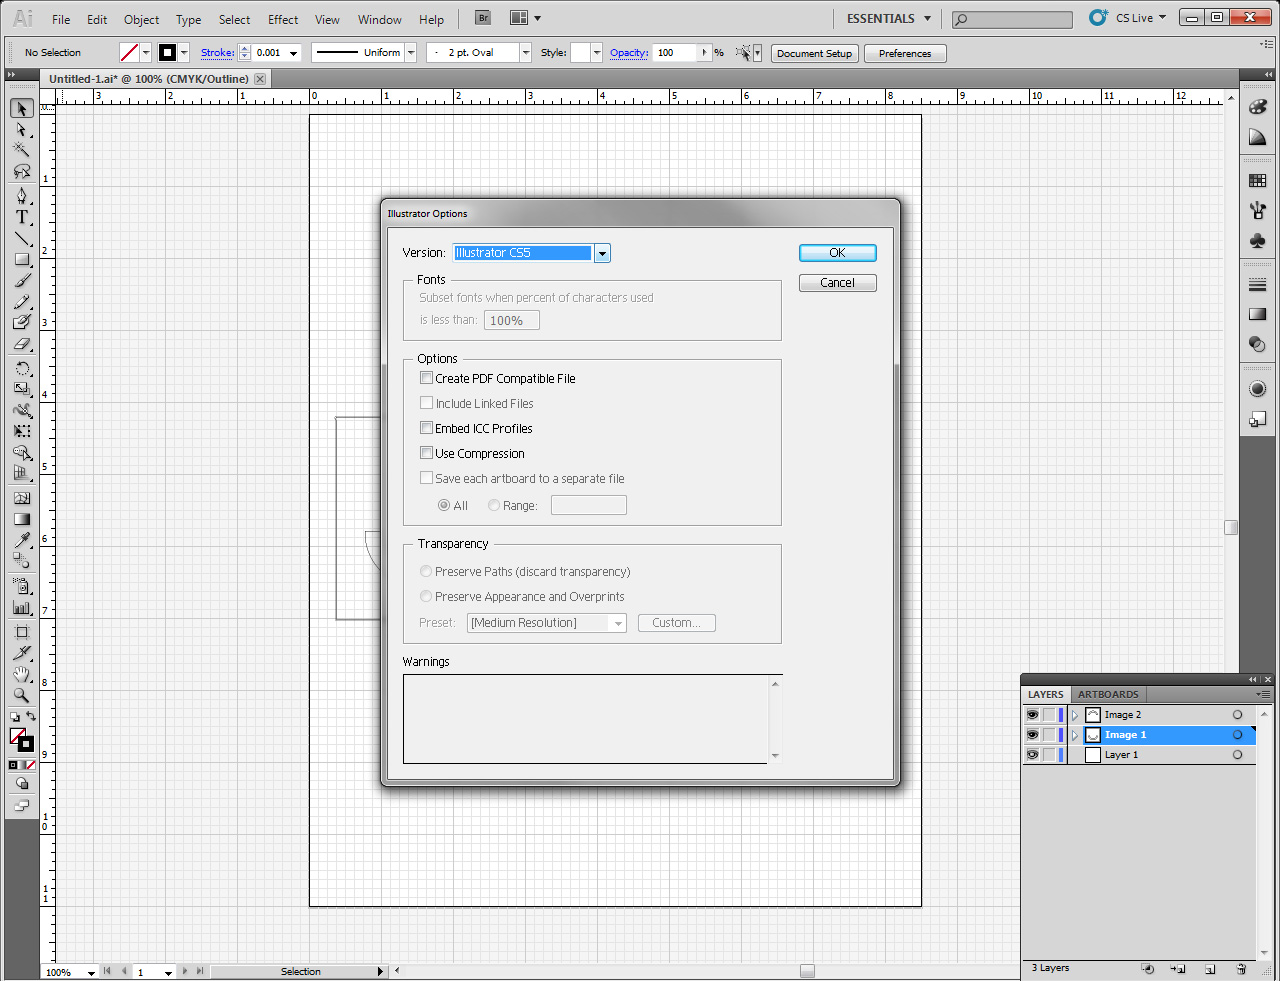
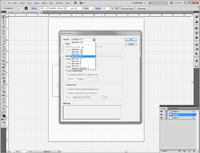
- Finally we get to the file options as shown. Typically (depending on application) no options need to be selected.
|
(Enlarge)
|
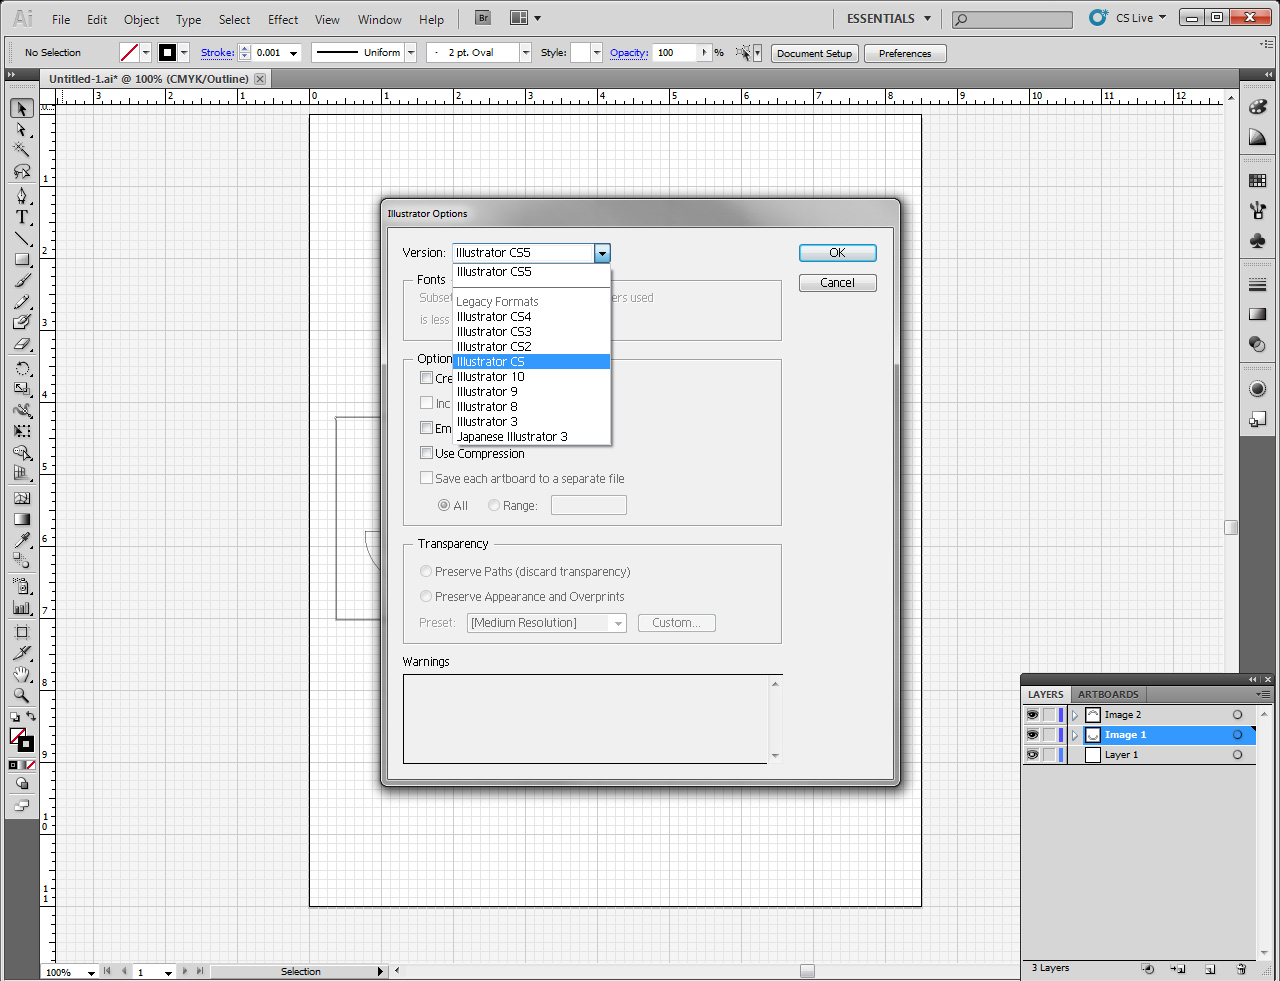
- In the drop-down menu, next to "Version:", you'll have the capability to save your document in several different AI versions. Most places should be able to load the "Illustrator CS" version okay. You'll probably want to save one file version as CS5 (in the event you have to perform a future edit) so you have something to go back to in the event you need to save a copy of the AI file in a lesser version.
|