|
STEP 1
|
(Enlarge)
|
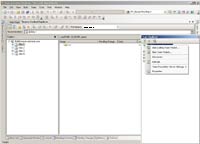
- Under "Team Explorer" right-click on the TFS server name
- A popup menu will appear
|
|
STEP 2
|
(Enlarge)
|
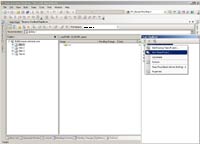
- Select "New Team Project"
|
|
STEP 3
|
(Enlarge)
|
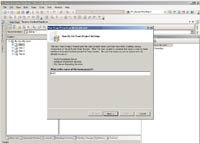
- Provide an intuitive name for the project
|
|
STEP 4
|
(Enlarge)
|
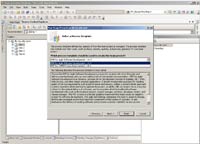
- Select the process template. For most projects I've encountered, "MSF for Agile Software Development" is used
|
|
STEP 5
|
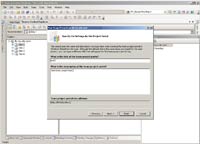
(Enlarge)
|
- Provide an intuitive title for the project
|
|
STEP 6
|
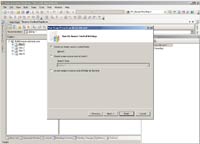
(Enlarge)
|
- You can select that it reside as a parent (same level as "Site 1, 2, 3, 4" as shown) by choosing "Create an empty source control folder" - this is what is done in this tutorial
- OR, the project can be a child of one of the root folders by selecting "Create a new source control branch"
|
|
STEP 7
|
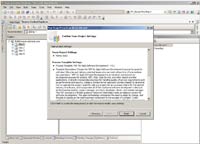
(Enlarge)
|
- Confirm the settings
|
|
STEP 8
|
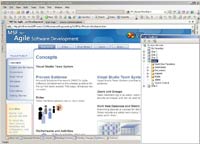
(Enlarge)
|
- In Team Explorer you will see that your project as been added
|


