|
STEP 1
|
|
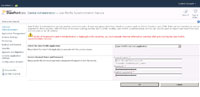
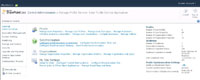
- Set up a "mysites" (/my) on the Sharepoint 2010 server. You don't need to be using it yet. One way to do this is, from Central Administration logged in under the farm account, is to click on "System Account" in the top right corner and then click on "My Site". While there you could make a change to the top navigation (for example), then access "http://SERVERNAME/my/" from within your network with a different web browser and logon using a regular Domain User account and you'll notice that the Domain User account will get a "My Site" automatically created from the "My Site" with the changes you had made to the navigation with the farm account. However, the name of the Domain User's personal page will be "your-domain\domain_user_name" until you've got the User Profile Service Application all configured.
|
|
STEP 2
|
(Enlarge)
|
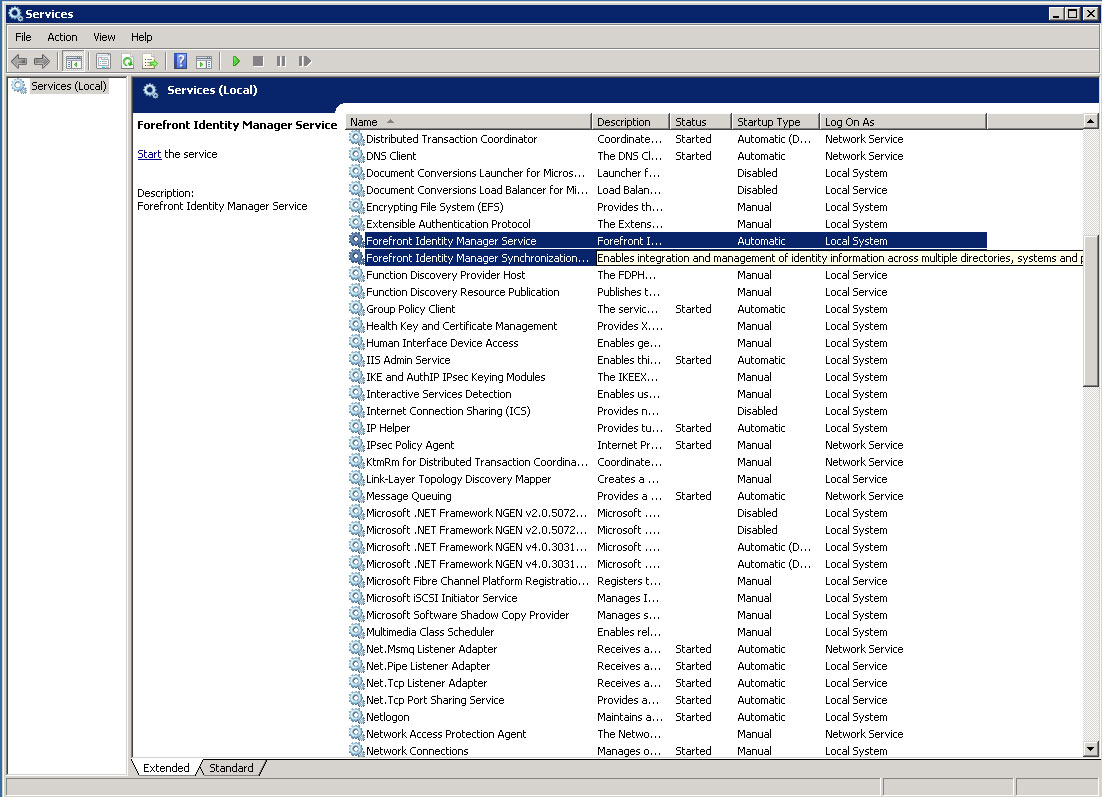
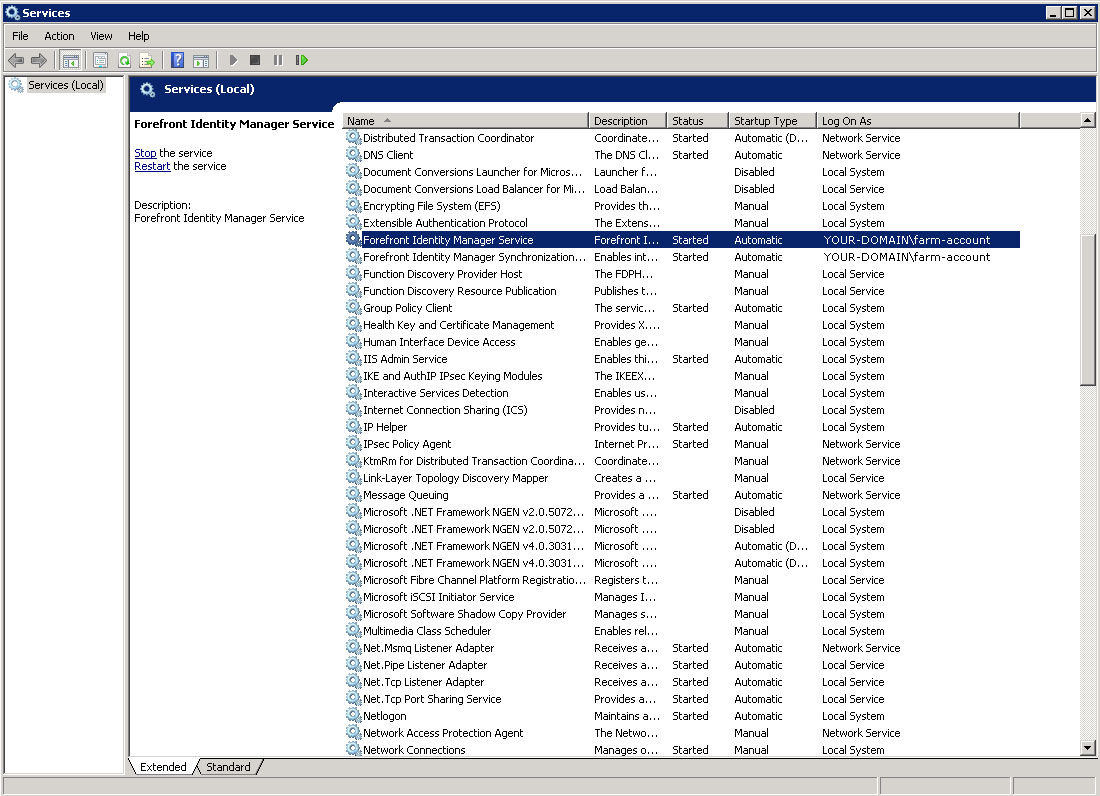
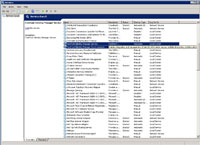
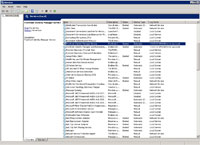
- Under "Services" of the Sharepoint 2010 server computer you should see two Forefront Identity services, most likely stopped, that you will need.
|
|
STEP 3
|

(Enlarge)
|
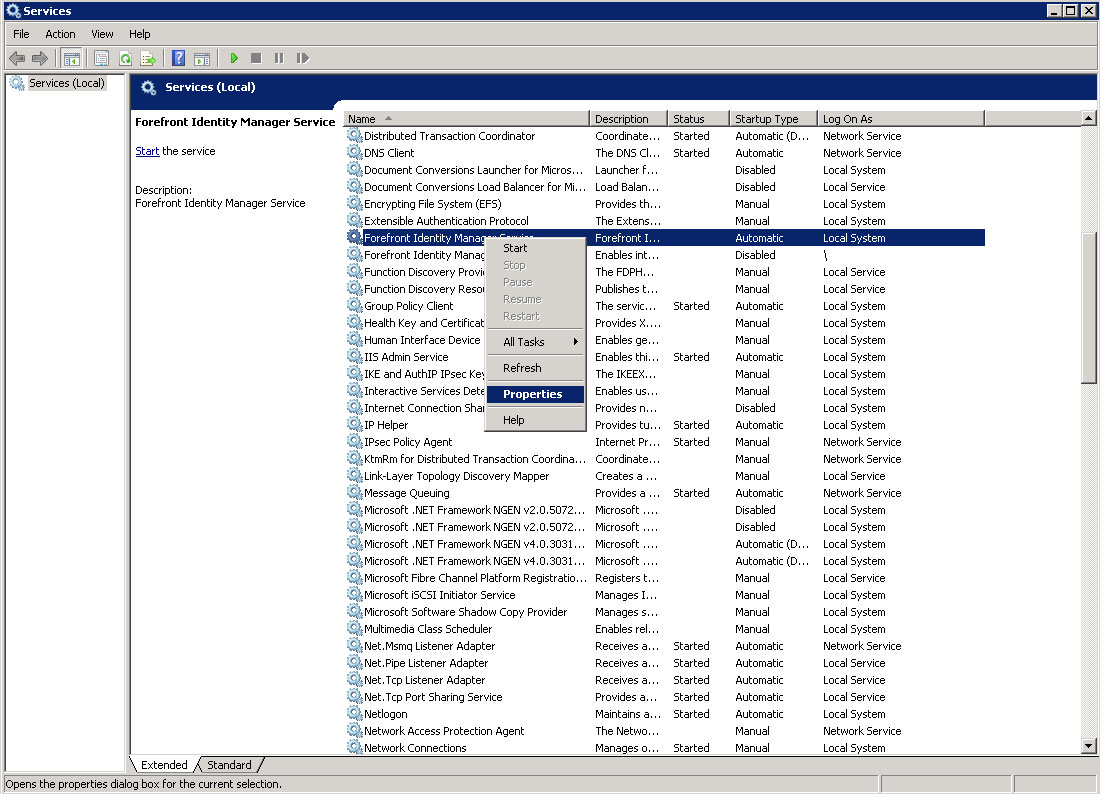
- For each service you will have to add the farm account to each one; the following steps will go through setting things up for one of the services.
|
|
STEP 4
|
(Enlarge)
|
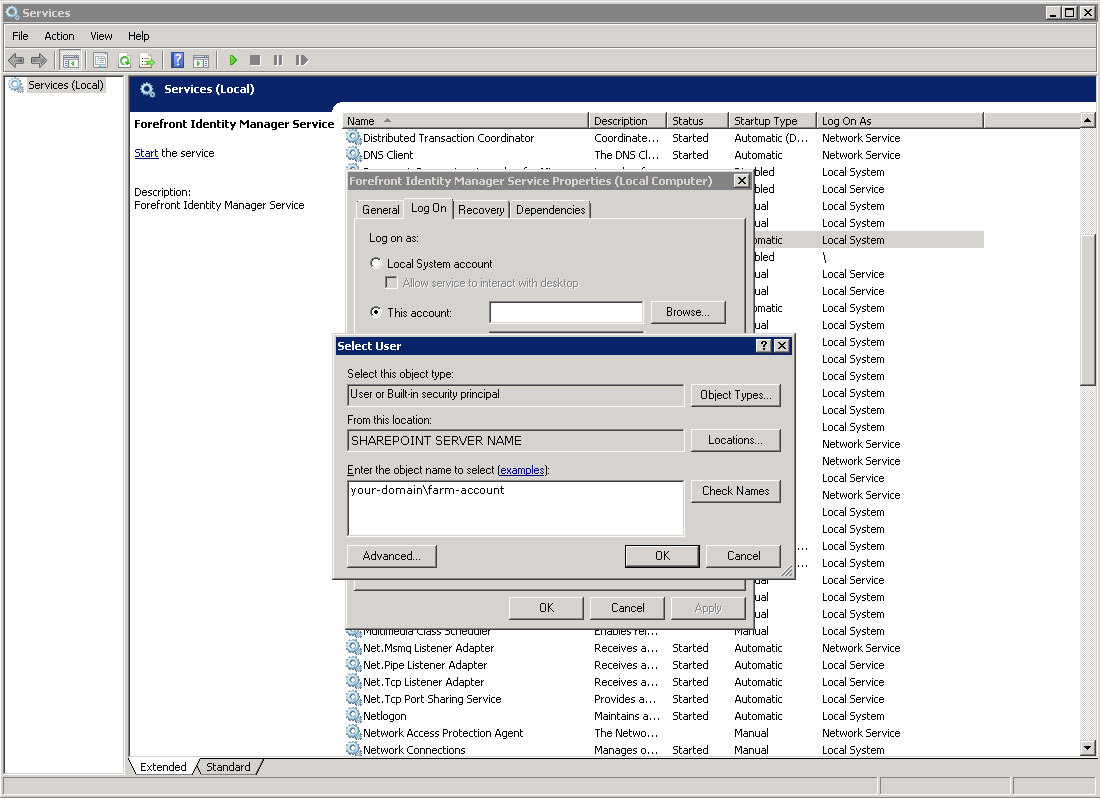
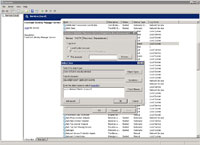
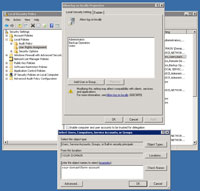
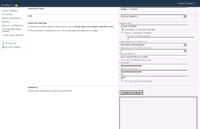
- Under "Log On" of the properties of the service, add the farm account at "This Account". Be sure to set the startup type as "Automatic".
|
|
STEP 5
|
(Enlarge)
|
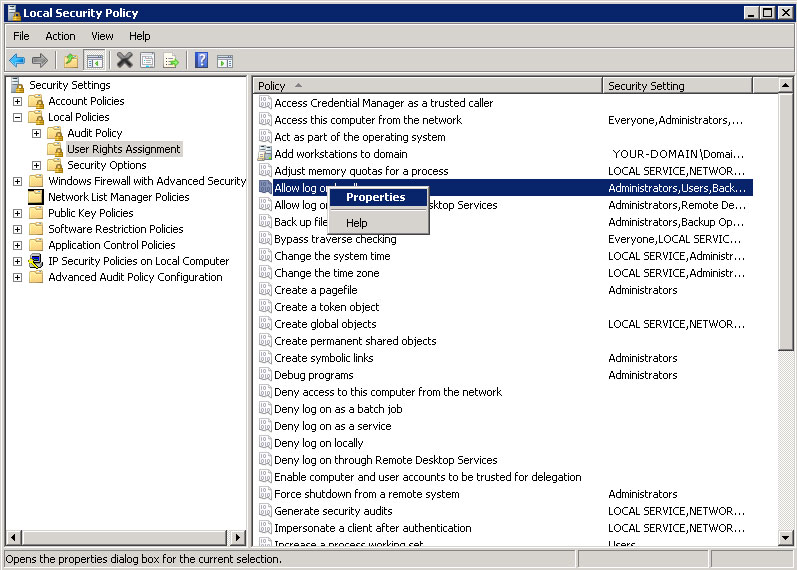
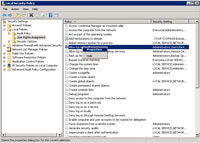
- Launch "secpol.msc". Under Security Settings -> Local Policies -> User Rights Assignment right click on "Allow log on locally" and select "Properties".
|
|
STEP 6
|
(Enlarge)
|
- Click on the button "Add user or Group..." and add the farm account.
|
|
STEP 7
|
(Enlarge)
|
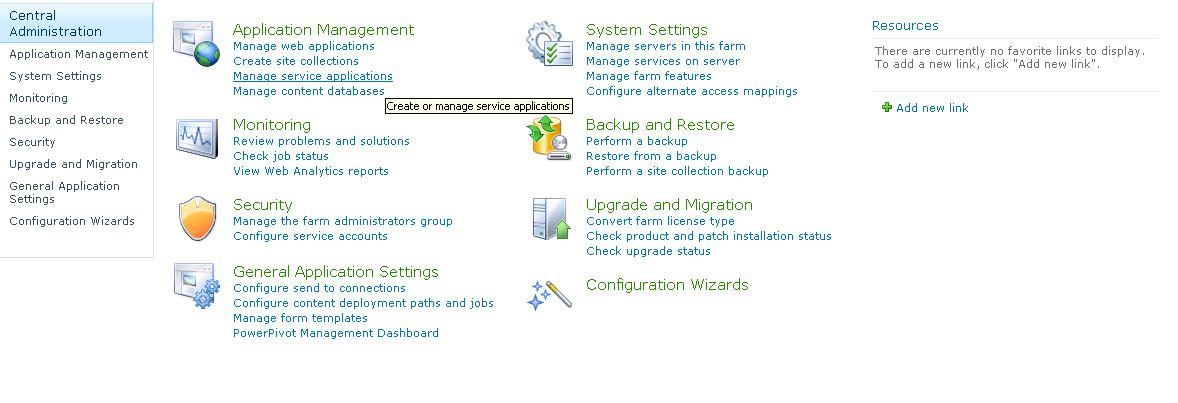
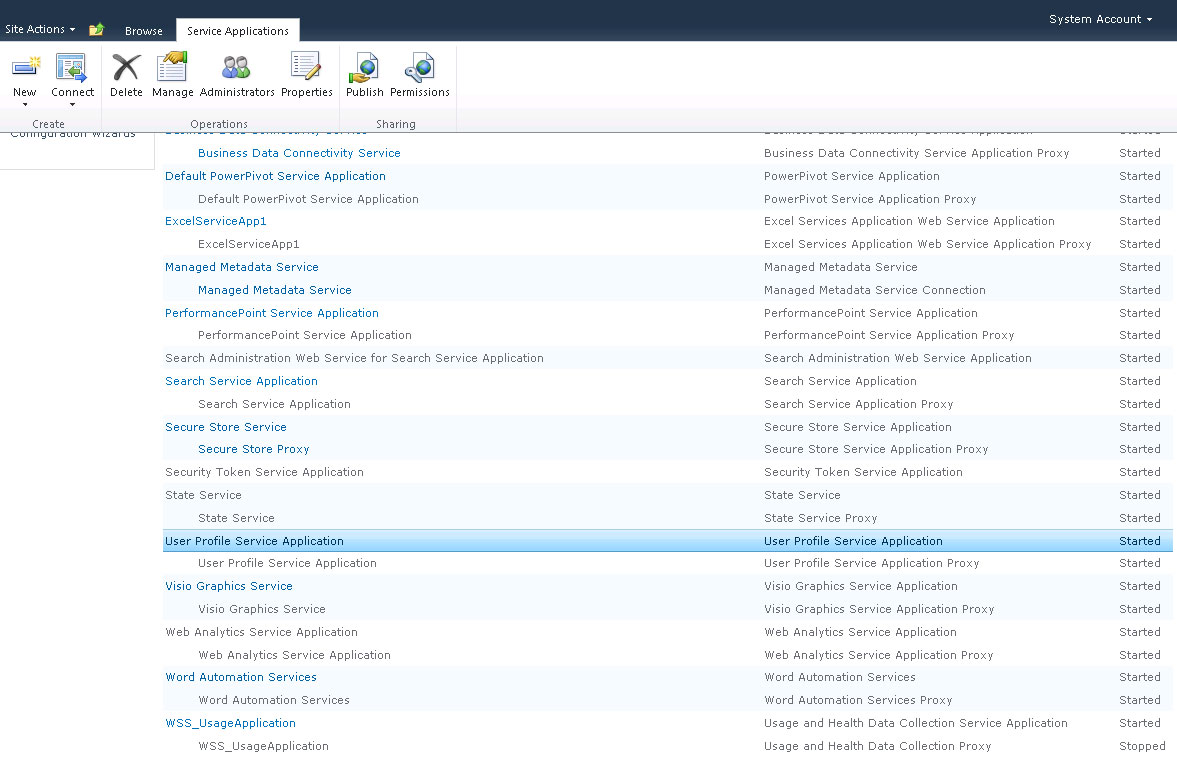
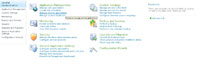
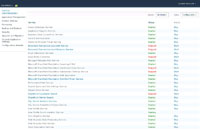
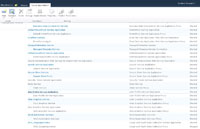
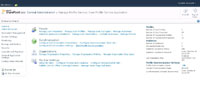
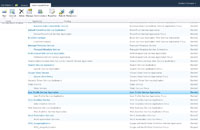
- Open Central Administration and logon using the farm account. Under Application Management click on "Manage service applications".
|
|
STEP 8
|
(Enlarge)
|
- Locate "User Profile Service Application" and click after the text (to highlight the line). If the farm account is not there, add it and be sure to select that it has full control.
|
|
STEP 9
|
(Enlarge)
|
- Click on "Start" to start the User Profile Synchronization Service.
|
|
STEP 10
|
(Enlarge)
|
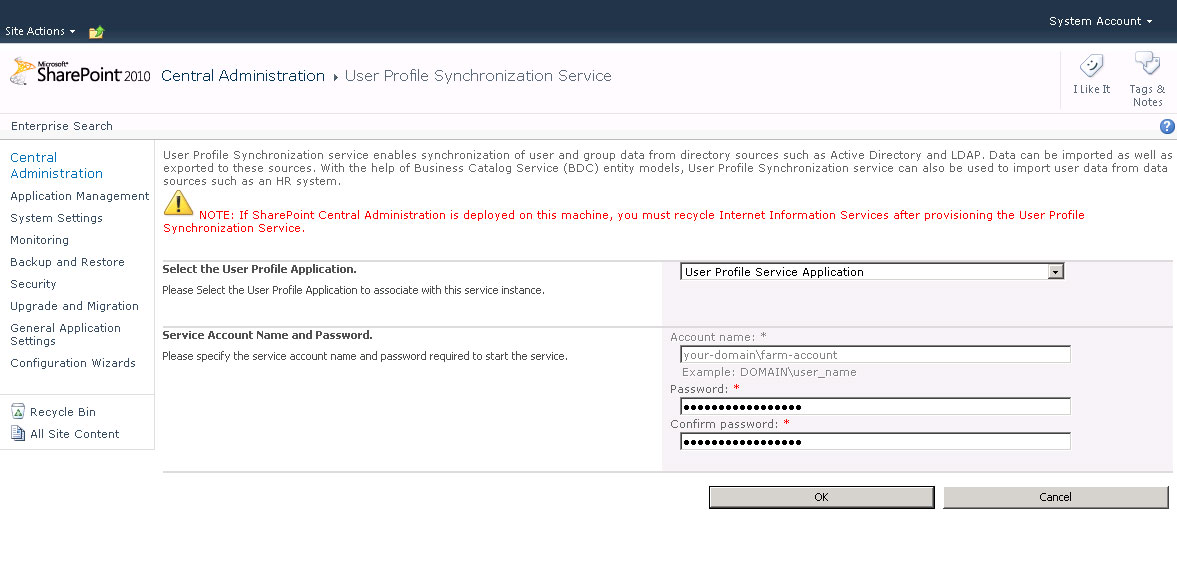
- After starting (which may take a while) you should be taken a page that will allow you to add the farm-account (which the User Profile Synchornization Service will use). Enter the farm account name and password.
|
|
STEP 11
|
(Enlarge)
|
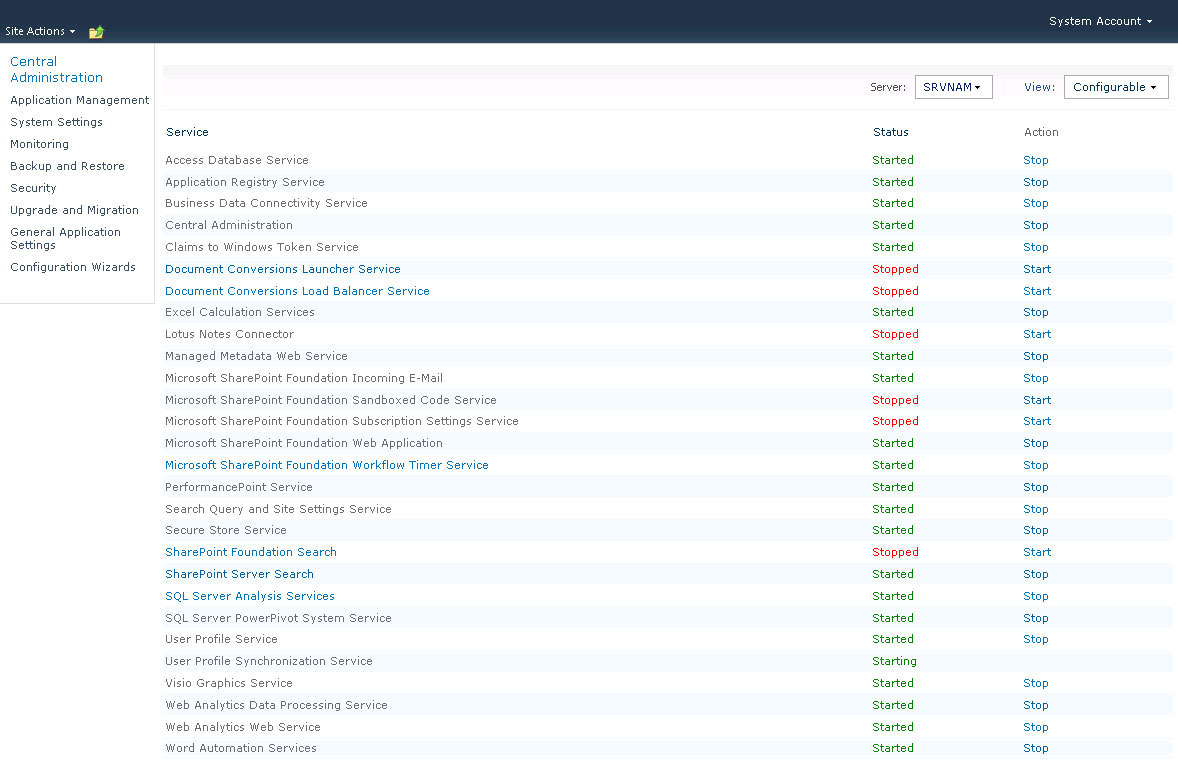
- Verify that the User Profile Synchronization Service is starting.
|
|
STEP 12
|
(Enlarge)
|
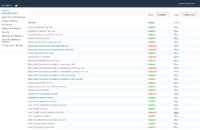
- Verify that the Forefront Identity services are started, set to automatic and the farm account is set as the log on.
|
|
STEP 13
|
(Enlarge)
|
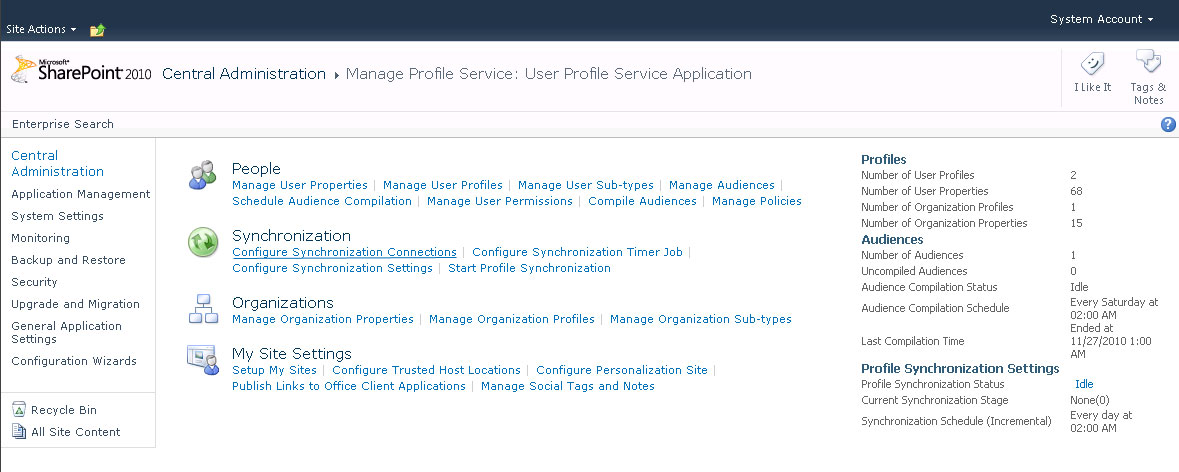
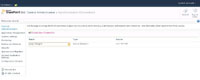
- Back in Central Administration, under Service Applications, select "User Profile Service Application".
|
|
STEP 14
|
(Enlarge)
|
- Under Synchronization click on "Configure Synchronization Connections".
|
|
STEP 15
|
(Enlarge)
|
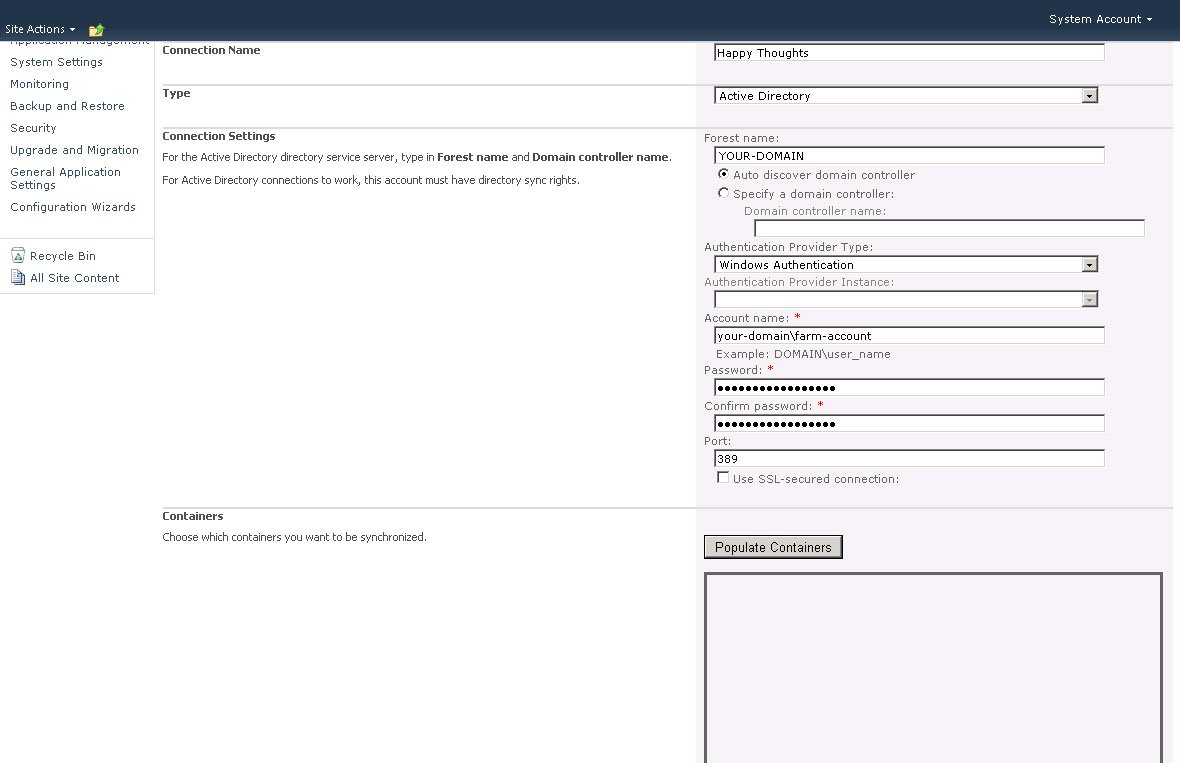
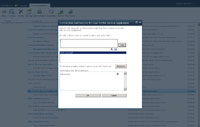
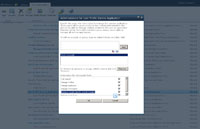
- Under connection name specify something that you will recognize six months from now; "Happy Thoughts" may not be prudent although funny. Select Type to connect to, and under Connection Settings enter your domain for the forest domain with auto-discovery, Windows Authentication, and enter the farm-account logon and password; finally specify the port number or use the default.
|
|
STEP 16
|
(Enlarge)
|
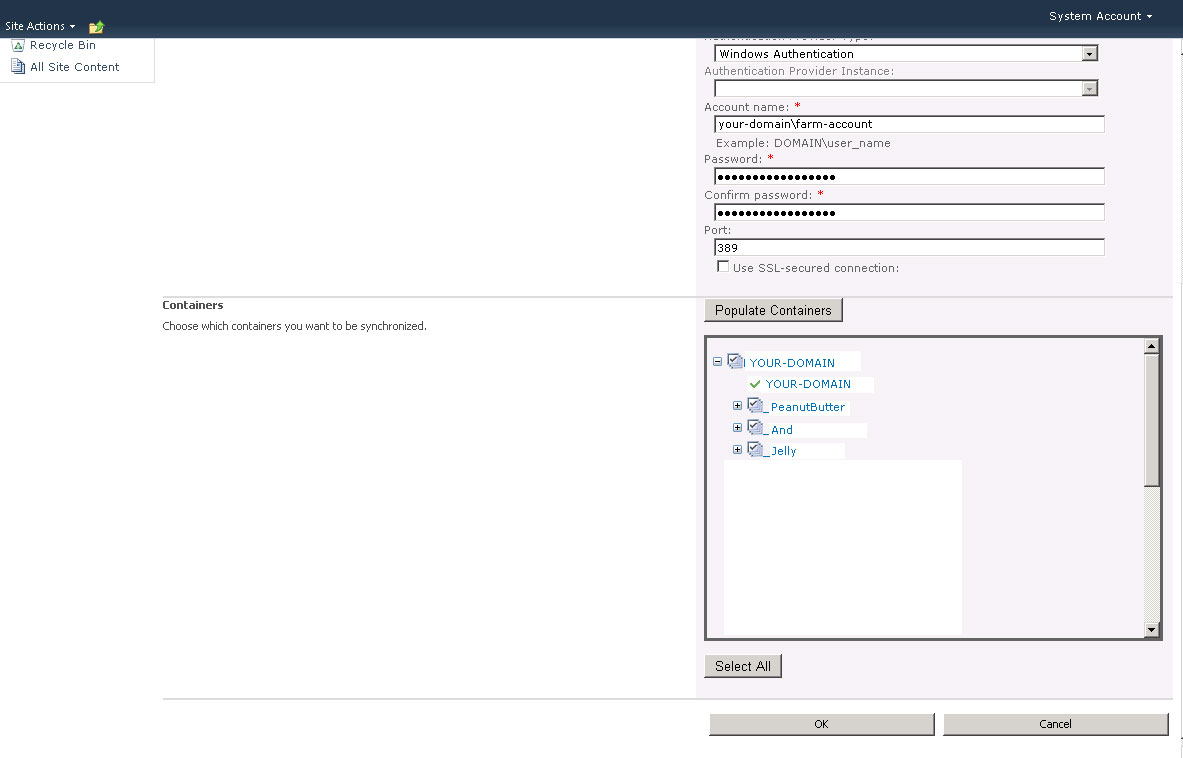
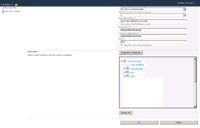
- If the Connection Settings section was completed correctly then when you click on the button "Populate Containers" it should (after a pause) put something in the box. Unselect the sections that you do not want to have synchronized (most likely you will want to keep "Users").
|
|
STEP 17
|
(Enlarge)
|
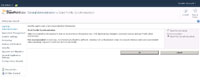
- After clicking "OK" it will take a while to process.
|
|
STEP 18
|
(Enlarge)
|
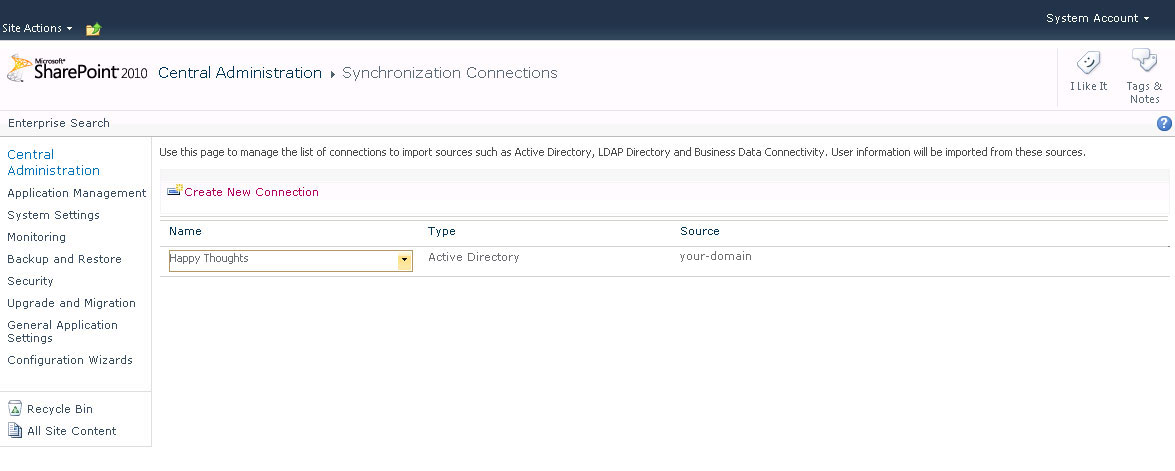
- Once completed you should see that the new connection has been added.
|
|
STEP 19
|
(Enlarge)
|
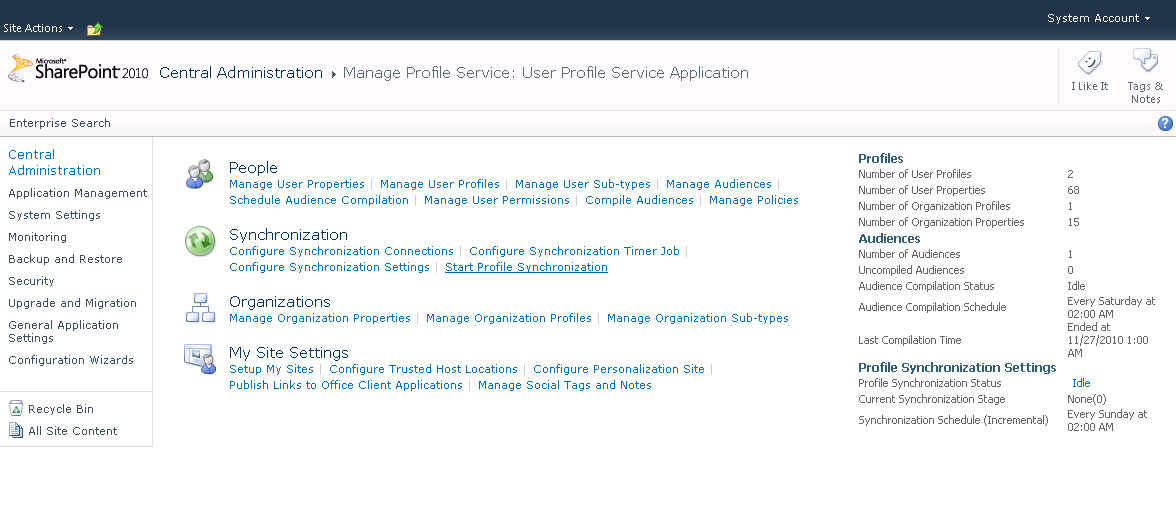
- Return to the User Profile Service Application and click on "Start Profile Synchronization".
|
|
STEP 20
|
(Enlarge)
|
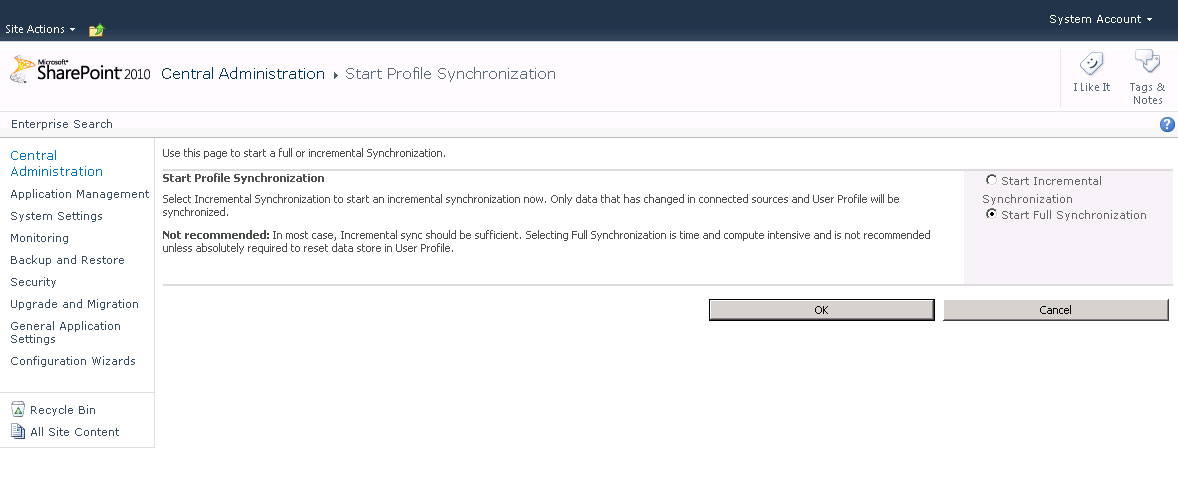
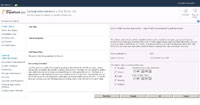
- The first time you do this you will want to do a full synchronization (make sure it is during off-peak hours, possibly early in the morning). After it has completed, select incremental and save.
|
|
STEP 21
|
(Enlarge)
|
- Editing the timer job is pretty straight forward as you can see.
|
|
STEP 22
|
(Enlarge)
|
- Although this should be set, in the event it is not and you want to allow people searching (users from Active Directory that are imported into Sharepoint 2010), go back to the User Profile Service Application and click to the right of the text so you highlight the line. Under the "Service Applications" tab at the top click on the Permissions icon.
|
|
STEP 23
|
(Enlarge)
|
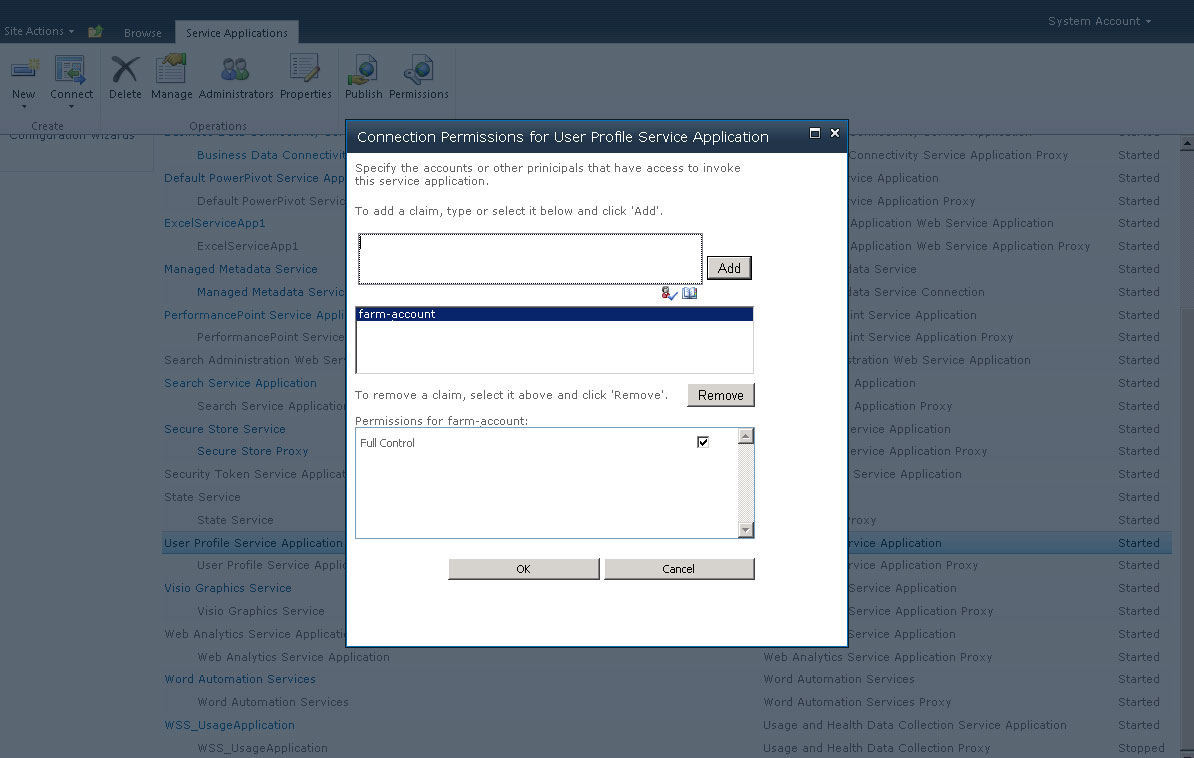
- A window pane should appear. Ensure that the farm-account is selected and the checkbox "Retrieve People Data for Search Crawlers" is checked.
|