(Enlarge)
|
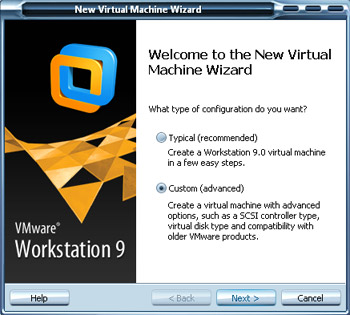
- After intalling VMWare Workstation on your computer, select "Create a new virtual machine".
|
(Enlarge)
|
- Since we need to make some specific changes for Amazon cloud AMI (Amazon Machine Image) compatibility, select "Custom". If you have no interest in moving or using the cloud at a future point in time you don't need to worry about this; however, if you will be, save yourself the heartache of having to build a new VM now.
|
(Enlarge)
|
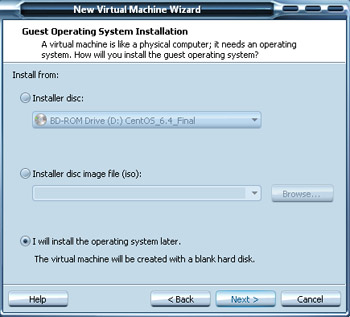
- Select "I will install the operating system later".
|
(Enlarge)
|
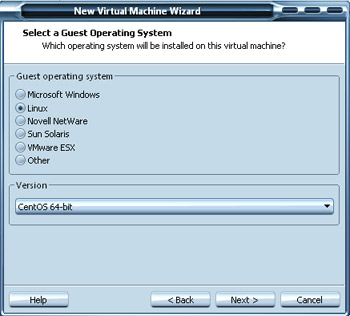
- On the next step select "Linux" for "Guest operating system".
- For Version select "CentOS 64-bit" (if your system is 64-bit compatible). Don't know if your system is 64-bit compatible? There is a small utility available "VMWare 64-bit Compatibility Check" which will tell you if your system is 64-bit compatible.
|
(Enlarge)
|
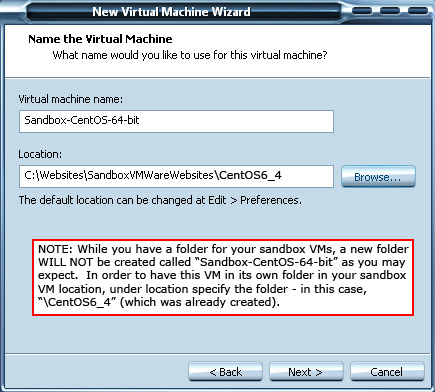
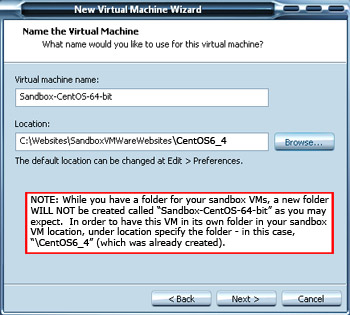
- While I'm sure you organize your content (in this case, "\Websites\SandboxVMWareWebsites") it is important to note that VMWare will not create a new folder called "Sandbox-CentOS-64-bit" and dump all files into it so you have a directory path of "\Websites\SandboxVMWareWebsites\Sandbox-CentOS-64-bit".
- In this case, to preserve clear separation of VMs in the folder "SandboxVMWareWebsites", I created a folder called "CentOS6_4" and then pointed the location to that folder.
|

(Enlarge)
|
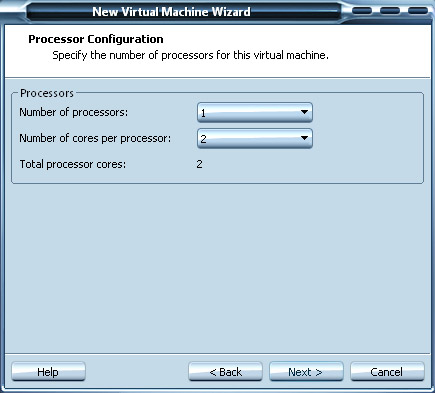
- Next, specify the number of processors / cores.
|
(Enlarge)
|
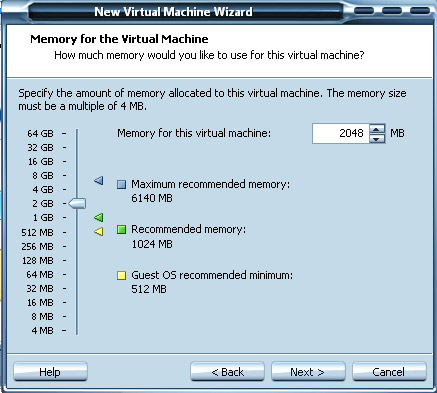
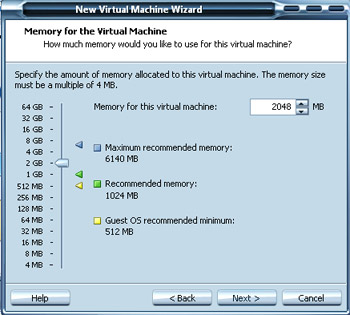
- Now select the amount of RAM; for a development VM 2048 should be sufficient.
|

(Enlarge)
|
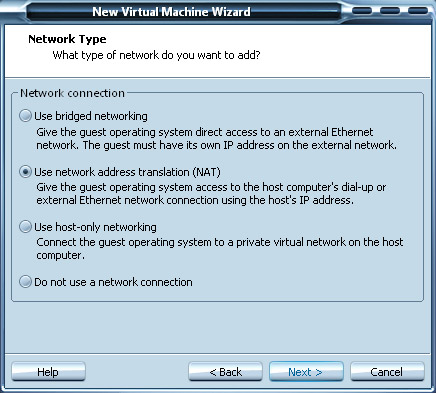
- Now select the network configuration type; NAT is okay for now (you can always change it later).
|
(Enlarge)
|
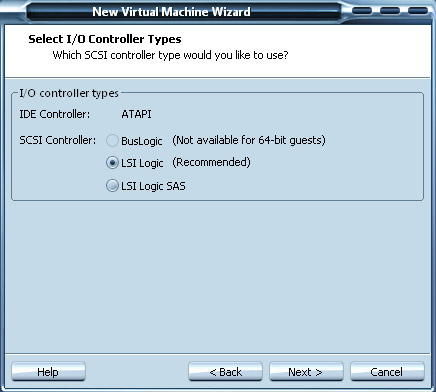
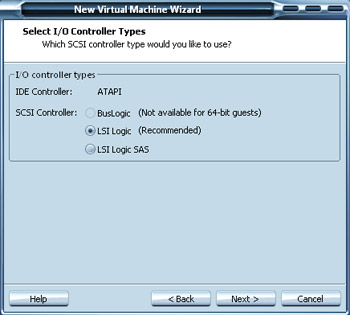
- Hang with the recommended SCSI controller type of "LSI Logic".
|
(Enlarge)
|
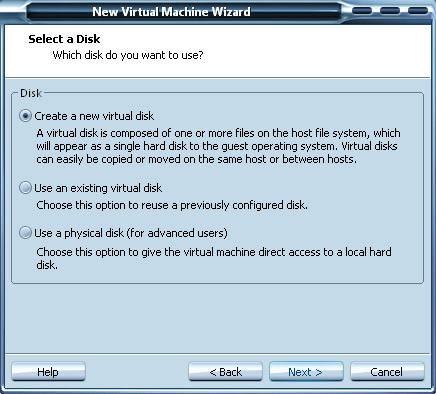
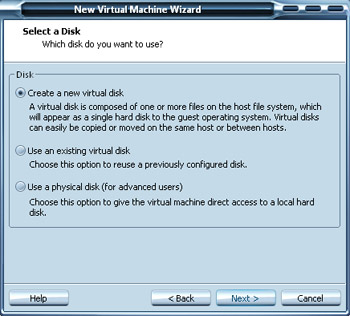
- For the disk selection, check "Create a new virtual disk".
|
(Enlarge)
|
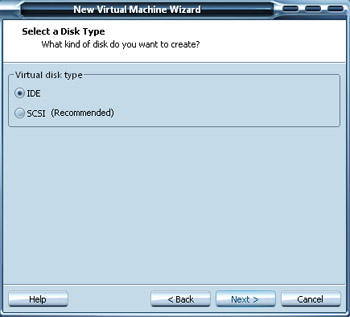
- Remember what I had mentioned earlier about compatibility with Amazon AMI? Here it is. If you want to be compatible with that, you will need to select "IDE" here; otherwise you can select "SCSI". The reason for pointing this out is due to disk bit differences.
|
(Enlarge)
|
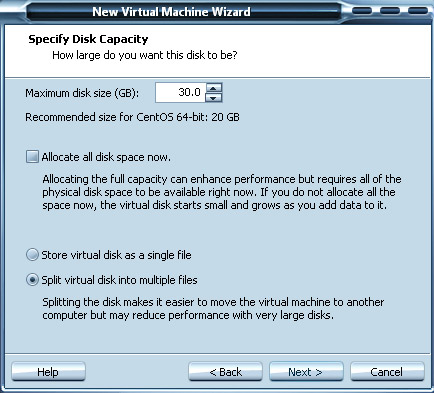
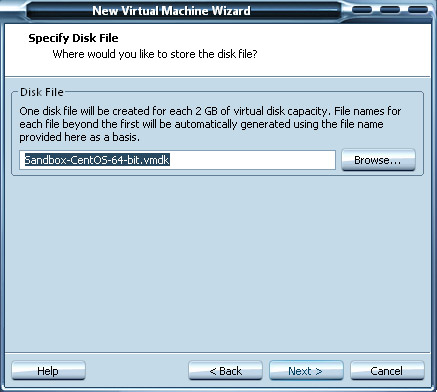
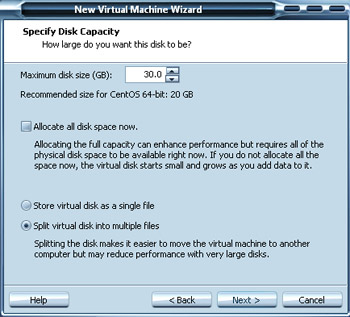
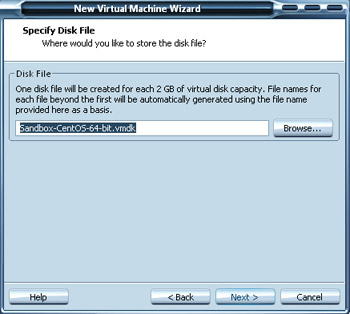
- Here, specify the size of the disk (you can alter later as needed).
- As indicated earlier, I like flexibility, so "Split virtual disk into multiple files" is checked to make moving the VM easier.
|
(Enlarge)
|
- Click "Next".
|
(Enlarge)
|
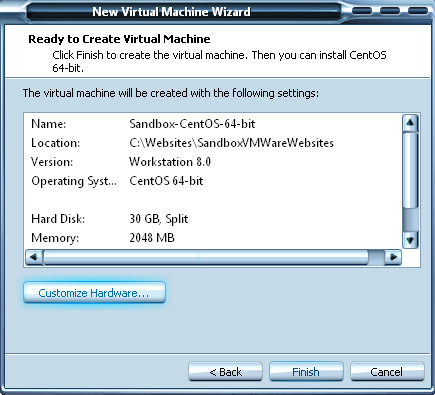
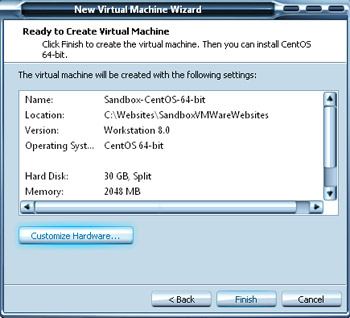
- This is just an opportunity for review. Click "Finish" to actually create.
|
(Enlarge)
|
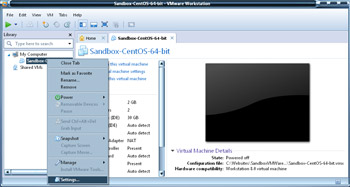
- With the VM created, let's go through a couple of Settings by right-clicking on the VM and selecting "Settings".
|
(Enlarge)
|
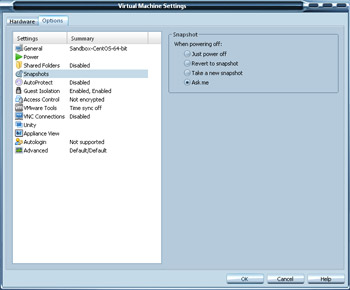
- When powering off the VM, you can have a snapshot automatically created. I prefer (since I'm not always doing something "make or break"), to be asked if a snapshot should be created or not. Its just a quick prompt that will come up and you don't have to worry about filling up your hard drive pre-maturally.
|
(Enlarge)
|
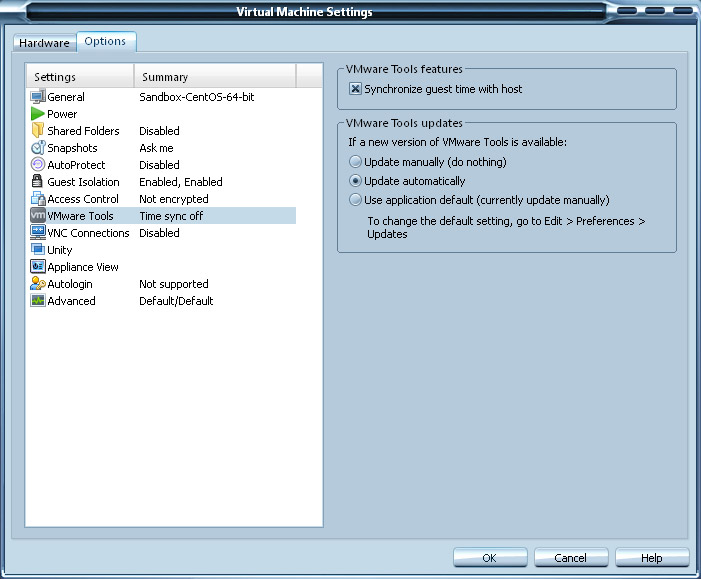
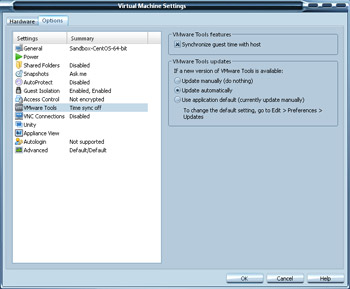
- Although having different OS times between the host and client are not really a bad thing (and depending on what you've got going on you have no choice), I prefer to automatically have the time syncrhonized (especially for those long debugging sessions).
- Now, we do not yet have VMWare tools installed (because we have no OS installed), but we can set this option now "VMWare Tools Updates -> Update automatically" which will ensure that VMWare tools on the OS is always up to date.
|

(Enlarge)
|
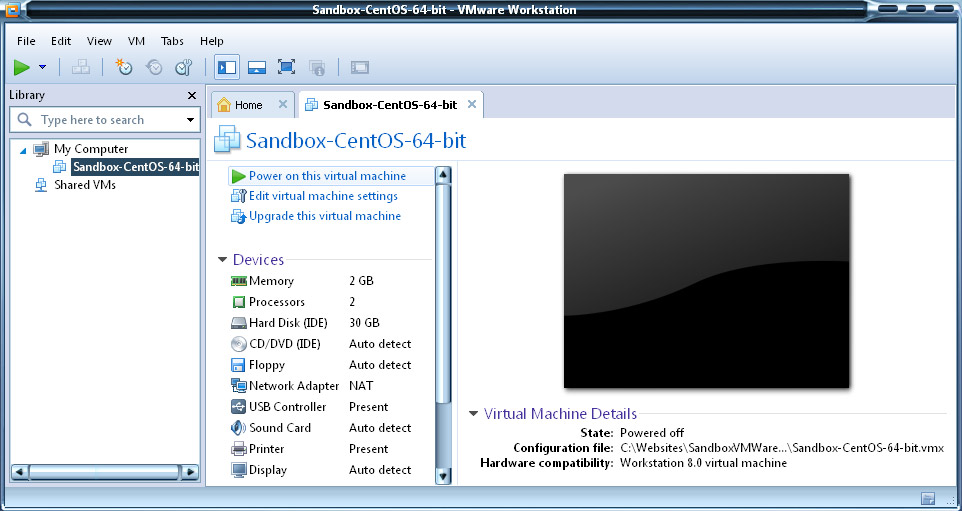
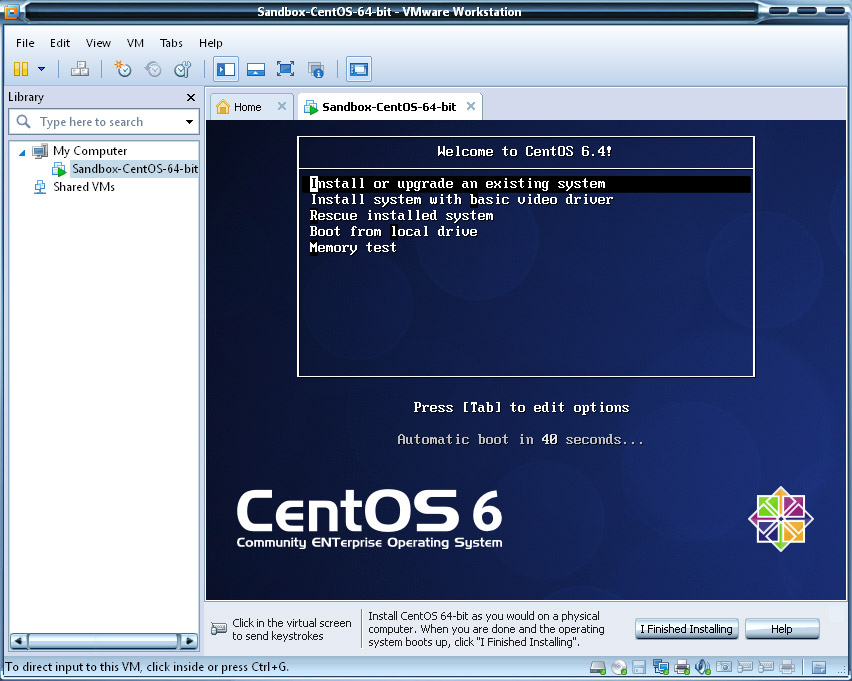
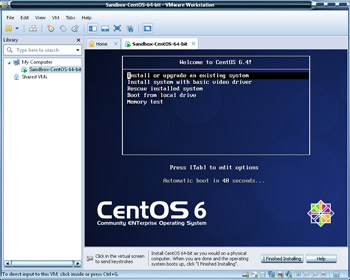
- Now let's power on the blank VM and get started with the installation of Cent OS!
- Unless you are exceptionally confident that a download of the Disk1 and Disk2 ISO from a location on the Internet will work (I tried several and they failed), I would recommend that you download the "CentOS-6.4-x86_64-netinstall" ISO. It will perform the bare-bones install and download everything it needs separately.
- You will then need to mount the ISO to a disk on your system. You may already be aware of software that would allow you to do such, but if not, a example application that does this sort of thing is called "Virtual CloneDrive".
|
(Enlarge)
|
- Select Install since we are, well, installing.
|
(Enlarge)
|
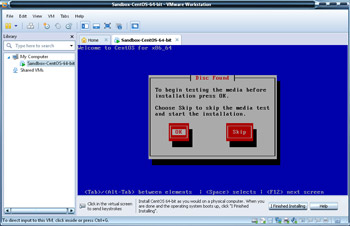
- Select to test the media. It will detect any issues with the ISO's and save you a lot of time later in the installation process.
|
(Enlarge)
|
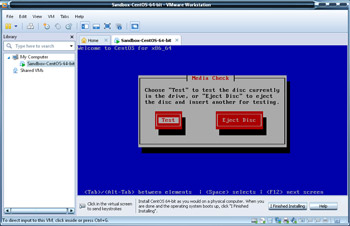
- Select "Test". Don't be shy.
|

(Enlarge)
|
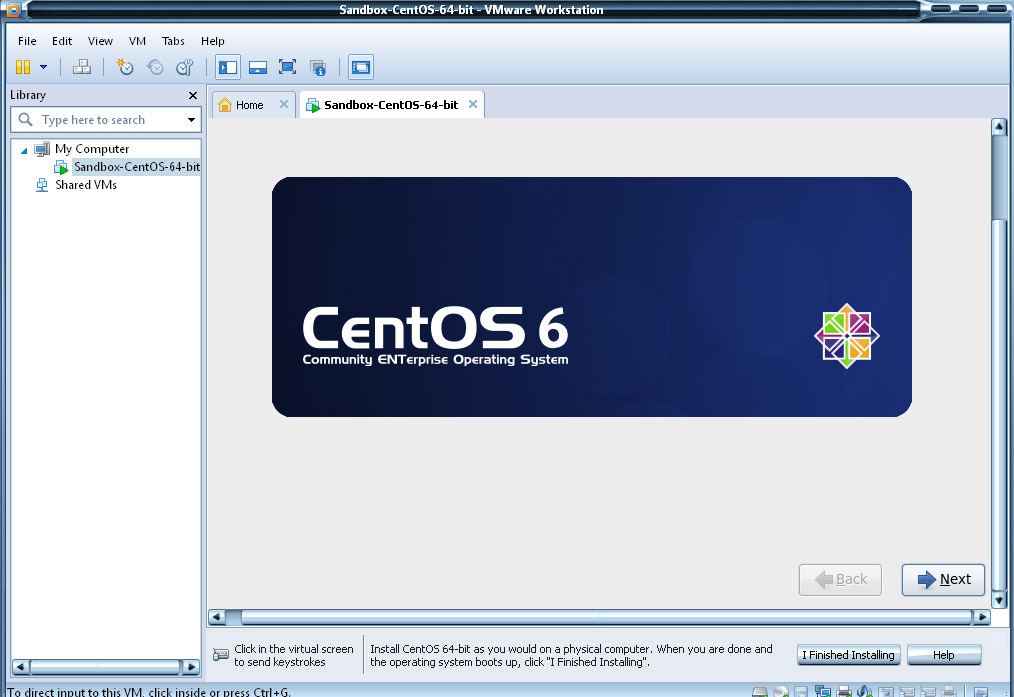
- If the test went okay, you'll continue forward and can click the button "Next".
|
(Enlarge)
|
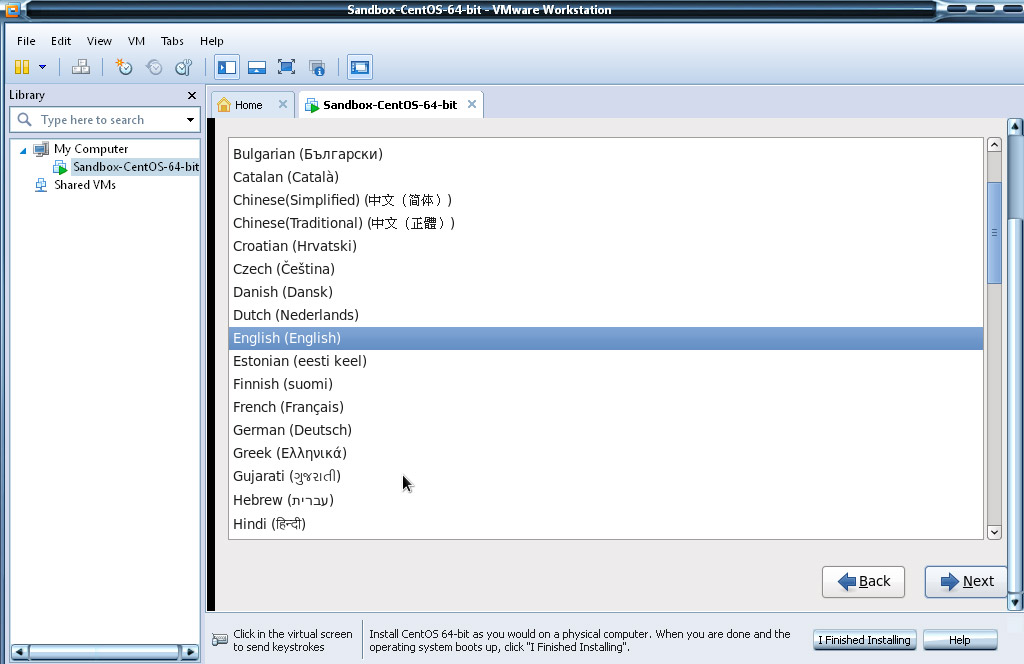
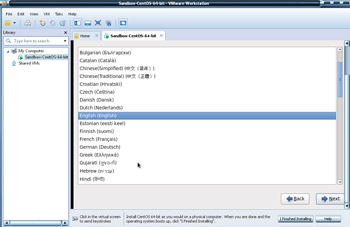
- Now choose your language.
|
(Enlarge)
|
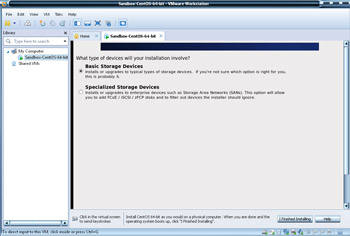
- Select "Basic Storage Devices" and continue.
|
(Enlarge)
|
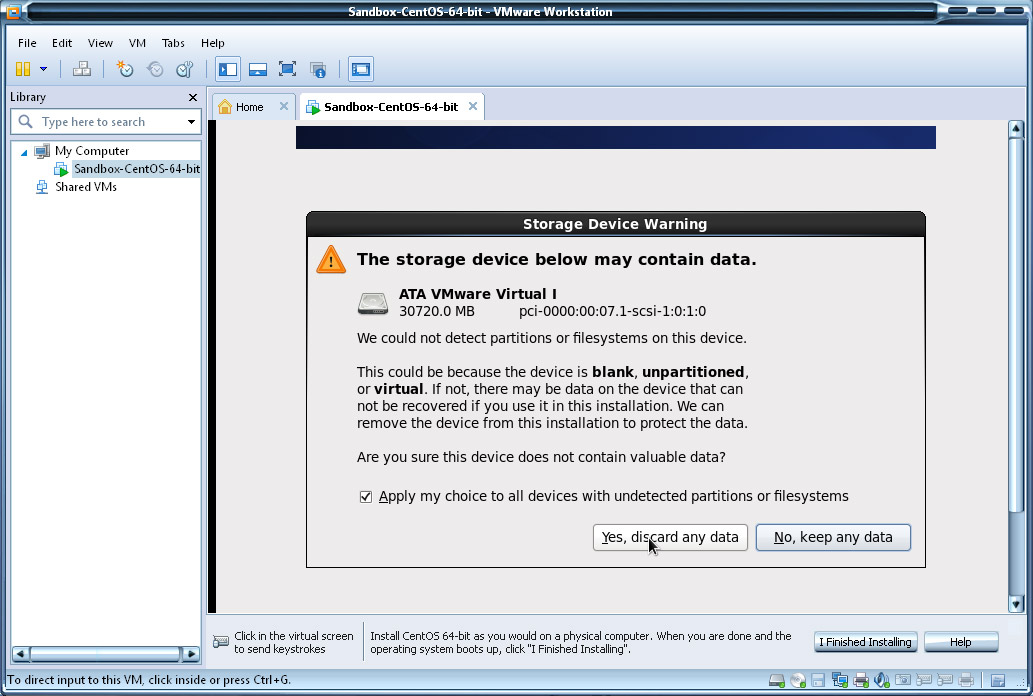
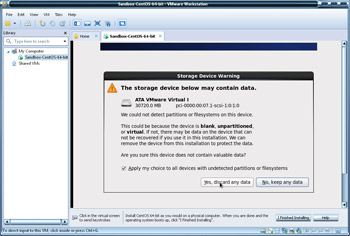
- You may get a warning message. We're building this OS out inside a VM so you've got nothing to worry about. Click the button "Yes, discard any data".
|
(Enlarge)
|
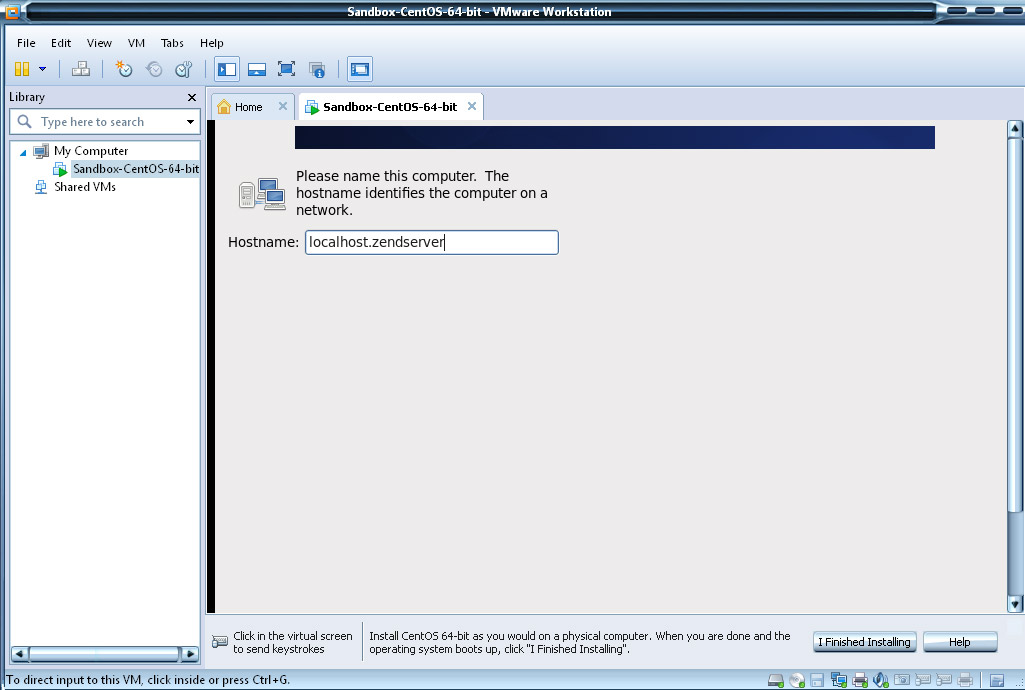
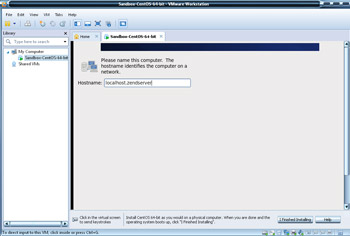
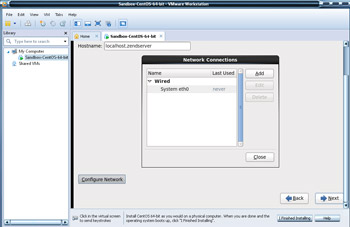
- For the Hostname you should enter something that looks like a domain name (whether it is valid or not). In this case, because this tutorial is part of a multi-part tutorial on Zend Server, the hostname that was chosen was "localhost.zendserver" (which is not a valid domain name by syntax).
|
(Enlarge)
|
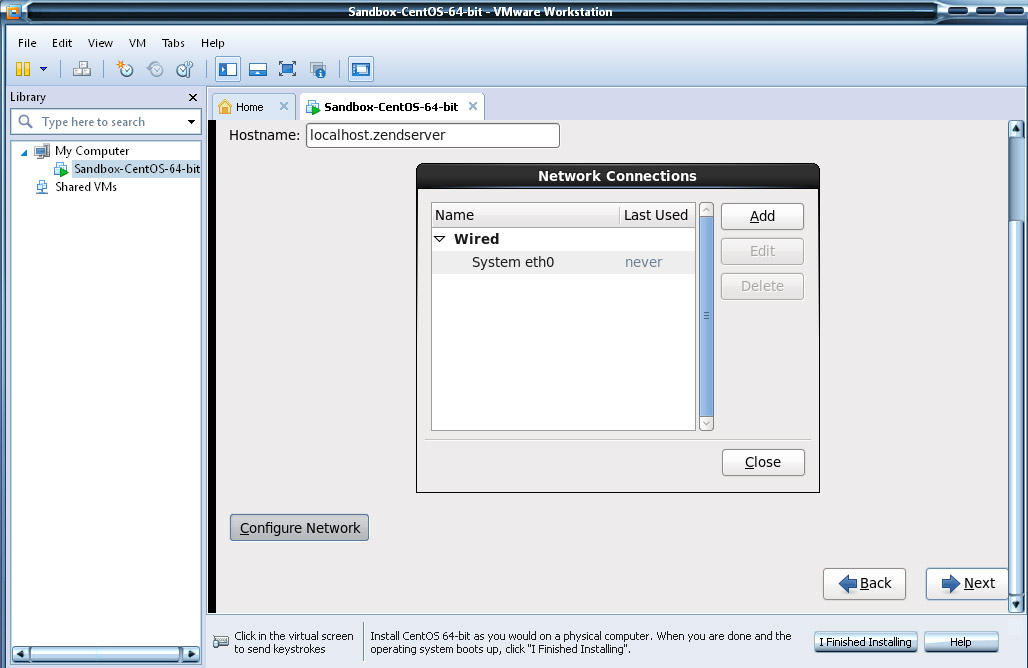
- The next thing will be network configuration and "eth0" the default network card. It is not needed to configure any of the network settings for this tutorial.
|

(Enlarge)
|
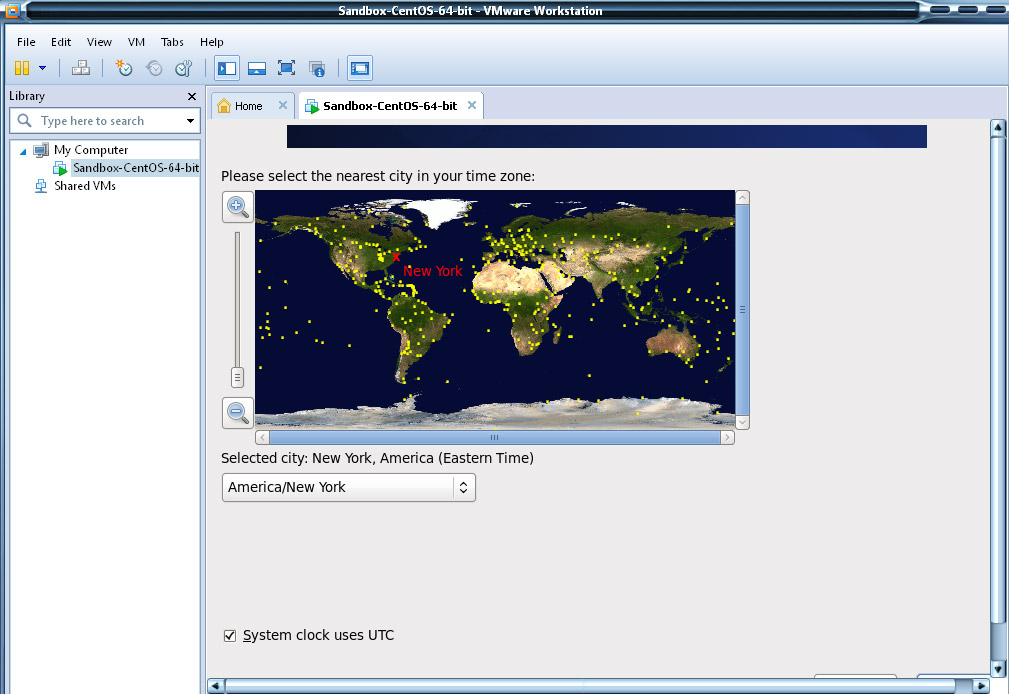
- Select your time zone.
|

(Enlarge)
|
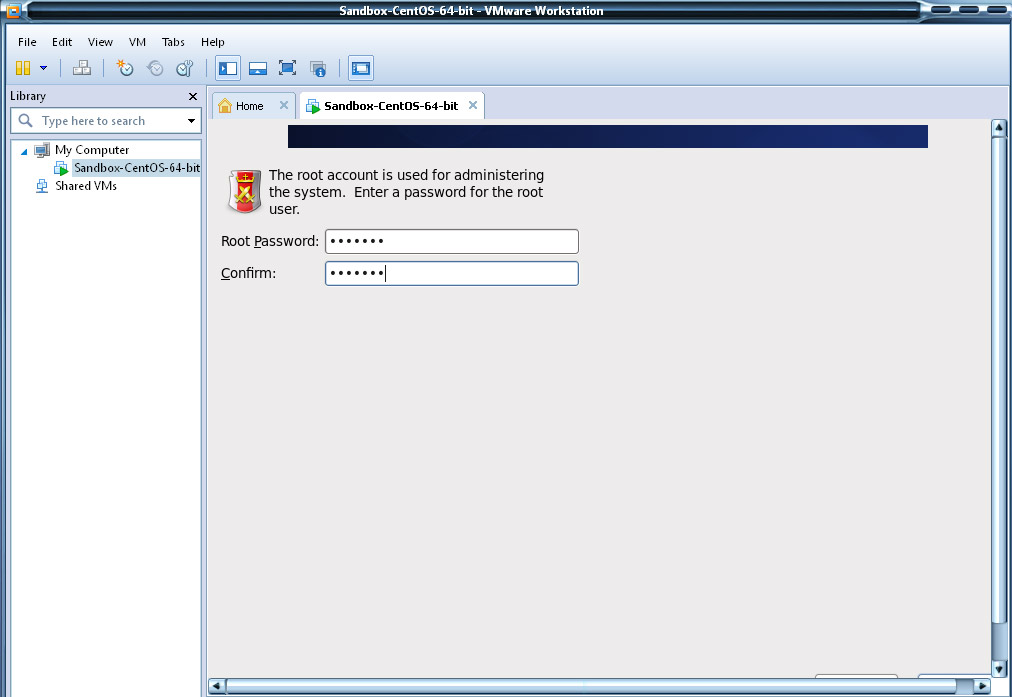
- Enter the password that will be for the root account for the server. This should be unintelligible and so obscure even you would have a hard time remembering it...but you should remember it!
|
(Enlarge)
|
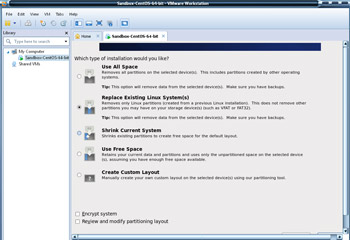
- For installation type, select "Replace Existing Linux System(s)".
|
(Enlarge)
|
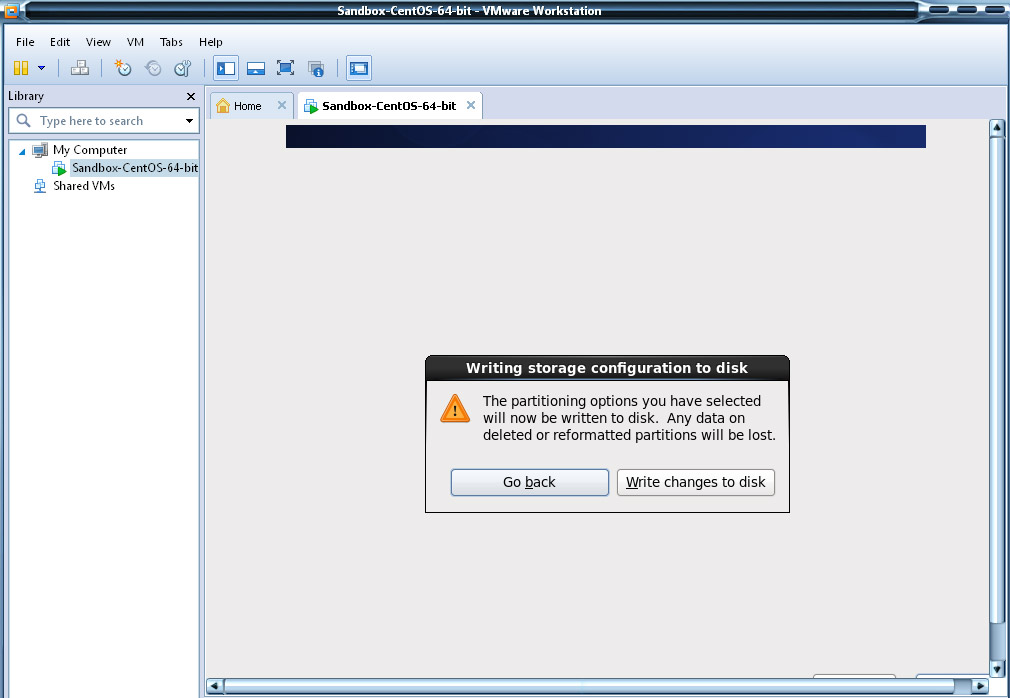
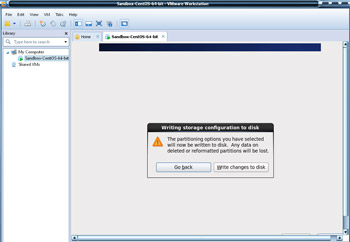
- For the pane "Writing storage configuration to disk" select the button "Write changes to disk".
|
(Enlarge)
|
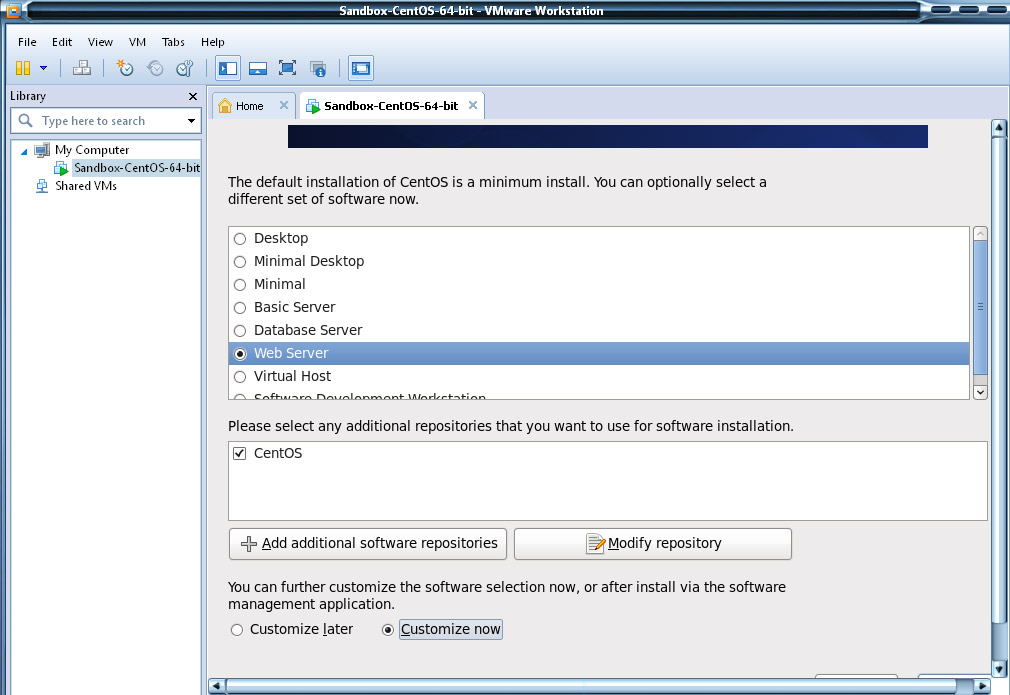
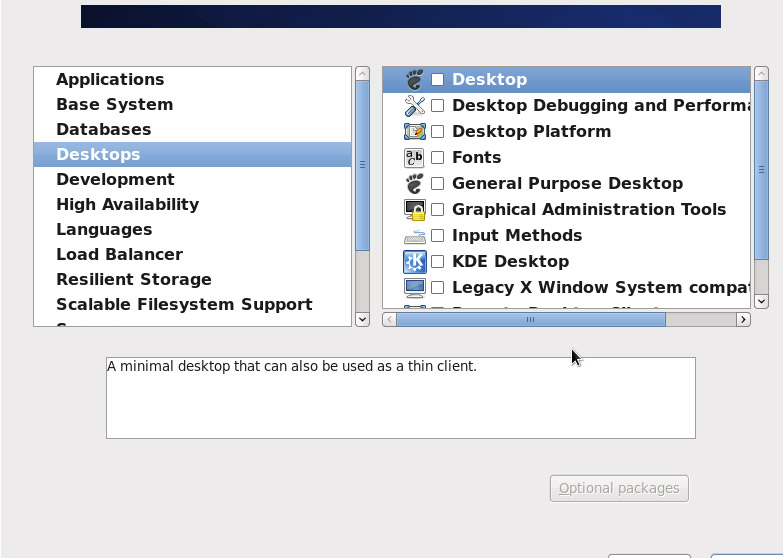
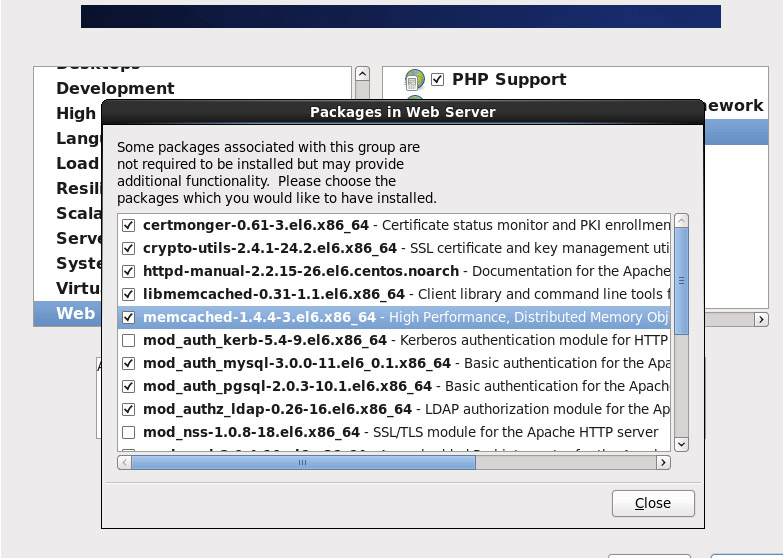
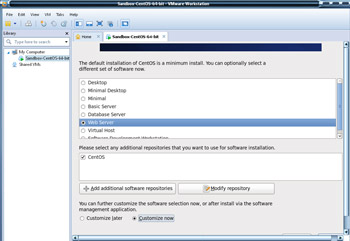
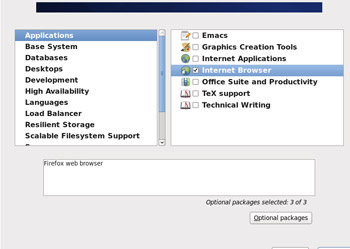
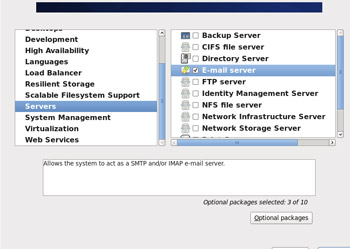
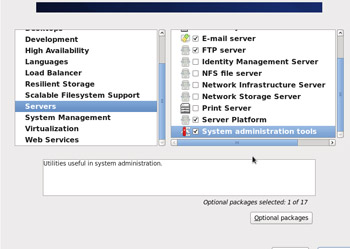
- Here, we FINALLY get to some of the meat-and-potatoes of a LAMP server!
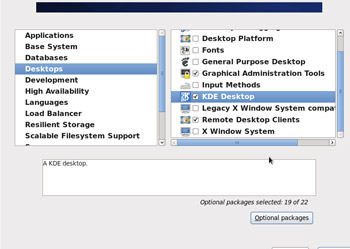
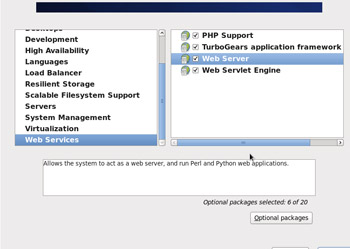
- For the first selection area "The default installation of CentOS is a minimum install. You can optionally select a different set of software now." you can select "Web Server".
- While you do not need to do this now, you can check "Customize now" (at the bottom of the screen) which will give you additional options.
|
(Enlarge)
|
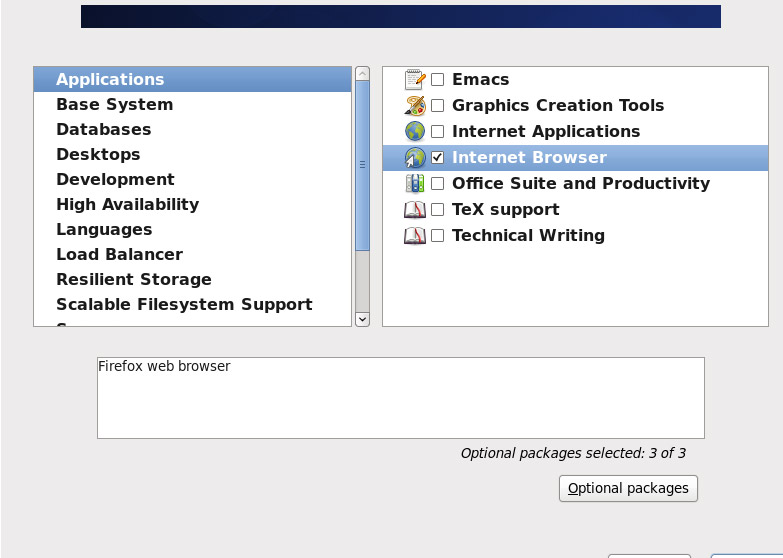
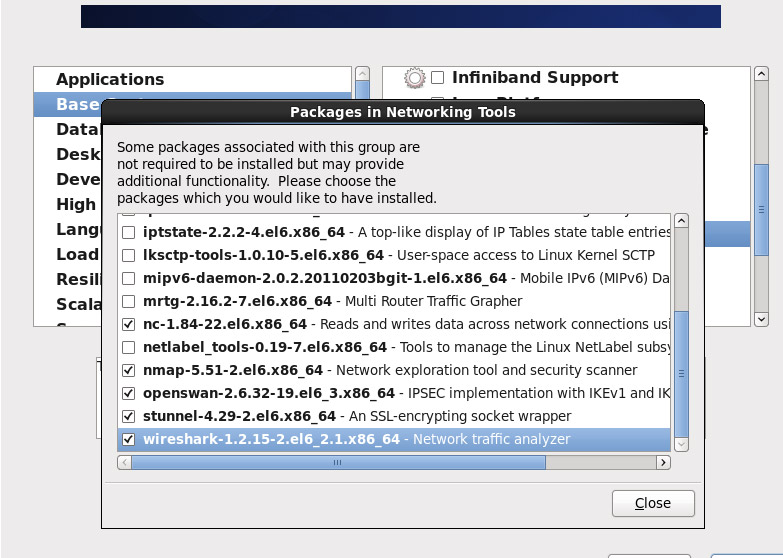
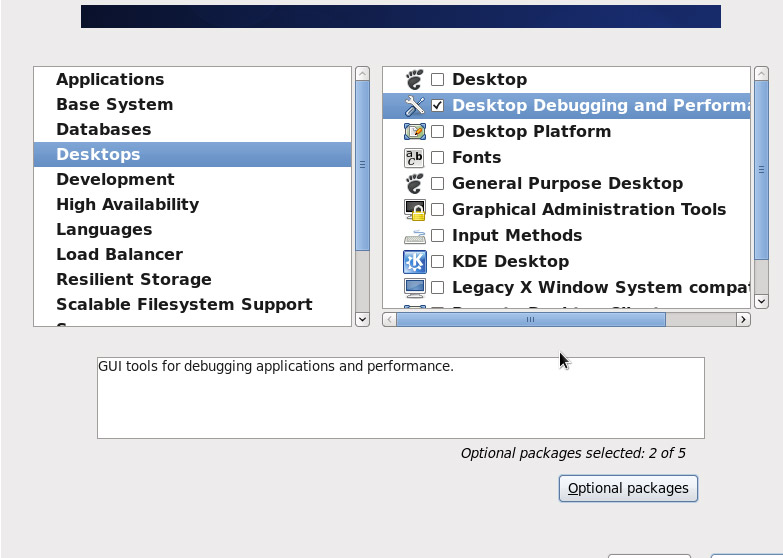
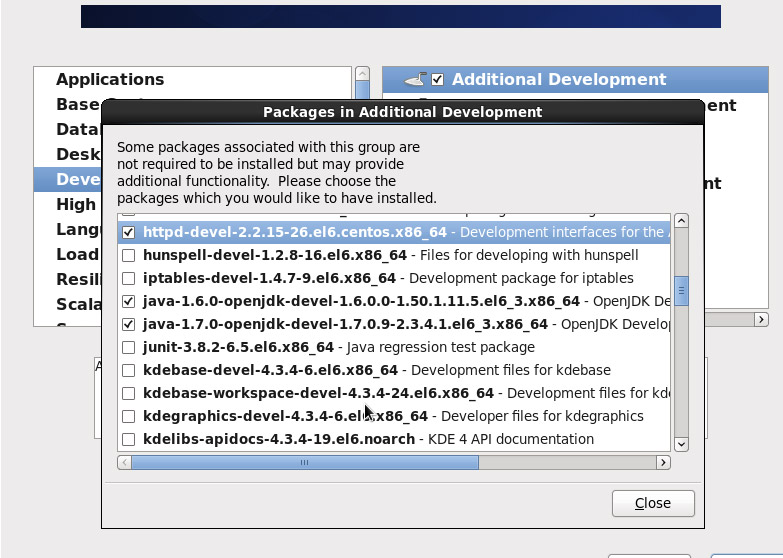
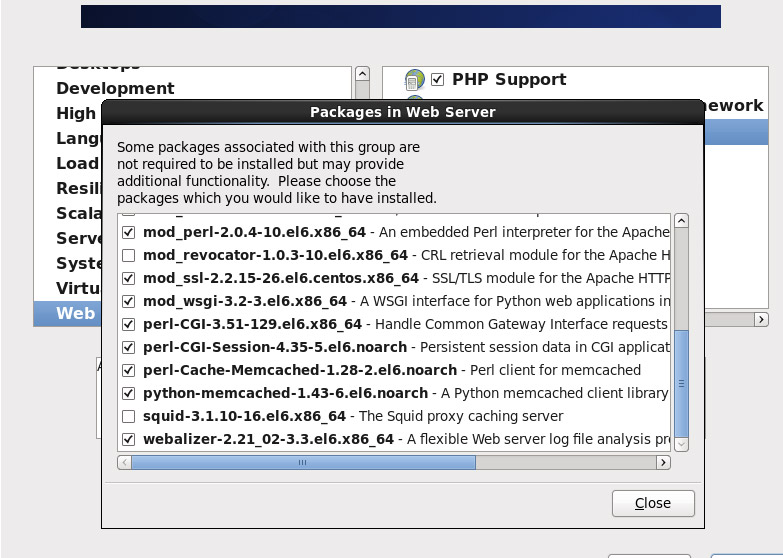
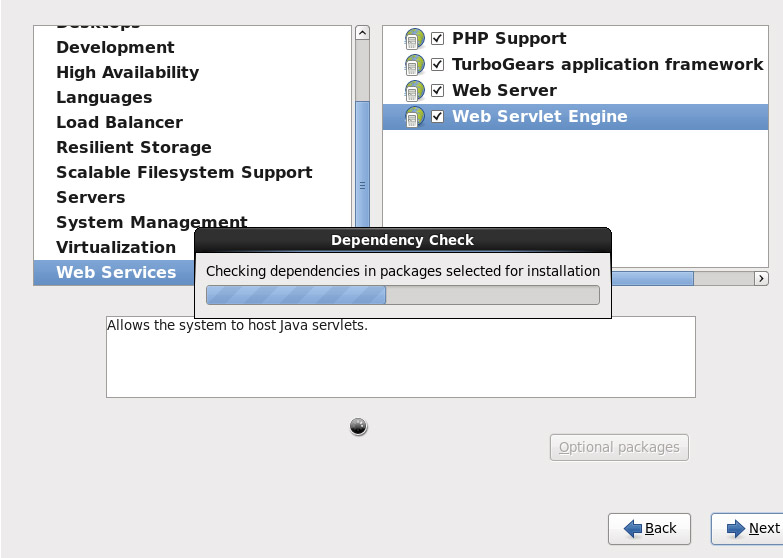
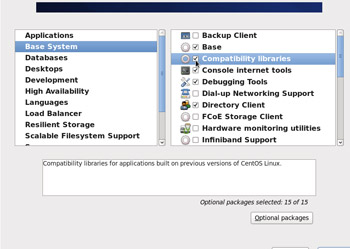
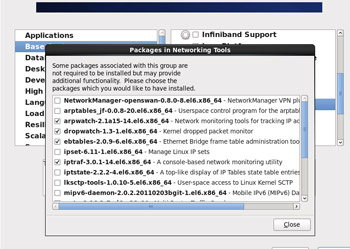
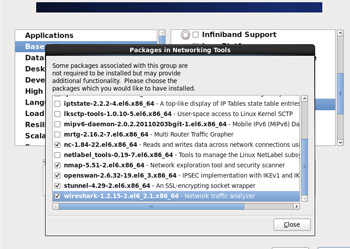
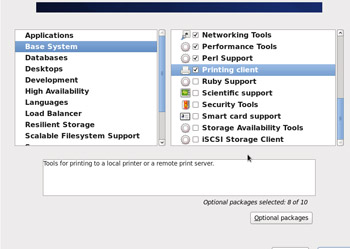
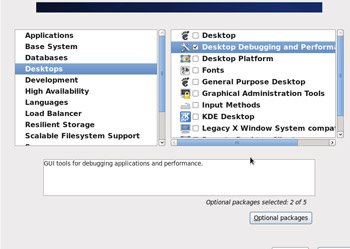
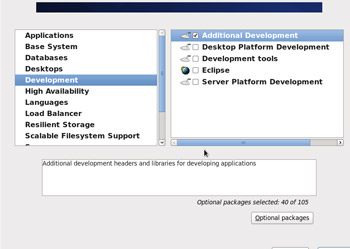
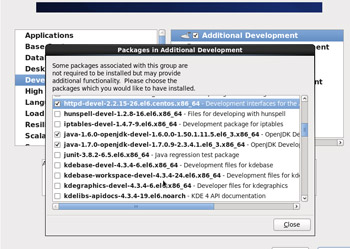
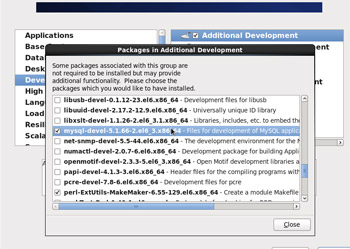
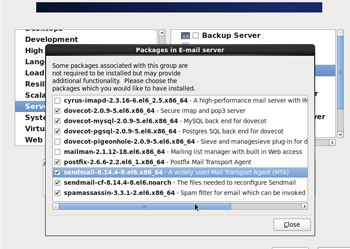
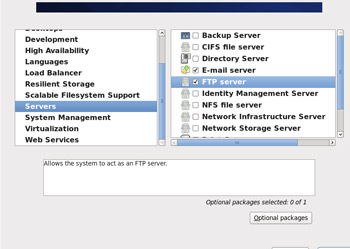
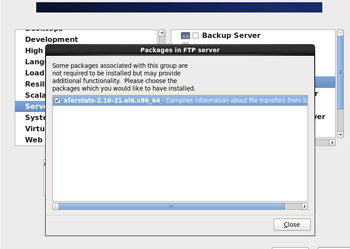
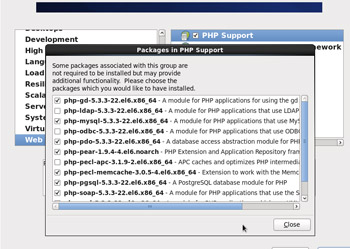
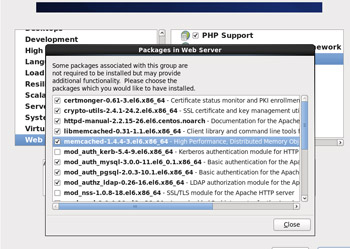
- Assuming "Customize now" was chosen for an installation option then...
- This screenshot is here to show you some of the options you may or may not want to include.
|
(Enlarge)
|
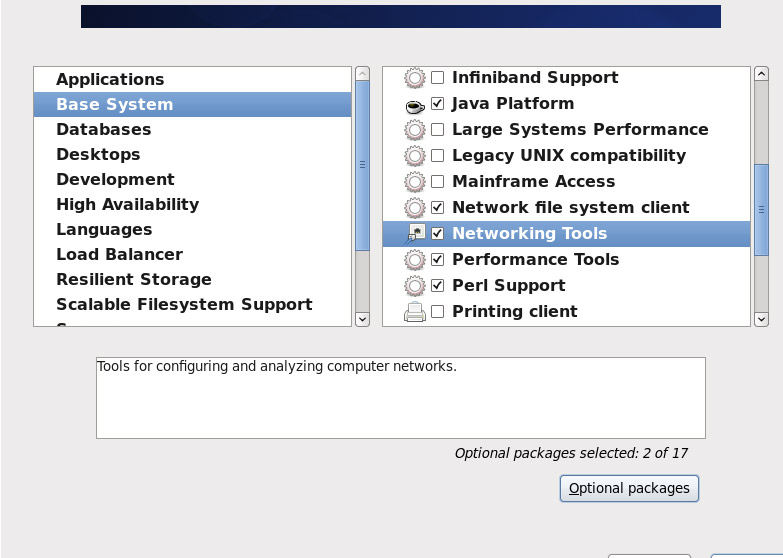
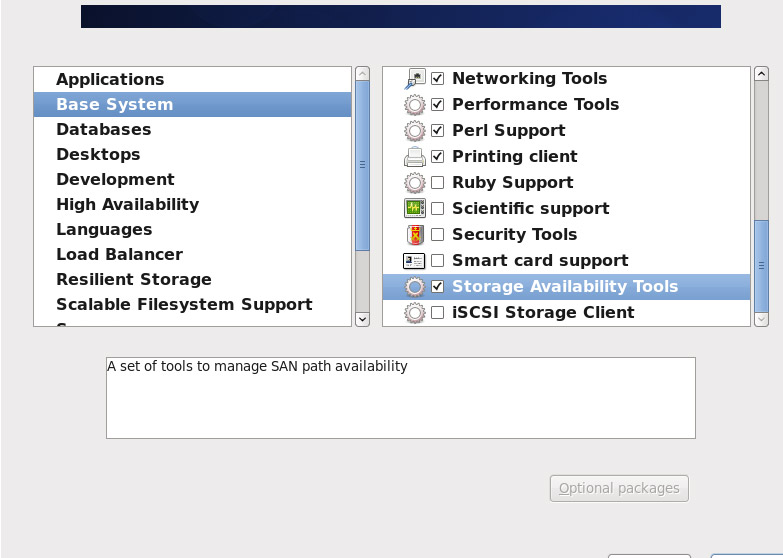
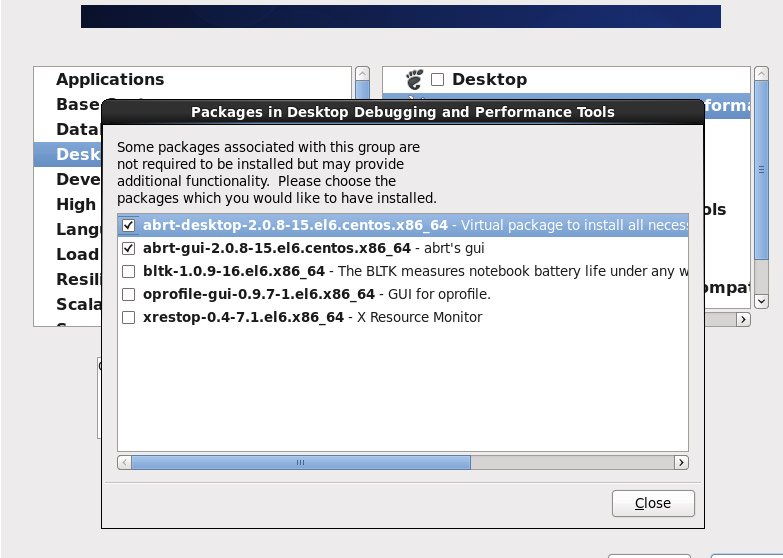
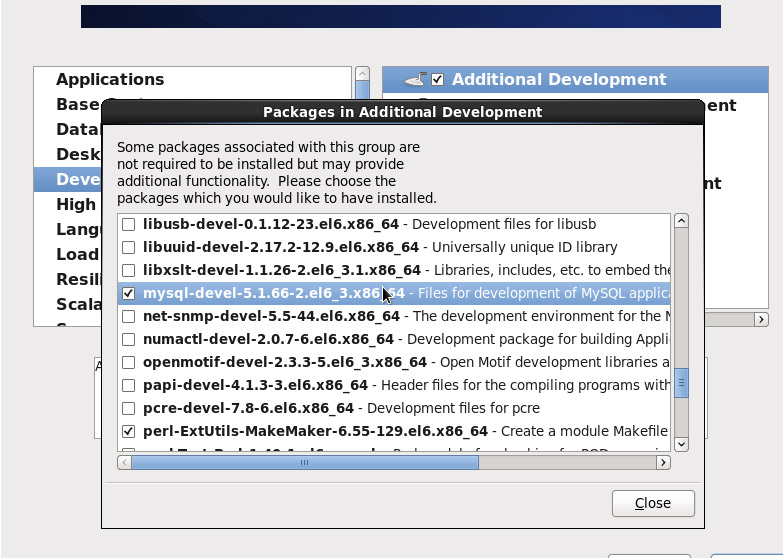
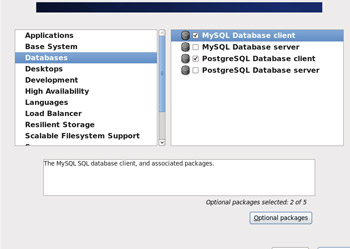
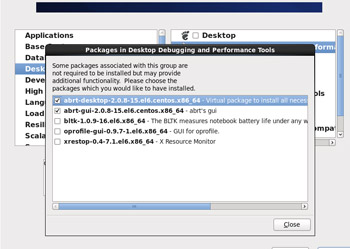
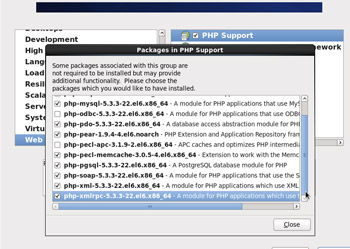
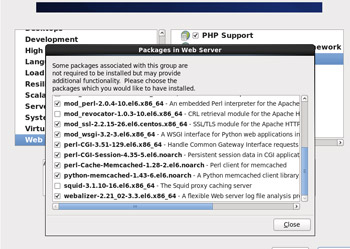
- Assuming "Customize now" was chosen for an installation option then...
- This screenshot is here to show you some of the options you may or may not want to include.
|

(Enlarge)
|
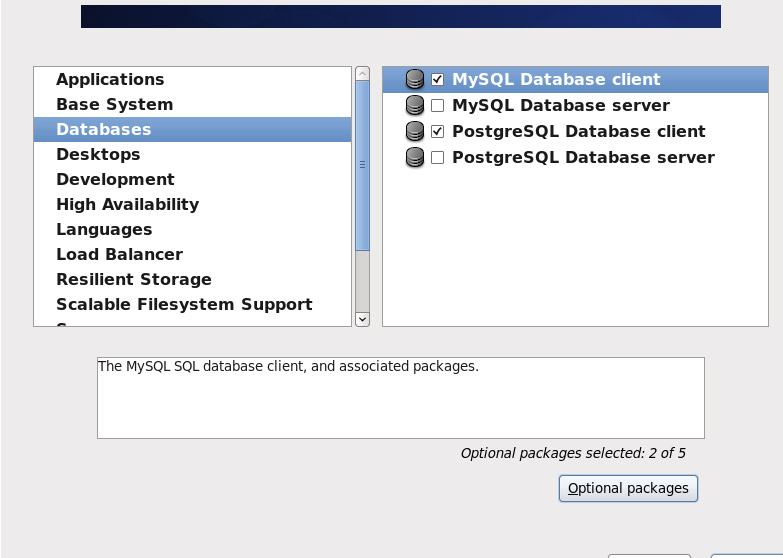
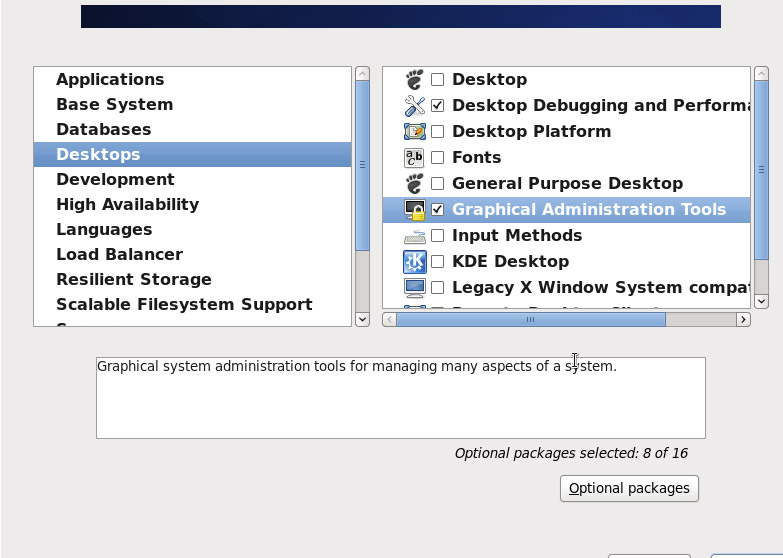
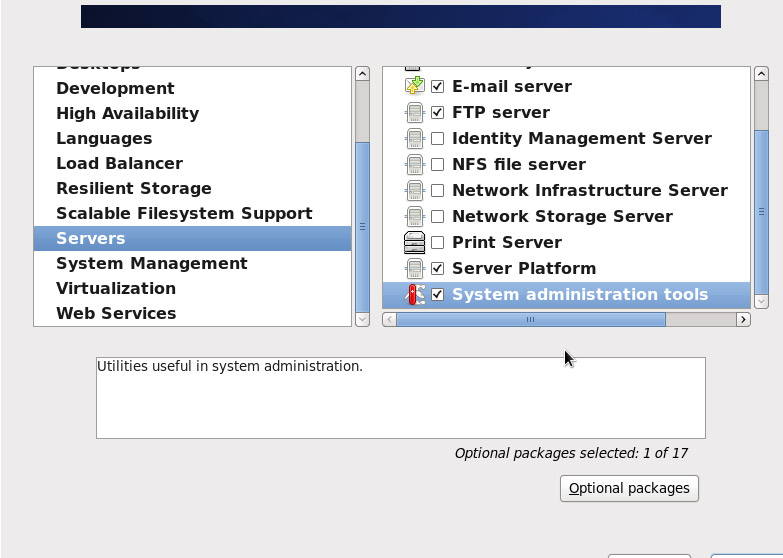
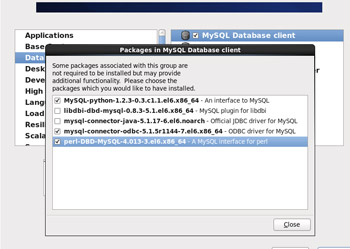
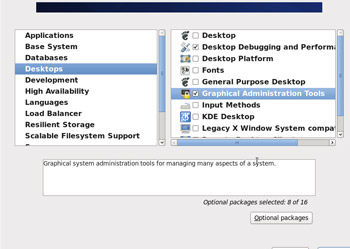
- Assuming "Customize now" was chosen for an installation option then...
- This screenshot is here to show you some of the options you may or may not want to include.
|
(Enlarge)
|
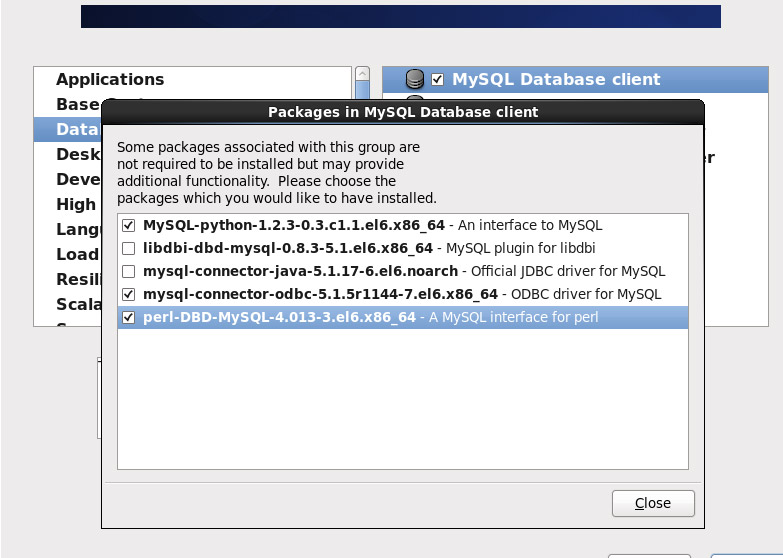
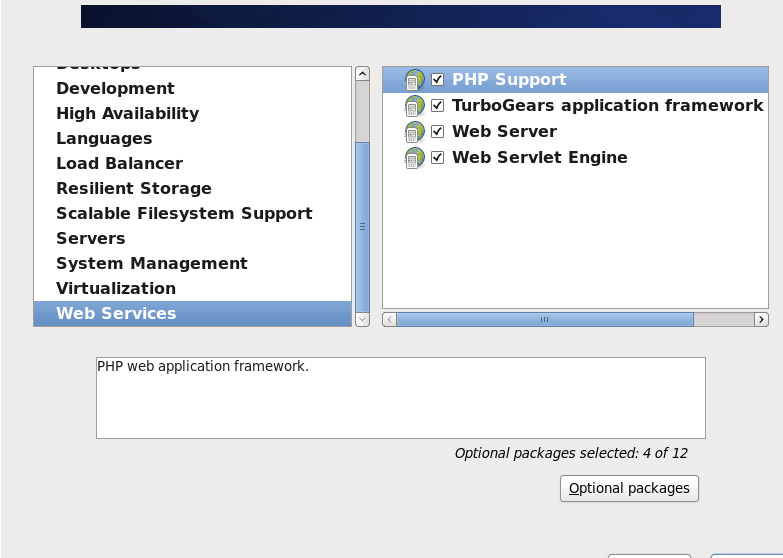
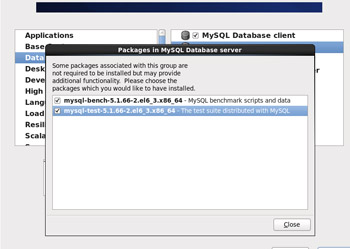
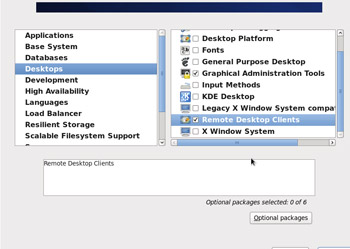
- Assuming "Customize now" was chosen for an installation option then...
- This screenshot is here to show you some of the options you may or may not want to include.
|
(Enlarge)
|
- Assuming "Customize now" was chosen for an installation option then...
- This screenshot is here to show you some of the options you may or may not want to include.
|
(Enlarge)
|
- Assuming "Customize now" was chosen for an installation option then...
- This screenshot is here to show you some of the options you may or may not want to include.
|

(Enlarge)
|
- Assuming "Customize now" was chosen for an installation option then...
- This screenshot is here to show you some of the options you may or may not want to include.
|
(Enlarge)
|
- Assuming "Customize now" was chosen for an installation option then...
- This screenshot is here to show you some of the options you may or may not want to include.
|
(Enlarge)
|
- Assuming "Customize now" was chosen for an installation option then...
- This screenshot is here to show you some of the options you may or may not want to include.
|

(Enlarge)
|
- Assuming "Customize now" was chosen for an installation option then...
- This screenshot is here to show you some of the options you may or may not want to include.
|
(Enlarge)
|
- Assuming "Customize now" was chosen for an installation option then...
- This screenshot is here to show you some of the options you may or may not want to include.
|

(Enlarge)
|
- Assuming "Customize now" was chosen for an installation option then...
- This screenshot is here to show you some of the options you may or may not want to include.
|
(Enlarge)
|
- Assuming "Customize now" was chosen for an installation option then...
- This screenshot is here to show you some of the options you may or may not want to include.
|
(Enlarge)
|
- Assuming "Customize now" was chosen for an installation option then...
- This screenshot is here to show you some of the options you may or may not want to include.
|
(Enlarge)
|
- Assuming "Customize now" was chosen for an installation option then...
- This screenshot is here to show you some of the options you may or may not want to include.
|
(Enlarge)
|
- Assuming "Customize now" was chosen for an installation option then...
- This screenshot is here to show you some of the options you may or may not want to include.
|
(Enlarge)
|
- Assuming "Customize now" was chosen for an installation option then...
- This screenshot is here to show you some of the options you may or may not want to include.
|
(Enlarge)
|
- Assuming "Customize now" was chosen for an installation option then...
- This screenshot is here to show you some of the options you may or may not want to include.
|
(Enlarge)
|
- Assuming "Customize now" was chosen for an installation option then...
- This screenshot is here to show you some of the options you may or may not want to include.
|
(Enlarge)
|
- Assuming "Customize now" was chosen for an installation option then...
- This screenshot is here to show you some of the options you may or may not want to include.
|
(Enlarge)
|
- Assuming "Customize now" was chosen for an installation option then...
- This screenshot is here to show you some of the options you may or may not want to include.
|
(Enlarge)
|
- Assuming "Customize now" was chosen for an installation option then...
- This screenshot is here to show you some of the options you may or may not want to include.
|
(Enlarge)
|
- Assuming "Customize now" was chosen for an installation option then...
- This screenshot is here to show you some of the options you may or may not want to include.
|
(Enlarge)
|
- Assuming "Customize now" was chosen for an installation option then...
- This screenshot is here to show you some of the options you may or may not want to include.
|
(Enlarge)
|
- Assuming "Customize now" was chosen for an installation option then...
- This screenshot is here to show you some of the options you may or may not want to include.
|

(Enlarge)
|
- Assuming "Customize now" was chosen for an installation option then...
- This screenshot is here to show you some of the options you may or may not want to include.
|
(Enlarge)
|
- Assuming "Customize now" was chosen for an installation option then...
- This screenshot is here to show you some of the options you may or may not want to include.
|
(Enlarge)
|
- Assuming "Customize now" was chosen for an installation option then...
- This screenshot is here to show you some of the options you may or may not want to include.
|
(Enlarge)
|
- Assuming "Customize now" was chosen for an installation option then...
- This screenshot is here to show you some of the options you may or may not want to include.
|
(Enlarge)
|
- Assuming "Customize now" was chosen for an installation option then...
- This screenshot is here to show you some of the options you may or may not want to include.
|
(Enlarge)
|
- Assuming "Customize now" was chosen for an installation option then...
- This screenshot is here to show you some of the options you may or may not want to include.
|
(Enlarge)
|
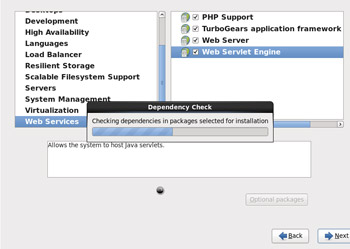
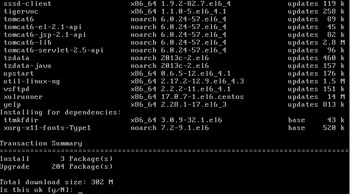
- Once you are done going through the packages you can add on, if you click "Next" the installation process will begin.
|
(Enlarge)
|
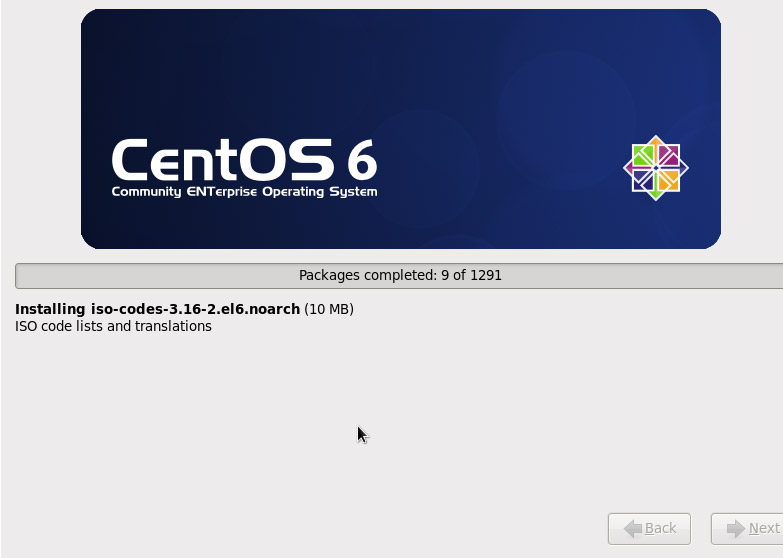
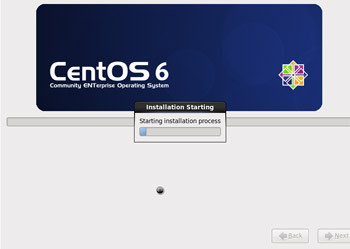
- The installation process is now underway.
|

(Enlarge)
|
- Here you can see the packages as they get installed.
|

(Enlarge)
|
- If you see this then the ISO (most likely Disk1 or Disk2) was corrupted somewhere, and you'll have to start all over again.
- Hopefully you performed a media check and test way back at the beginning of the installation process to avoid this type of message.
|
(Enlarge)
|
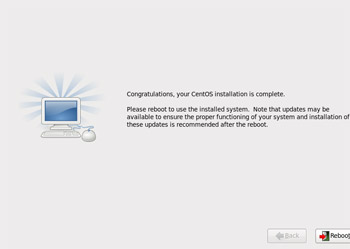
- At the end of the installation process you should get a screen similiar to the following which indicates you will need to reboot.
|
(Enlarge)
|
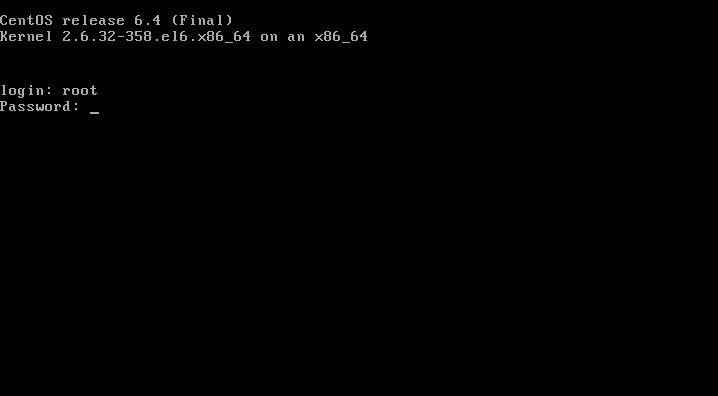
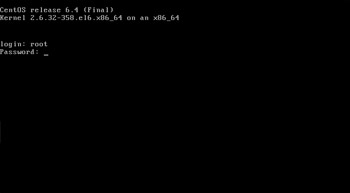
- You'll need to login to the CentOS with the root account.
|
(Enlarge)
|
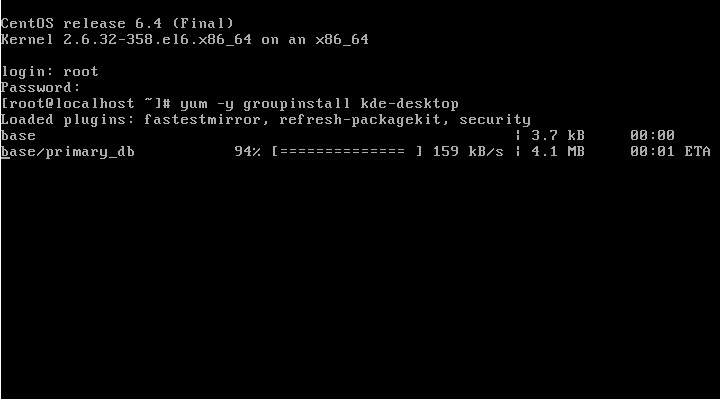
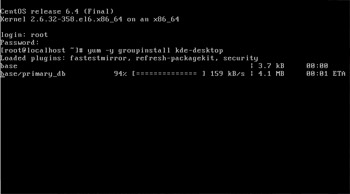
- If you don't end up getting the GUI (desktop environment, if you selected it), we can get it installed.
- Under root, enter "yum -y groupinstall kde-desktop".
|
(Enlarge)
|
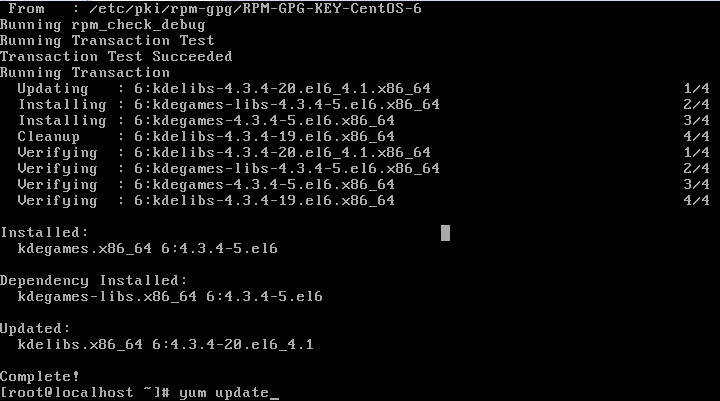
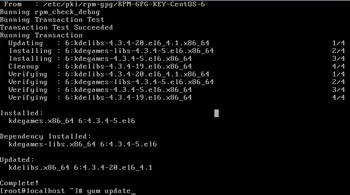
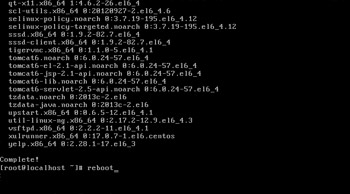
- You'll see the progress of the desktop installation.
- Once completed it may be a good time to run an update, enter "yum update".
|
(Enlarge)
|
- There will probably be a lot of packages to update. You'll need to confirm the update.
|
(Enlarge)
|
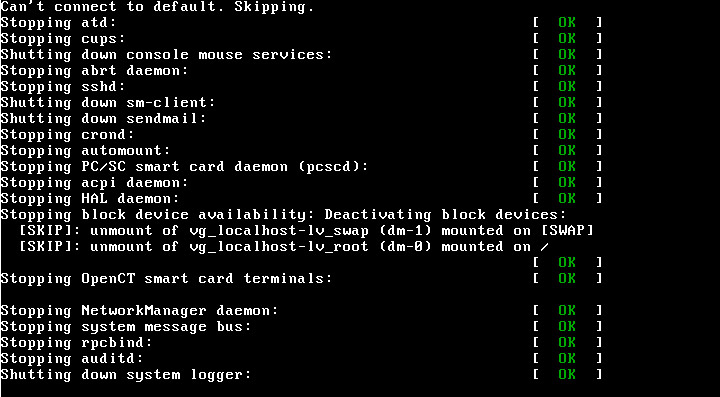
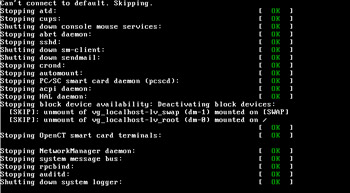
- After the updates have been completed, reboot the machine.
|
(Enlarge)
|
- The server will shutdown, showing its progress as it goes.
|
(Enlarge)
|
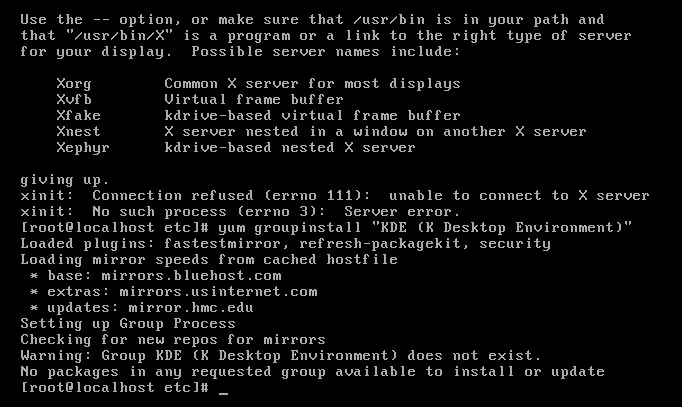
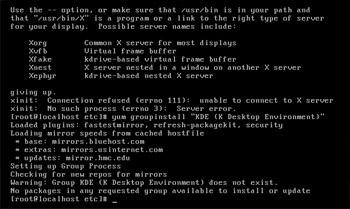
- If the kde-desktop failed, at reboot you should get a screen similiar to what is shown here.
|

(Enlarge)
|
- At the root prompt, you can enter the following: yum -y groupinstall "Desktop" "Desktop Platform" "X Window System" "Graphical Administration Tools" "General Purpose Desktop"
- After installation has completed, and you've performed an update then enter: "startx" at the prompt.
|
(Enlarge)
|
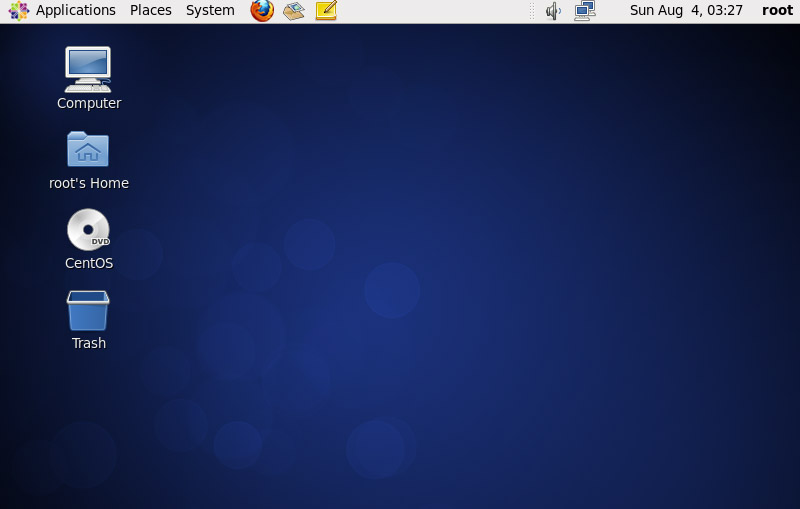
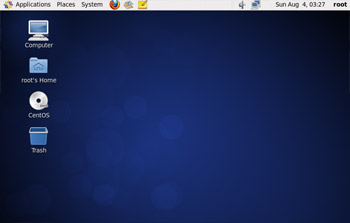
- You should see the GUI desktop environment (along with a prompt that you should not be logging in as root).
|
(Enlarge)
|
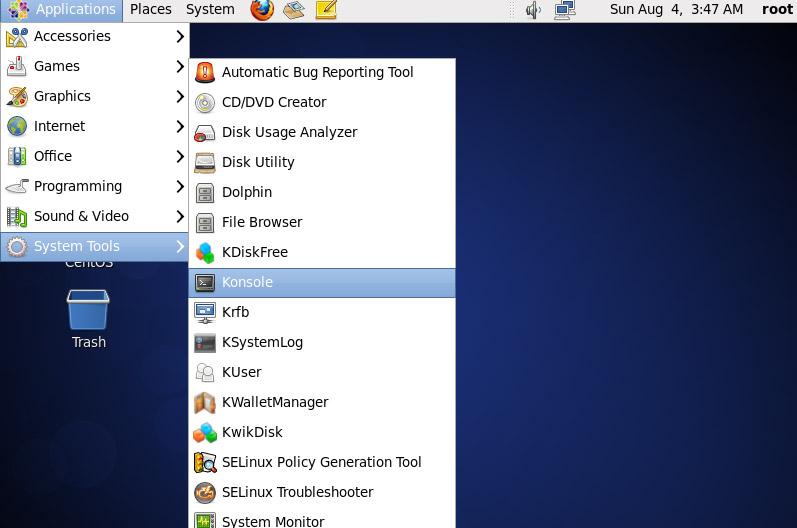
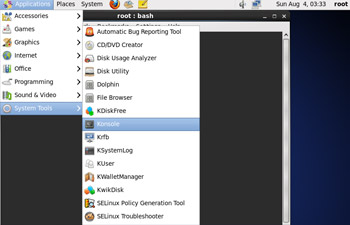
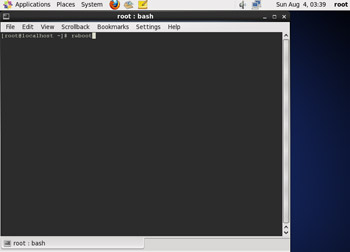
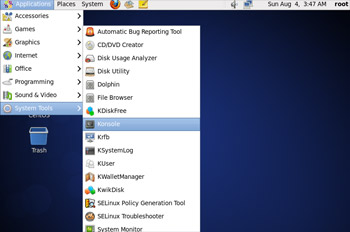
- From within the GUI we can access "Konsole" which is similiar to "cmd" in Windows.
|

(Enlarge)
|
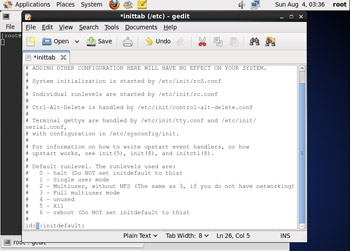
- We need to edit the inittab file, so let's use a GUI (like Notepad) for the job.
- Enter "gedit /etc/inittab" at the prompt.
|
(Enlarge)
|
- Change the run-level from 3 to 5 and then save the file.
|
(Enlarge)
|
- Then reboot the operating system. You can log off and reboot as well using the GUI, but you could use the existing command-line as well since the window was already open (NOTE: when you do it this way you will get an alert after reboot).
|
(Enlarge)
|
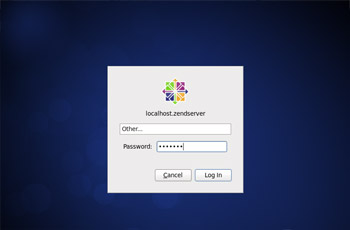
- Login as root and provide the password.
|
(Enlarge)
|
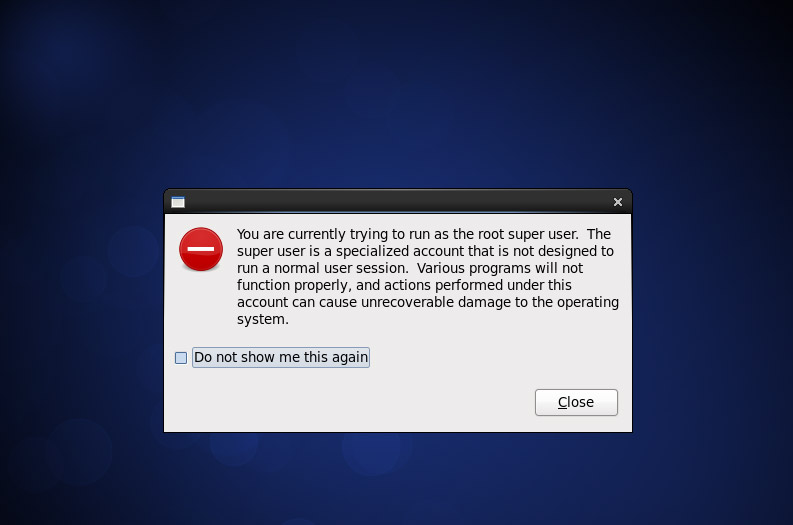
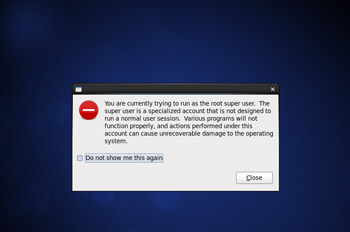
- Because you are logging in as root you'll always get this warning message.
|
(Enlarge)
|
- The next thing that we need to do is to create a non-super user account, so let's open up the command-line.
|

(Enlarge)
|
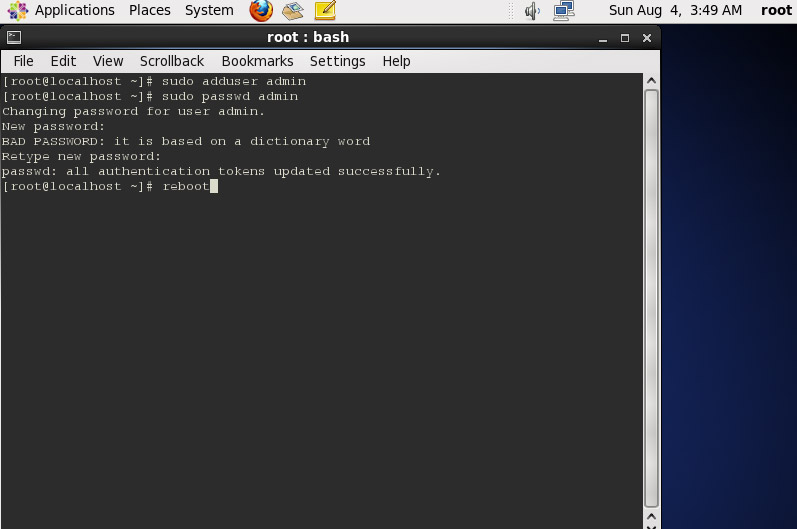
- At the prompt, enter "sudo adduser admin" and then "sudo adduser passwd". Then enter the password and reboot the system.
|
(Enlarge)
|
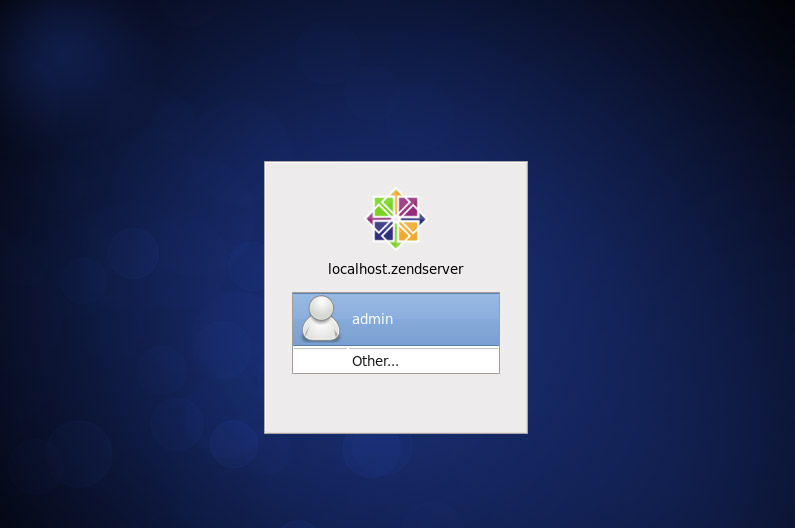
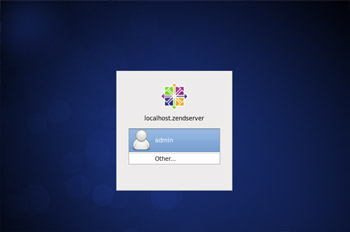
- After reboot you'll notice that the user "admin" is now able to login.
|

(Enlarge)
|
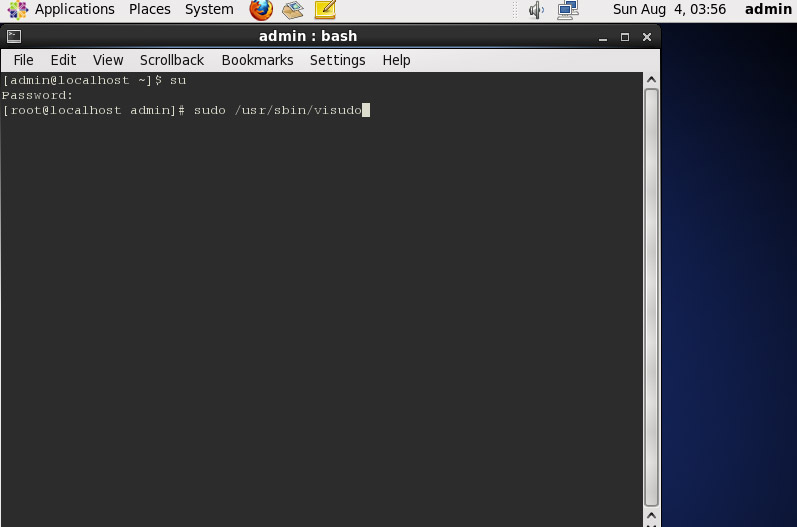
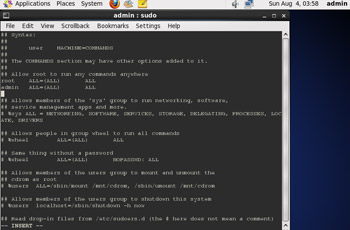
- Assuming you would like the admin user to be able to sudo like the root user can, you need to enter "sudo /usr/sbin/visudo" at the prompt.
|
(Enlarge)
|
- Locate the entry for root and essentially duplicate that on a new line. Press 'a' to insert new text and hit the ESC key when you are done - follow that with pressing the Shift key and ZZ at the same time (to save and exit). Could you have used gedit to do this instead of the more antiquated method used here? Possibly...
|

(Enlarge)
|
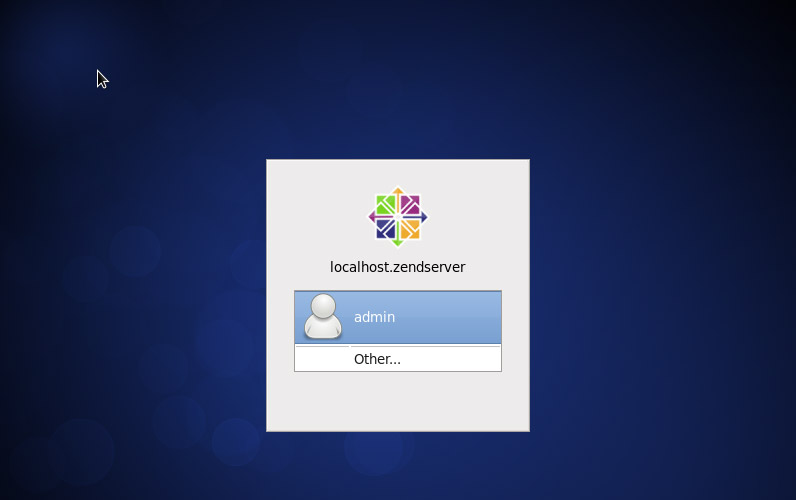
- Reboot and login as the user "admin".
|

(Enlarge)
|
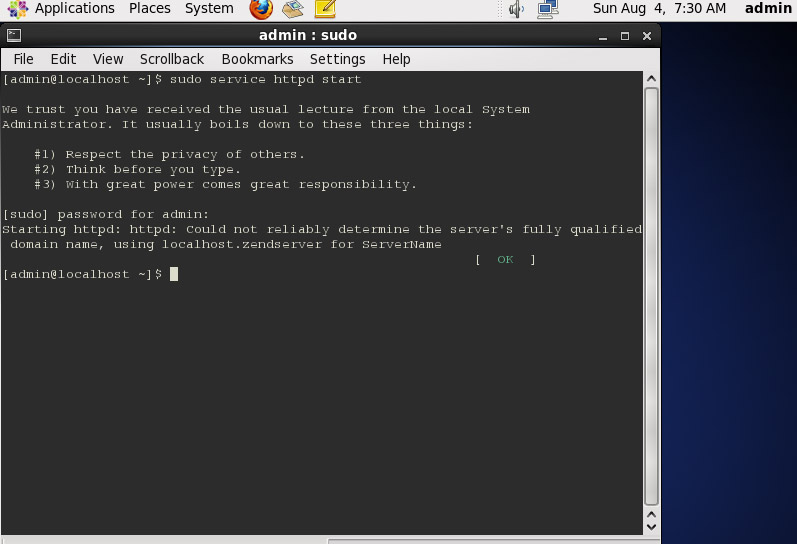
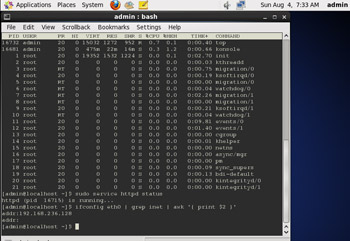
- Go to the prompt and enter "sudo service httpd start" to see if the admin user can get Apache running.
|
(Enlarge)
|
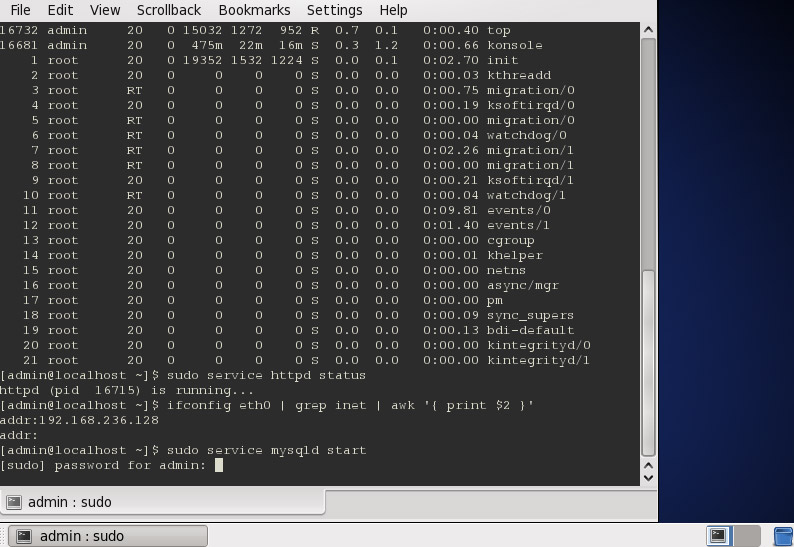
- While we're at it, let's get the IP address of eth0 by entering "ifconfig eth0 | grep inet | awk '{ print $2 }'".
|
(Enlarge)
|
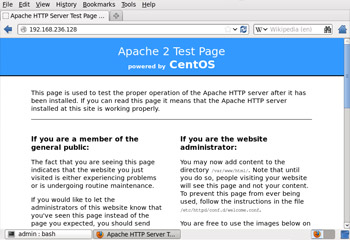
- After opening Firefox, enter the IP address. If Apache is working okay, we should see a test page.
|

(Enlarge)
|
- Let's return to the prompt and start up mySQL via entering "sudo service mysqld start".
|
(Enlarge)
|
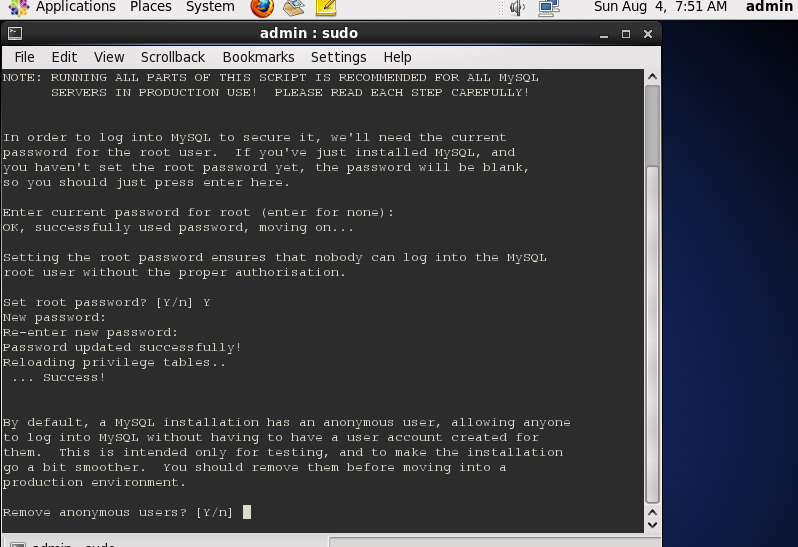
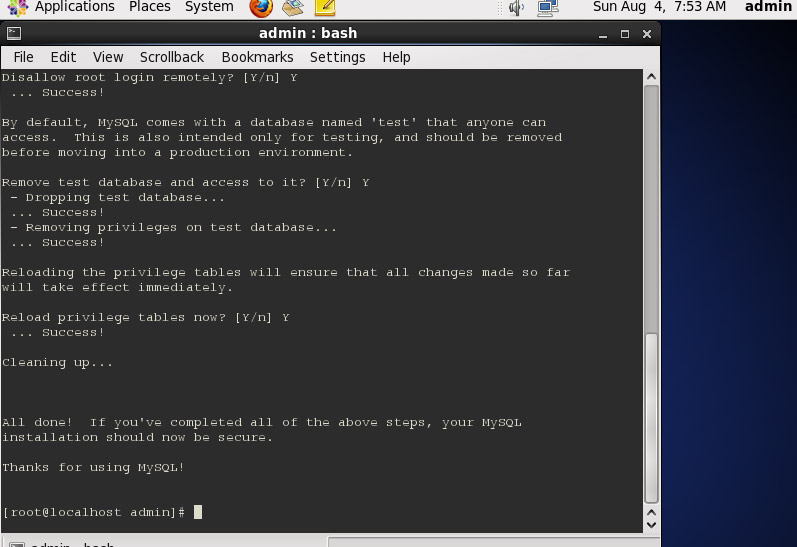
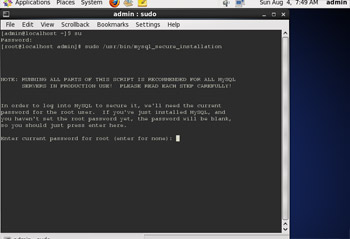
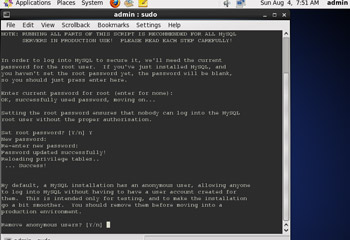
- Let's clean up mySQL to remove "test" data that may be present. At the prompt enter "su" and then the password for the root user. After that enter "sudo /usr/bin/mysql_secure_installation".
|
(Enlarge)
|
- Since we've done nothing with mySQL as of yet, choose you want to set the root password, and then provide a long and secure password for the root account for mySQL. Continue following the prompts.
|

(Enlarge)
|
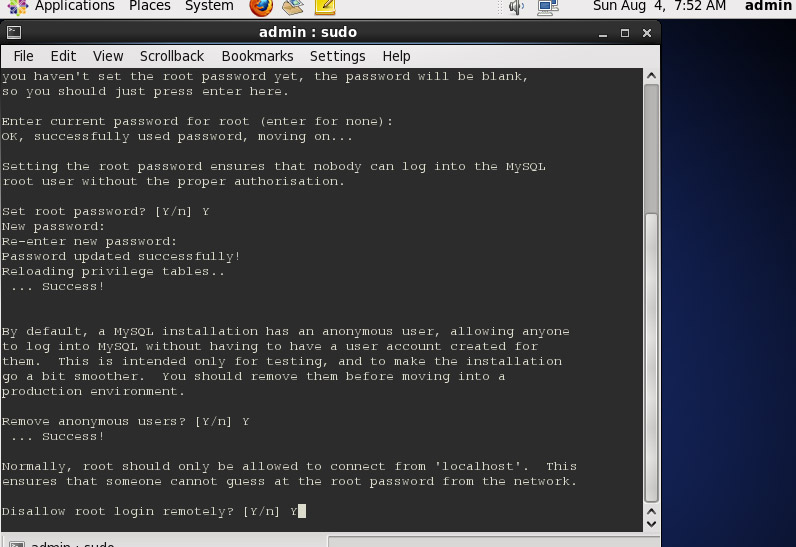
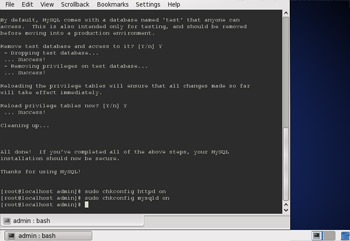
- More mySQL clean-up steps...
|

(Enlarge)
|
- More mySQL clean-up steps...
|

(Enlarge)
|
- More mySQL clean-up steps...
|
(Enlarge)
|
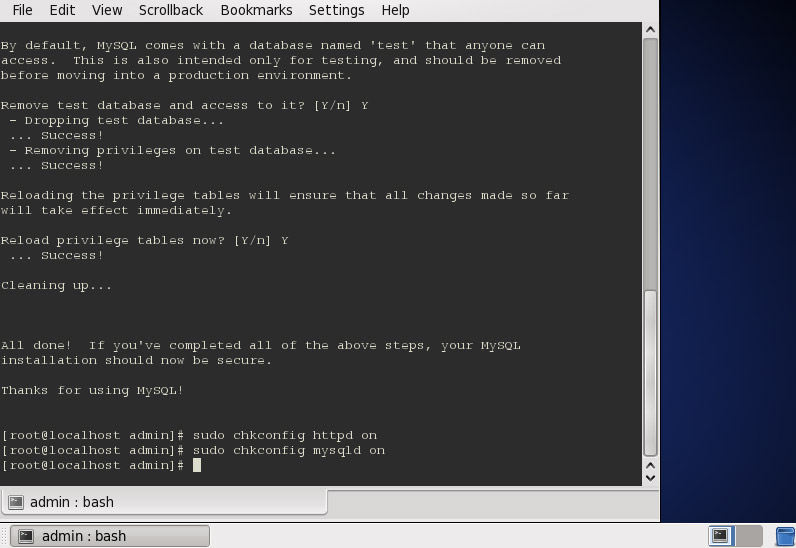
- Now let's make sure that Apache and mySQL will start at boot. At the prompt enter "sudo chkconfig httpd on" and "sudo chkconfig mysqld on". Yes, there is a GUI to perform this action as well, but we'll get into that later on with the Zend Server installation.
|

(Enlarge)
|
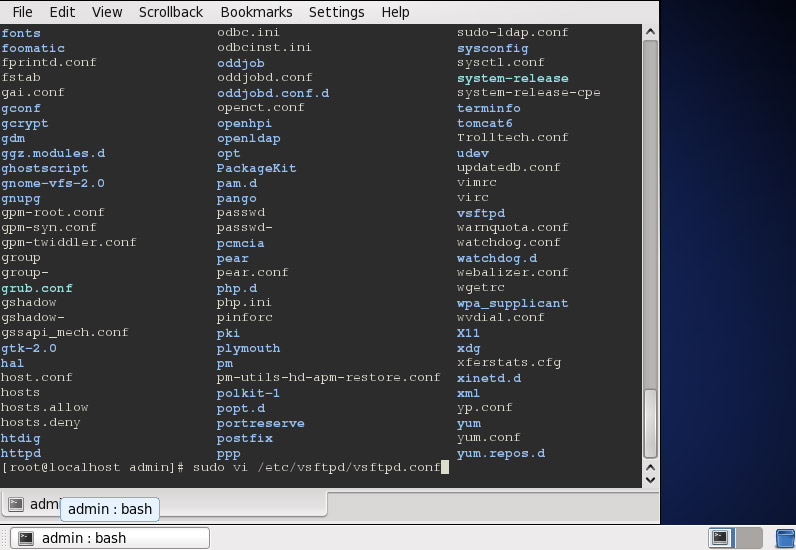
- Now it's time to focus on getting an FTP server running. At the prompt enter "sudo vi /etc/vsftpd/vsftpd.conf".
|

(Enlarge)
|
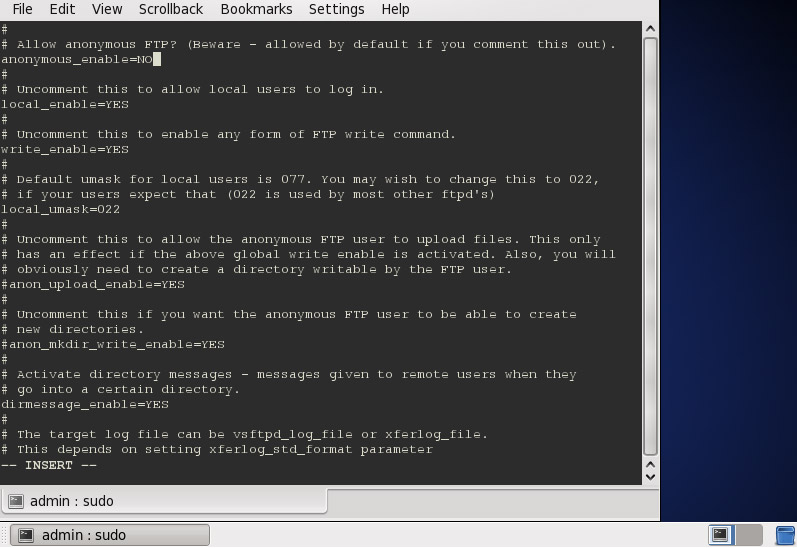
- In this example, allowing anonymous users is disabled.
|

(Enlarge)
|
- Logging has also been uncommented; this capability can be invaluable when troubleshooting or auditing.
|
(Enlarge)
|
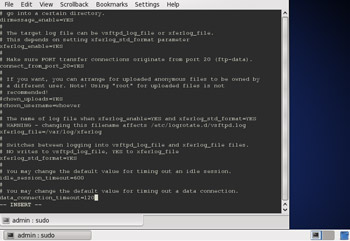
- The data connection timeout is also uncommented.
|

(Enlarge)
|
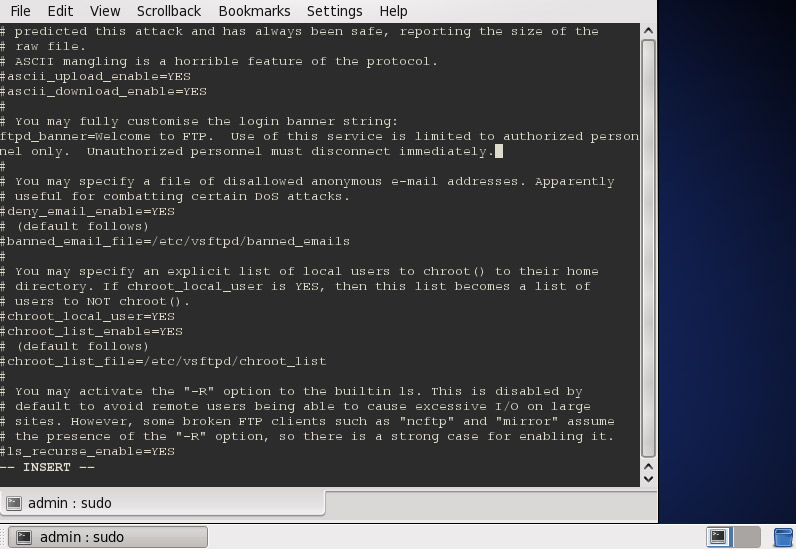
- You can customize the welcome banner that is displayed when someone connects. In this case "Welcome to FTP. Use of this service is limited to authorized personnel only. Unauthorized personnel must disconnect immediately.".
|
(Enlarge)
|
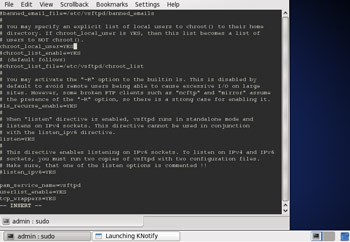
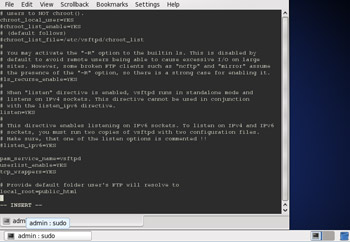
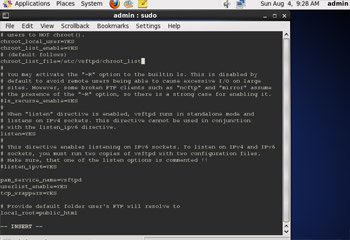
- You may want to allow local users to be able to FTP to their account's local home folder on the server. If so, uncomment "chroot_local_users".
|
(Enlarge)
|
- You may also want to provide a default folder that user's may FTP to. In this example, uncommenting "local_root=public_html" resolves FTP users to their "public_html".
|
(Enlarge)
|
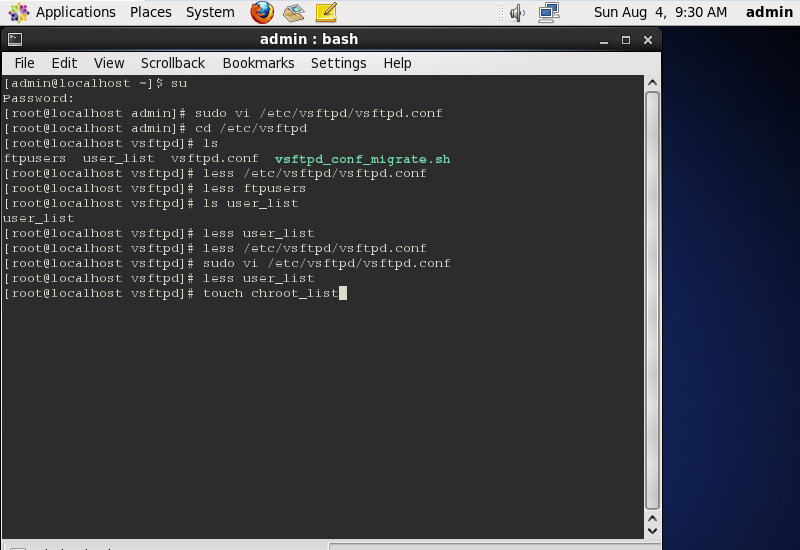
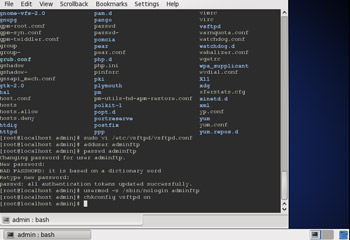
- Although we'll define "adminftp" in a moment (so they can access "/var/www/html"), since we have the file open, let's go ahead and uncomment the line "chroot_list_file=/etc/vsftpd/chroot_list".
|
(Enlarge)
|
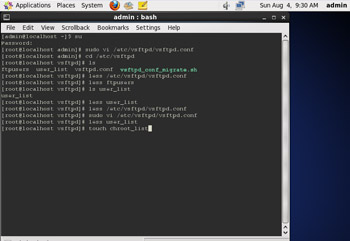
- Since the file does not exist, cd on over to /etc/vsftpd and enter "touch chroot_list" to create a blank file that we will edit.
|
(Enlarge)
|
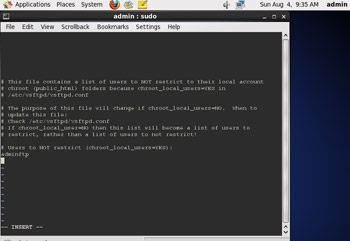
- Comment as appropriate and add "adminftp" to the file then save (hit SHIFT : and then press x) and exit (press q).
|

(Enlarge)
|
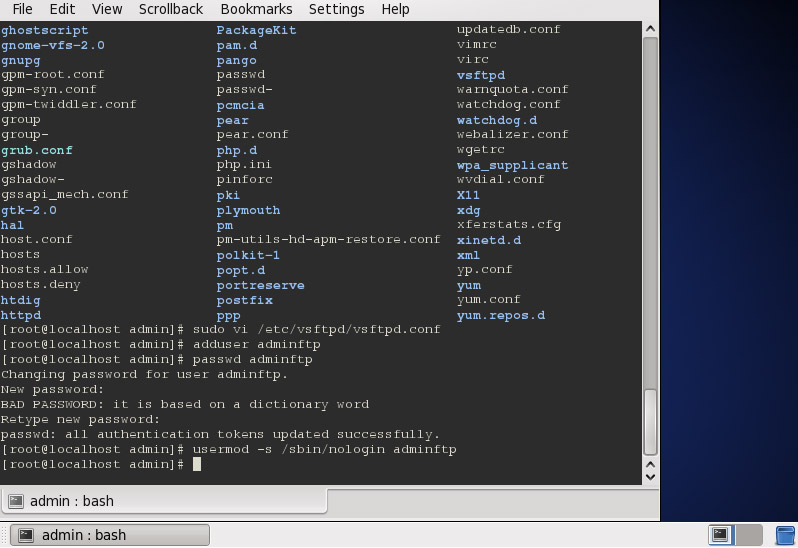
- At some point you'll likely need to create an account which is able to FTP, but not be a local account that can login to the server itself.
- In this example, a new account is created via "adduser adminftp" and "passwd adminftp". After completion you can modify that account so it cannot be used to login to the system itself via "usermod -s /sbin/nologin adminftp".
|
(Enlarge)
|
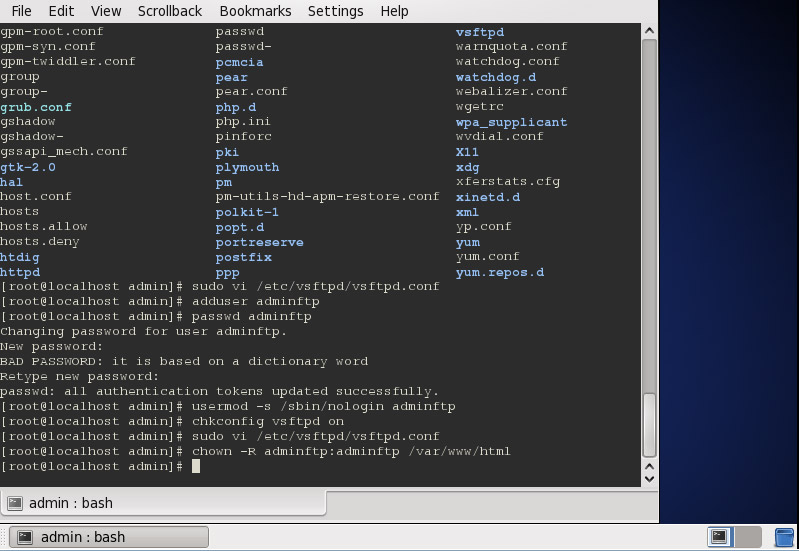
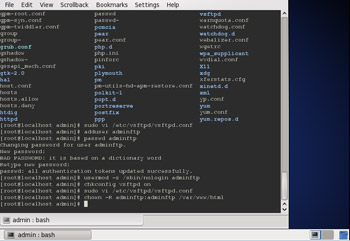
- Now, let's ensure that the ftp service starts when the system is booted. This is accomplished via entering "chkconfig vsftpd on".
|
(Enlarge)
|
- If you have a website at "/var/www/html" you may want to provide the "adminftp" user with write permissions to that location via "chown -R adminftp:adminftp /var/www/html".
|
(Enlarge)
|
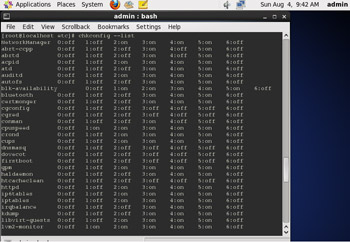
- Perform a quick review of services that will start at system boot via entering "chkconfig --list".
|
(Enlarge)
|
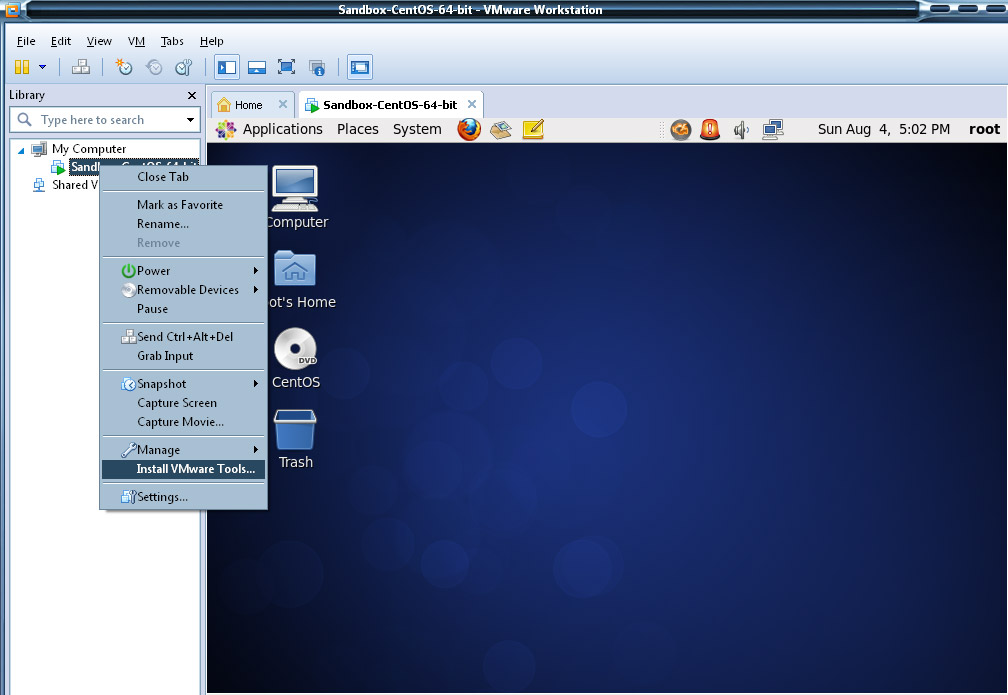
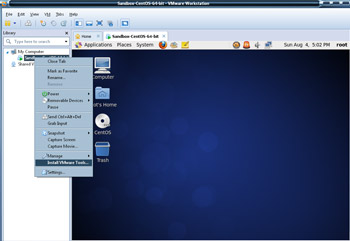
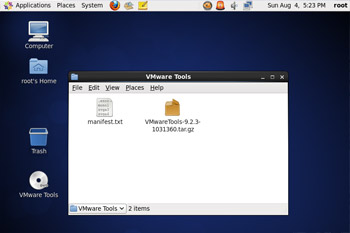
- Once it has been verified that services will start at boot (httpd, mysqld, vsftpd) then we're ready to get VMWare tools installed.
- Ensure you are logged into the system as "root". Right-click on the VM and select "Install VMWare Tools".
|
(Enlarge)
|
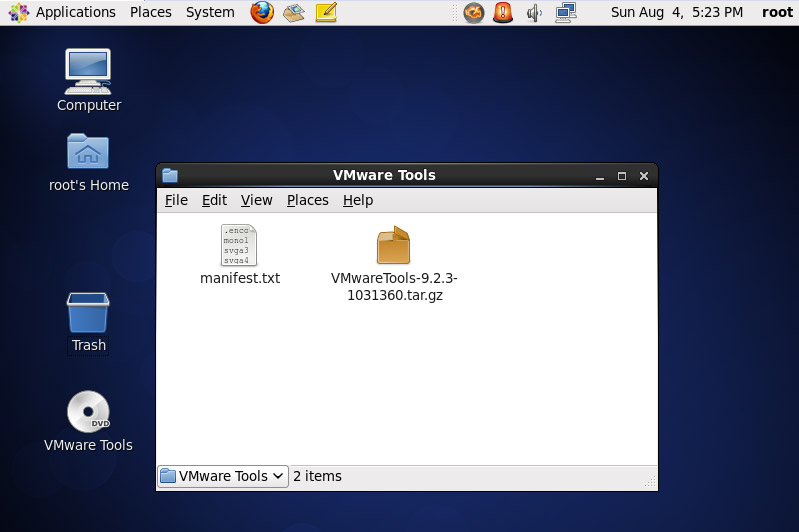
- You'll notice that a disk becomes available on the system.
|
(Enlarge)
|
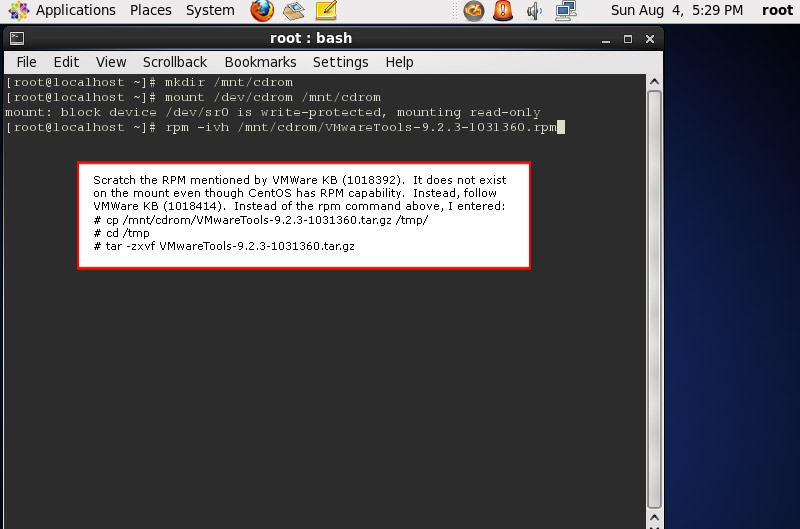
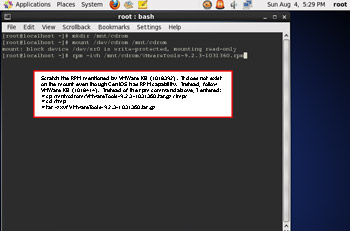
- Enter the prompt on the system. Be sure to follow VMWare KB (1018414) in this case - I found that the RPM KB is invalid for use possibly because Workstation 9x is being utilized.
- At the prompt, enter "cp /mnt/cdrom/VMwareTools-9.2.3-1031360.tar.gz /tmp/", then "cd /tmp" followed by "tar -zxvf VMwareTools-9.2.3-1031360.tar.gz".
|
(Enlarge)
|
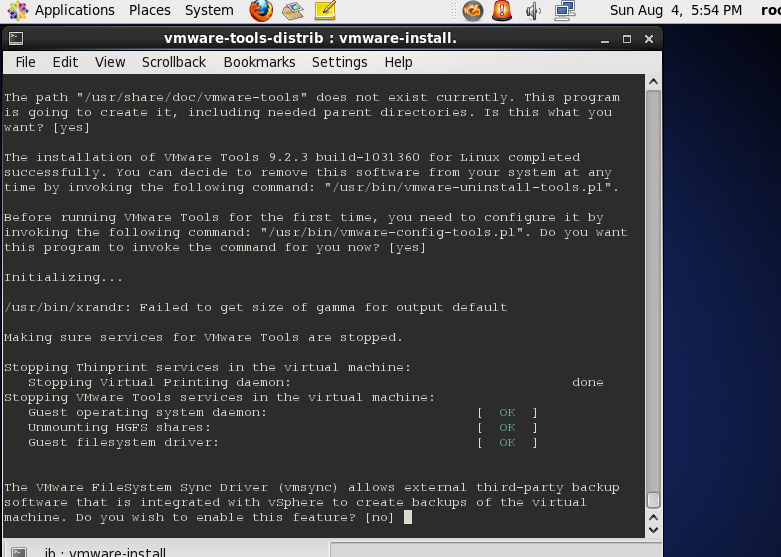
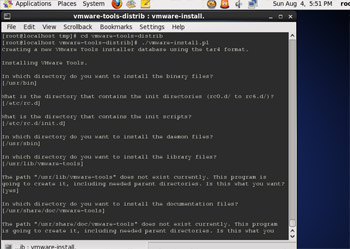
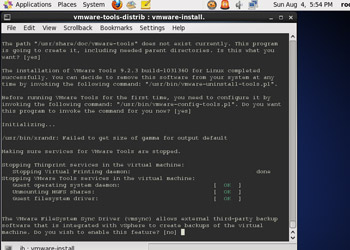
- After the data has been extracted, at the prompt enter "cd vmware-tools-distrib" and then "./vmware-install.pl".
|
(Enlarge)
|
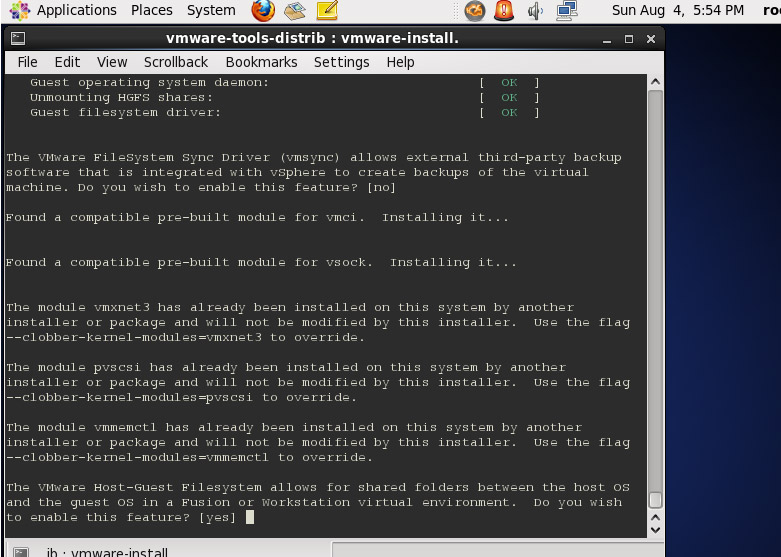
- As the script executes you really don't have any opportunity to change anything.
|
(Enlarge)
|
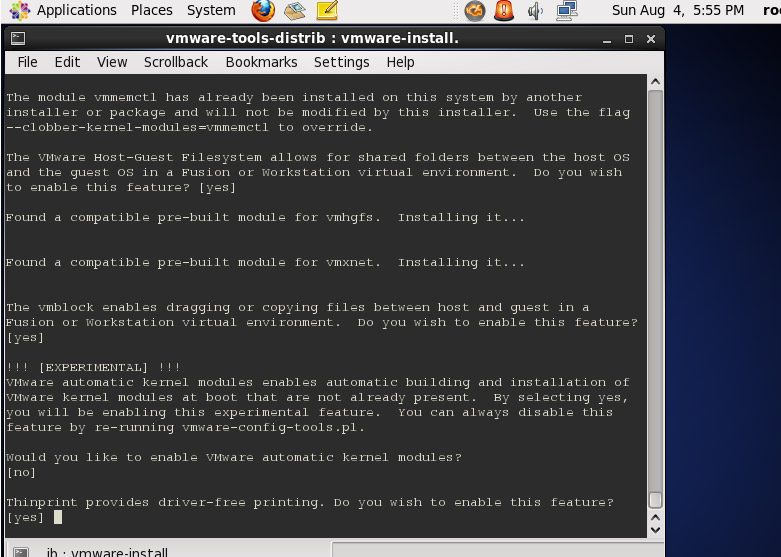
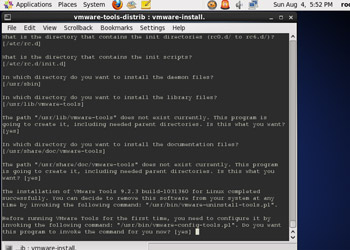
- More VMWare Tools installation script prompts...
|

(Enlarge)
|
- More VMWare Tools installation script prompts...
|

(Enlarge)
|
- More VMWare Tools installation script prompts...
|
(Enlarge)
|
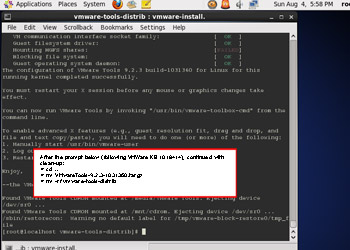
- At completion of the installation process according to VMWare KB 1018414, the following commands were entered at the prompt (cleanup): "cd ..", "rm VMwareTools-9.2.3-1031360.tar.gz", "rm -rf vmware-tools-distrib".
|
(Enlarge)
|
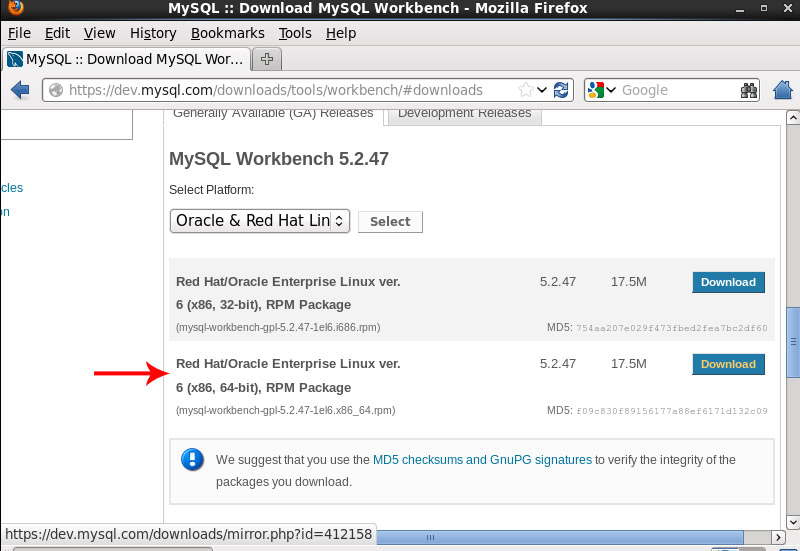
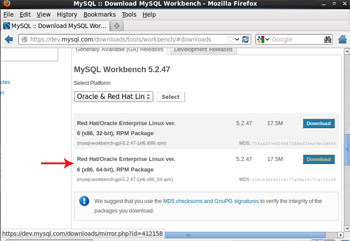
- With VMWare Tools installed, the next thing that we could install and make life working with the mySQL database both modern and intuitive, would be to install mySQL Workbench (you can always disable or remove it later).
- Open Firefox on the system and navigate over to "https://dev.mysql.com/downloads/tools/workbench/" so you can grab "Red Hat/Oracle Enterprise Linux ver 6(x86, 64-bit), RPM Package (which links to "https://dev.mysql.com/downloads/mirror.php?id=412158"). You'll have to create an account at mySQL in order to download mySQL Workbench.
|
(Enlarge)
|
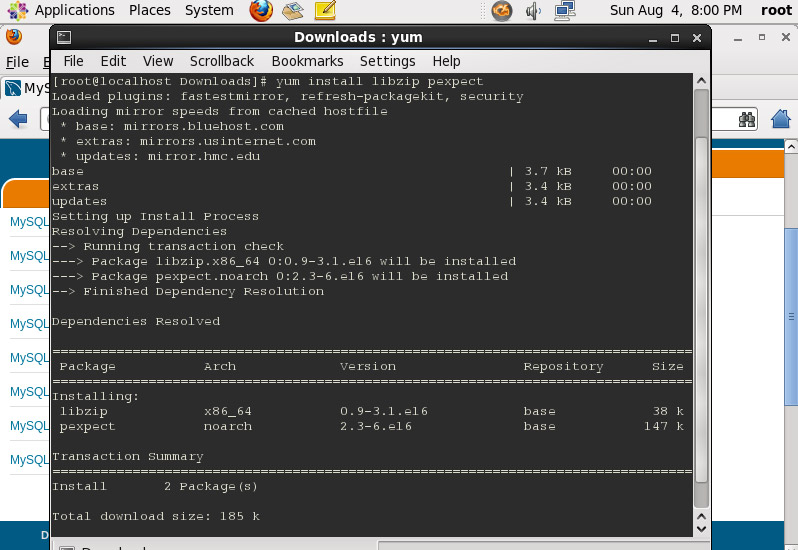
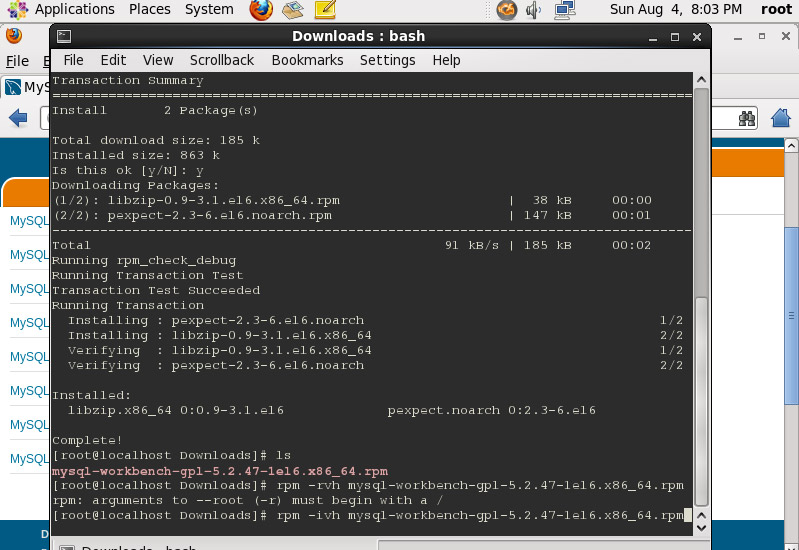
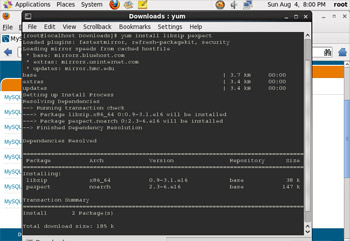
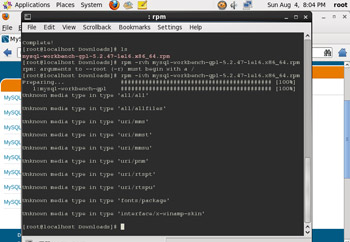
- After download, go to the prompt. If you don't already have it installed, you will need pexpect. You can get it via entering "yum install libzip pexpect".
|
(Enlarge)
|
- The Firefox download should be located in your account's Downloads folder so you can navigate to it and then enter "rpm -ivh mysql-workbench-gpl-5.2.47-1el6.x86_64.rpm".
|
(Enlarge)
|
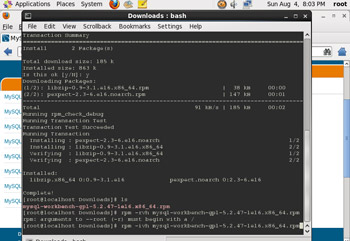
- The installation should go by pretty quick and requires no input.
|

(Enlarge)
|
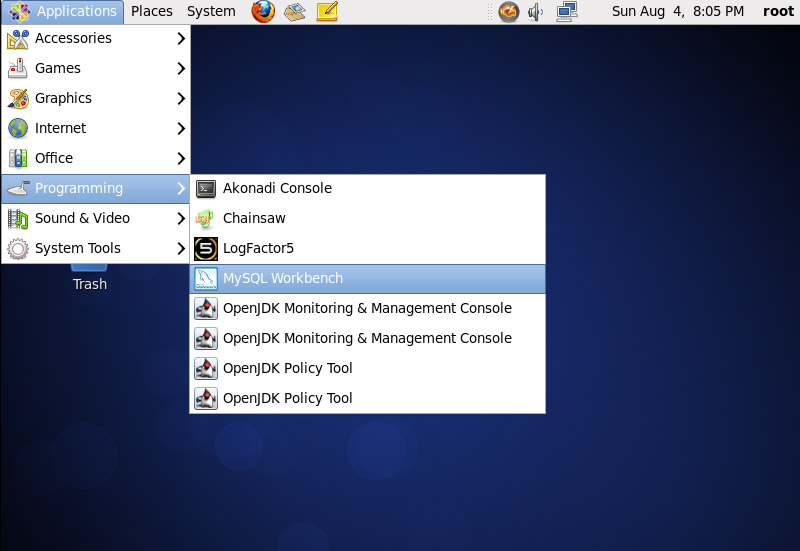
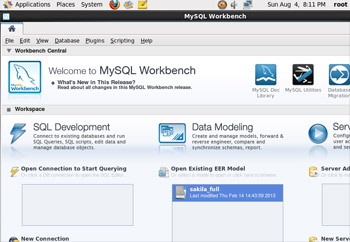
- You should be able to get to mySQL Workbench under "Programming" and then "MySQL Workbench".
|
(Enlarge)
|
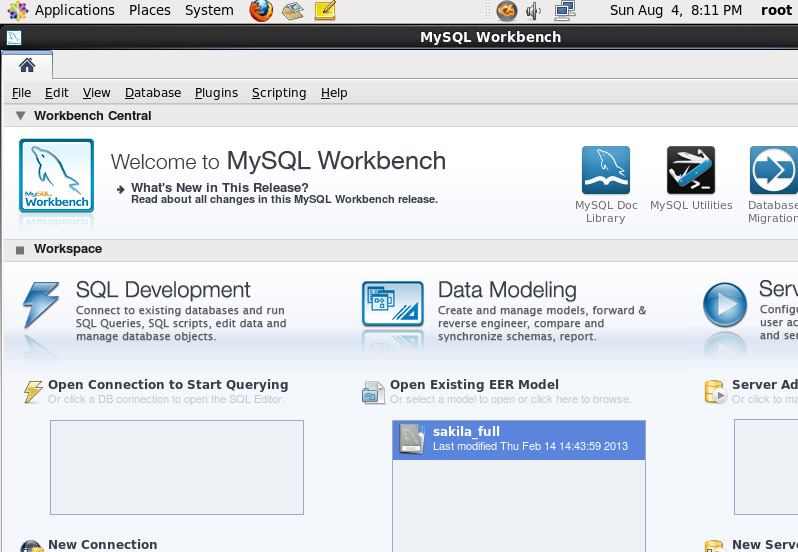
- The application should start, allowing you to perform a variety of actions against the mySQL database.
- This also wraps up making a LAMP server from within VMWare Workstation 9x!
|