(Enlarge)
|
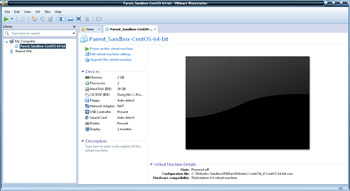
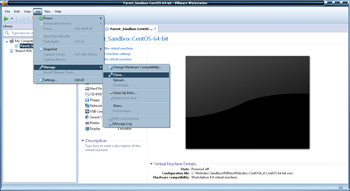
- To make separating the base LAMP VM server from the clone easier to spot, I've renamed the original base LAMP VM server (from part 1 of this series "Project LAMP") to "Parent_Sandbox-CentOS-64-bit".
|
(Enlarge)
|
- To begin click on the "VM" menu item, then "Manage" and then "Clone...".
|

(Enlarge)
|
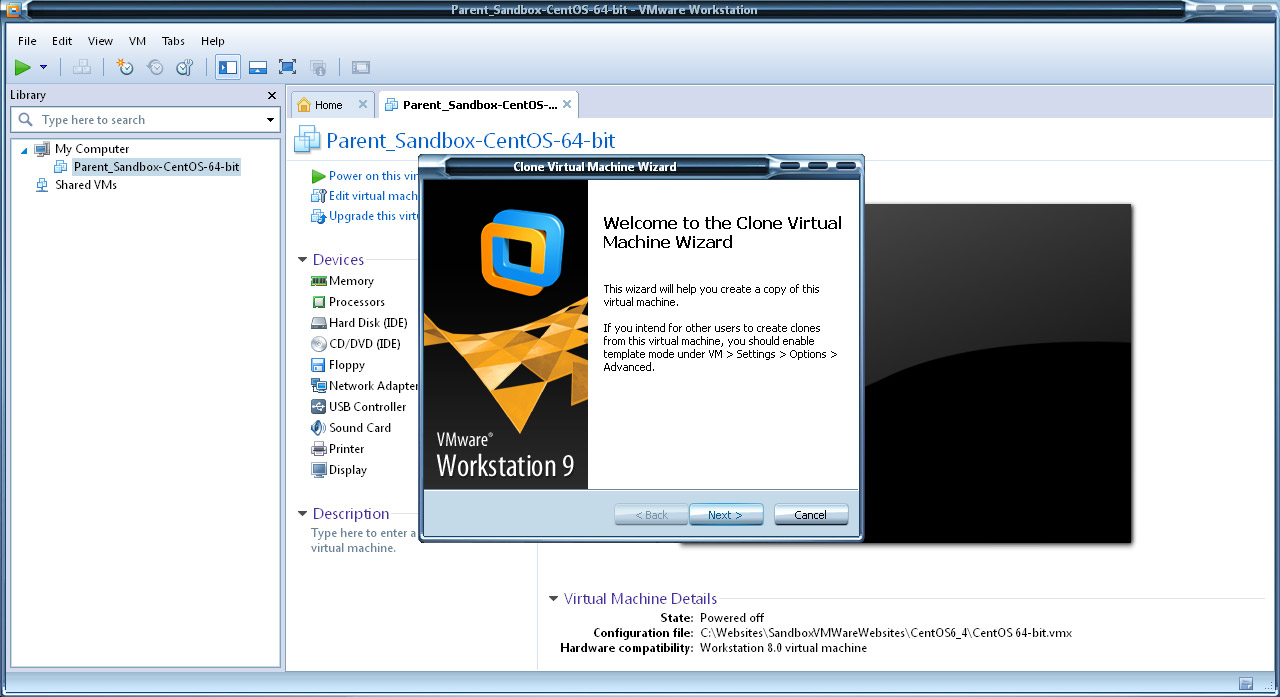
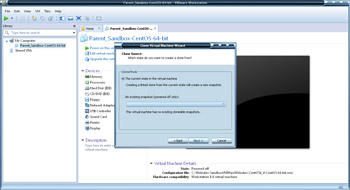
- The "Clone Virtual Machine Wizard" will start. Click on the button "Next".
|
(Enlarge)
|
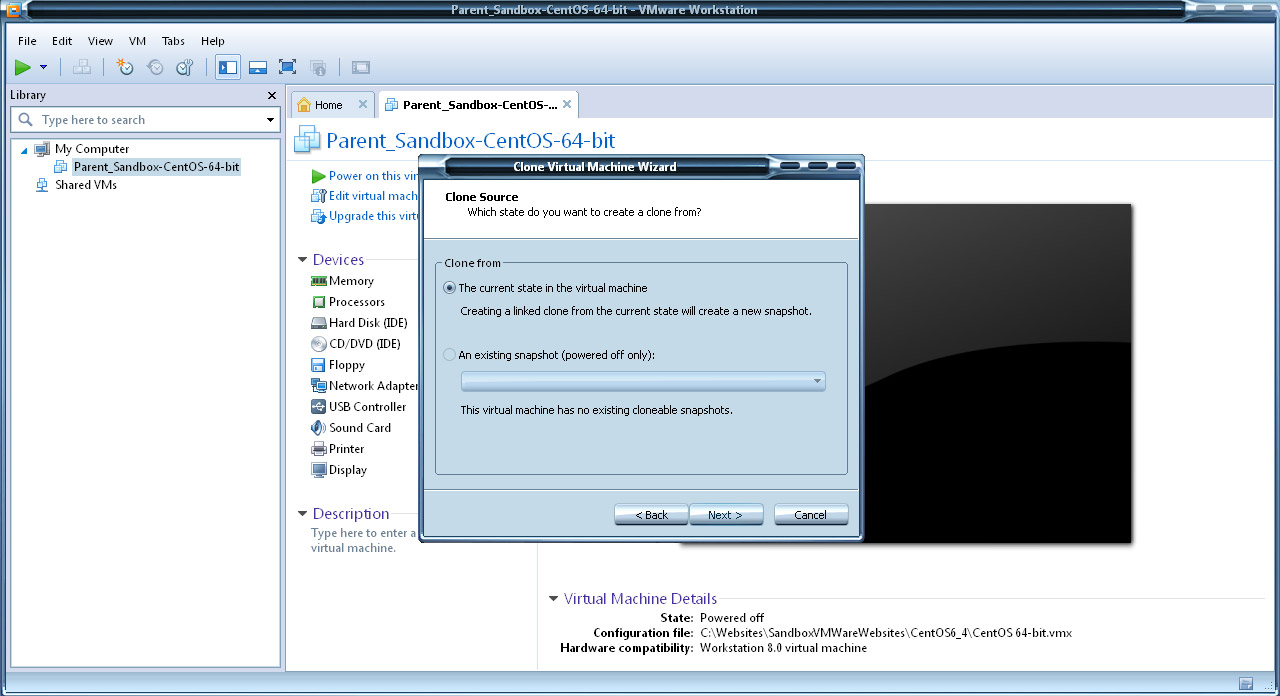
- On the "Clone Source" pane, select "The current state in the virtual machine".
|
(Enlarge)
|
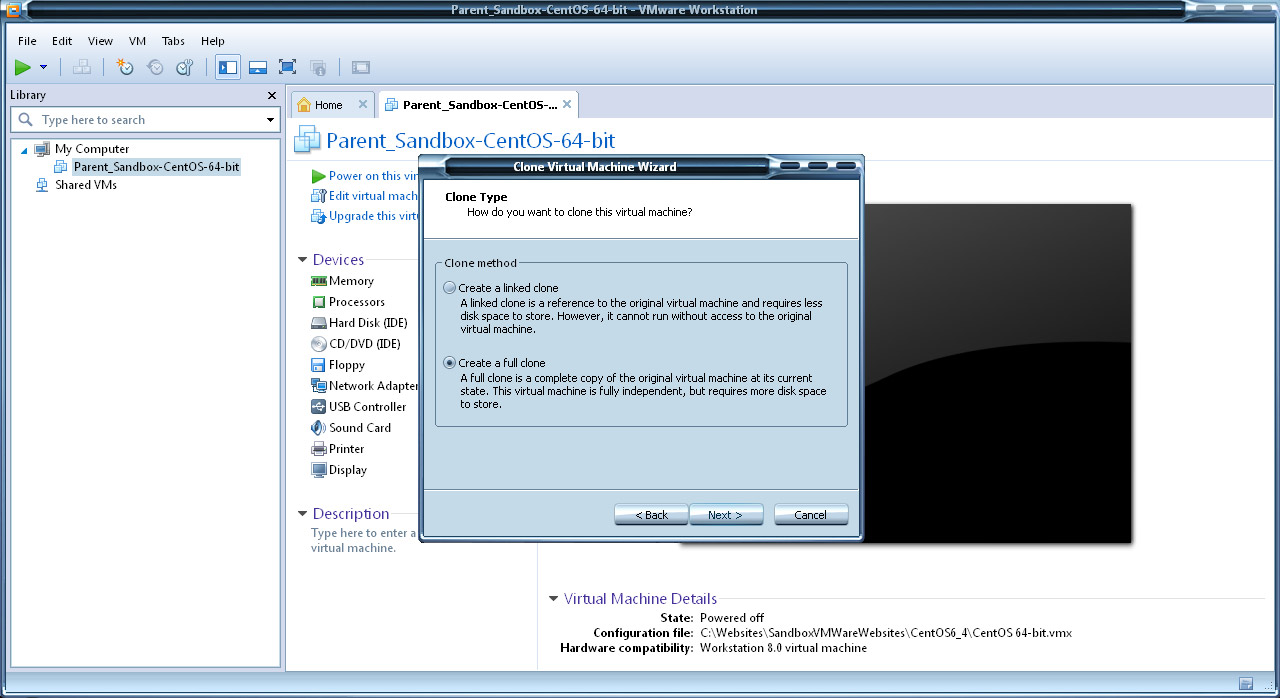
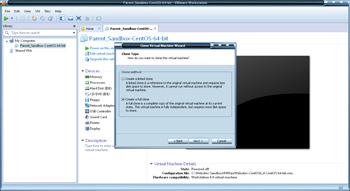
- On the "Clone Type" pane, select "Create a full clone".
|
(Enlarge)
|
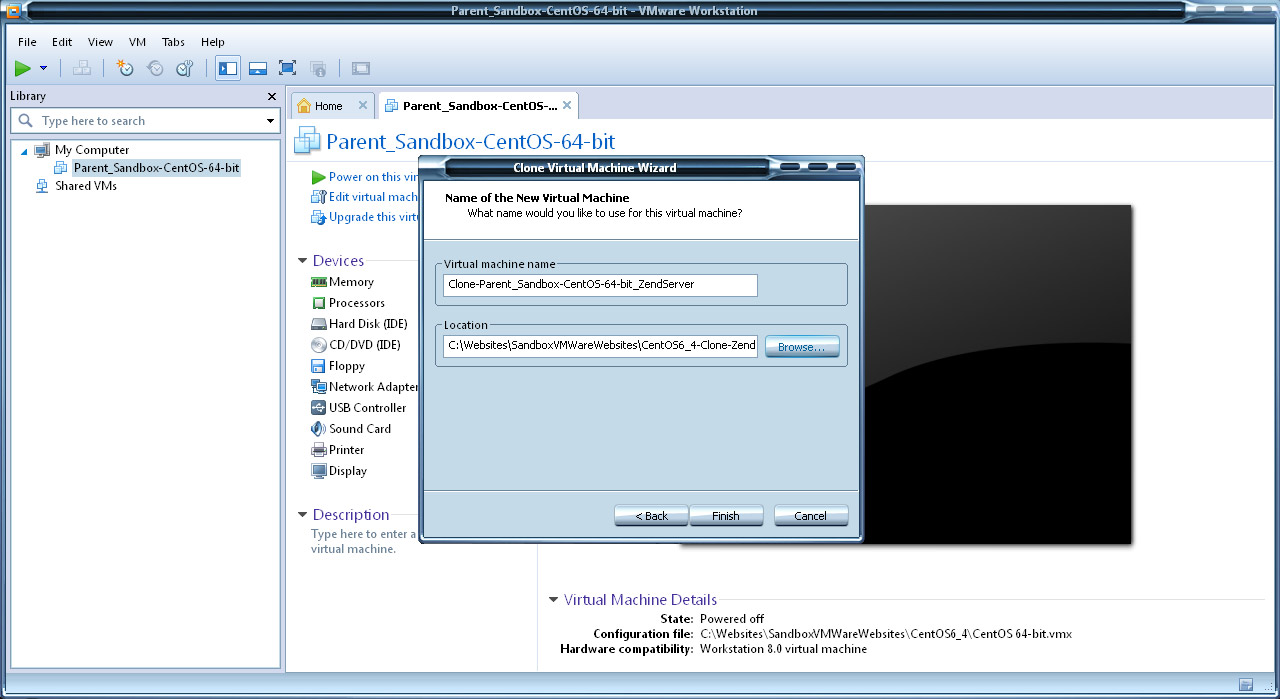
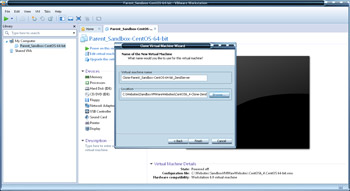
- On the "Name of the New Virtual Machine" pane, enter the name you would like to give the clone. In my case, I prefix the name with "Clone" so it is easy to spot.
- Like the previous tutorial, be sure to create a folder that the clone will go into as VMWare Workstation will not create a new folder based off of the name of the clone that you enter.
|
(Enlarge)
|
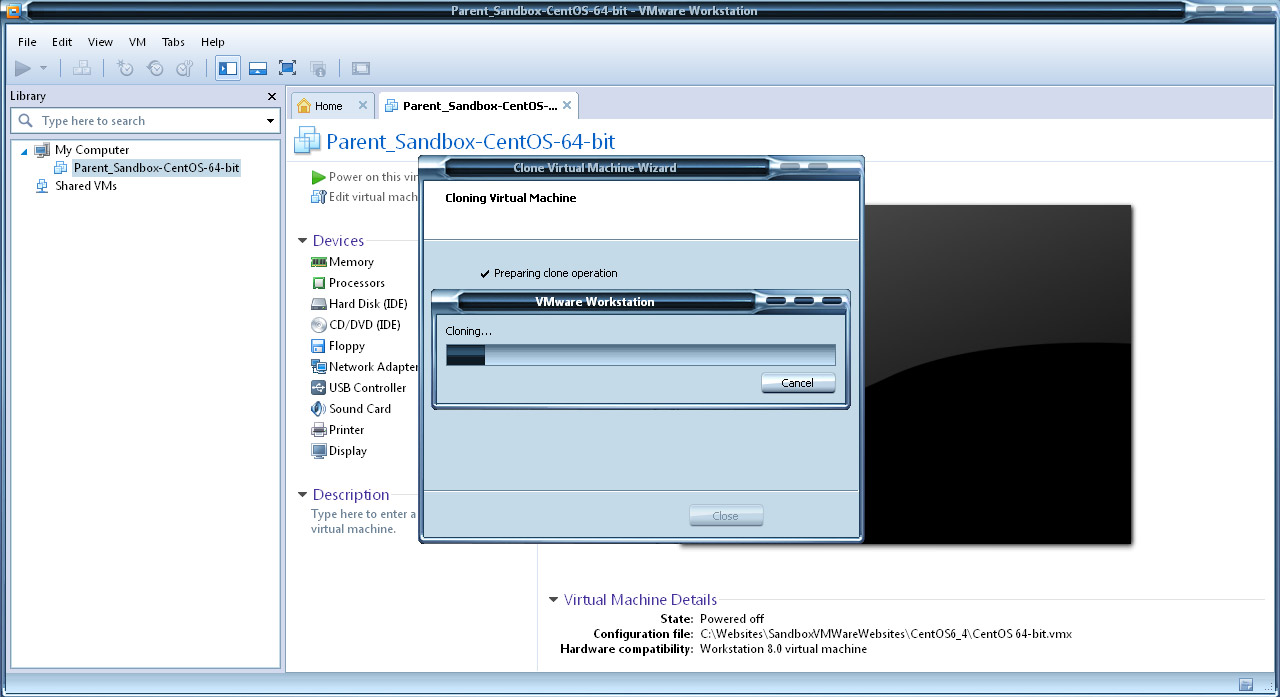
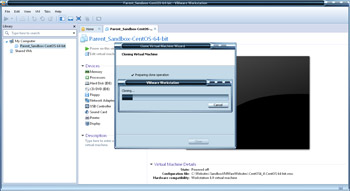
- The cloning process will begin.
|

(Enlarge)
|
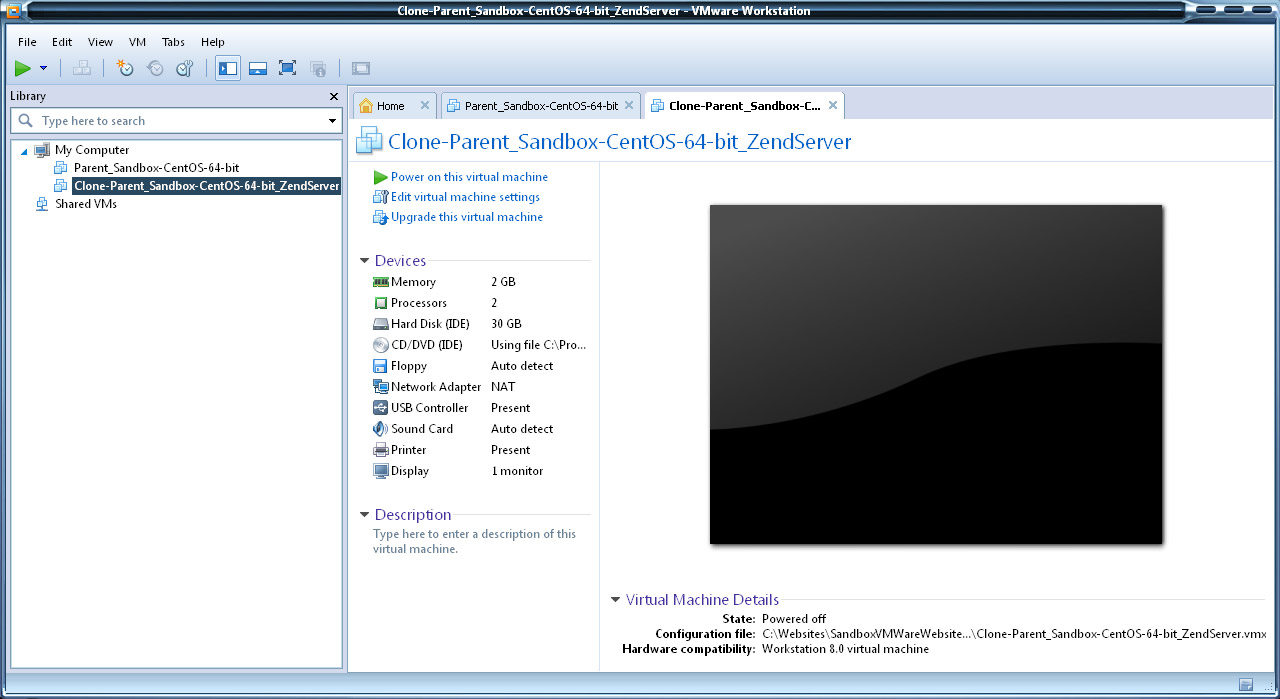
- Upon completion you should see the clone appear under "My Computer" and a new tab open up for it.
|
(Enlarge)
|
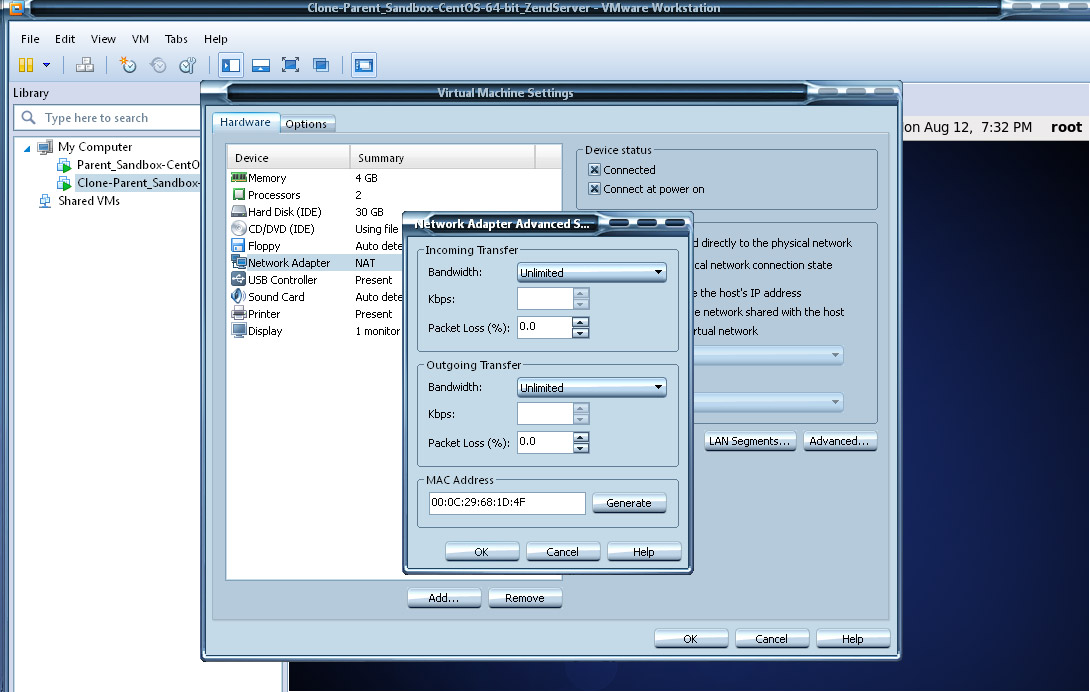
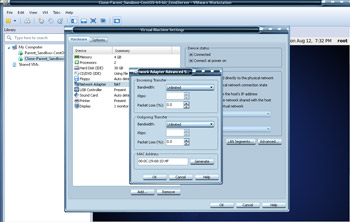
- While a complete clone was made and a new MAC address was assigned to it, VMWare did not actually update the same interface as the parent VM; rather a new interface was created along with retaining the original interface settings from the parent.
- Now start the clone and login under the root account.
- Open the cloned virtual machine's hardware settings and write down the new MAC address that was assigned to it.
|

(Enlarge)
|
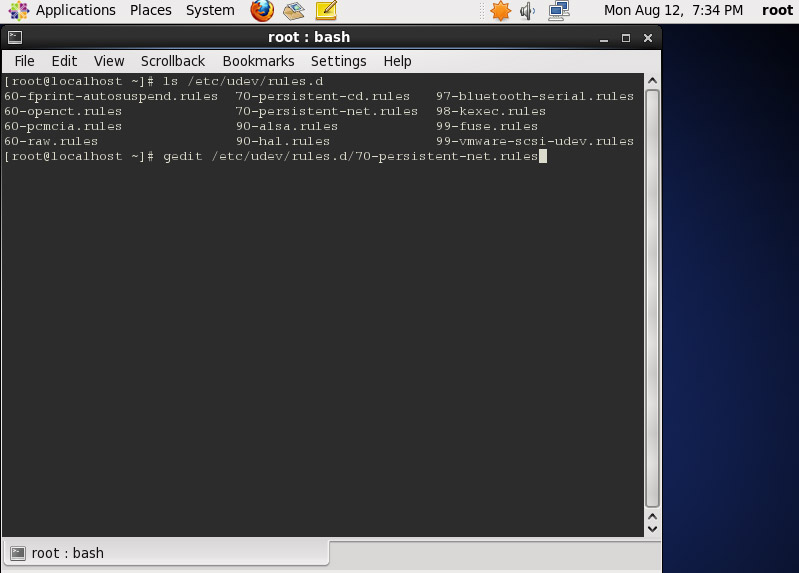
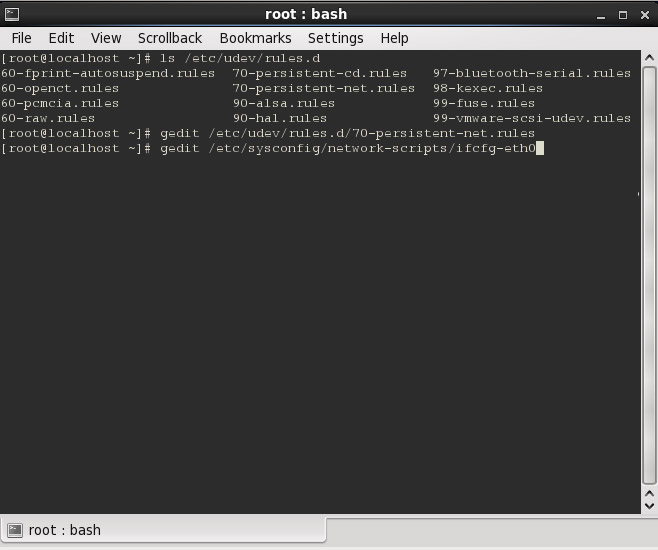
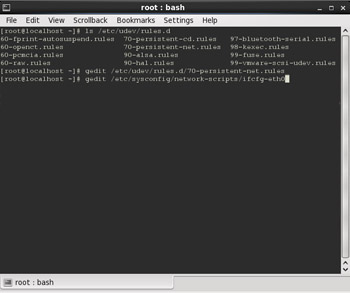
- In order to update the interfaces for the new MAC address, open the prompt and go to /etc/udev/rules.d
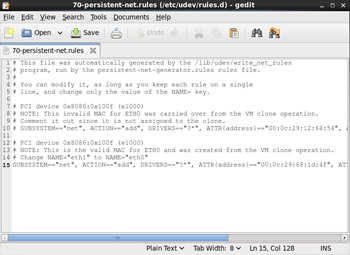
- Although it may vary depending on what your CentOS set-up is, in this case gedit /etc/udev/rules.d/70-persistent-net.rules
|
(Enlarge)
|
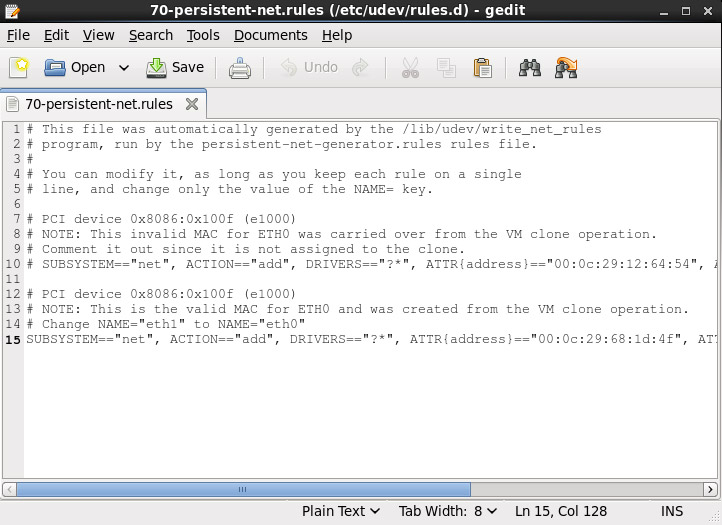
- Here, I added some comments to explain what transpired during the clone process.
- To ensure that the clone has the same eth0 active (and no new eth1), I commented out the original eth0 line and revised the eth1 entry to eth0, verifying that it also contains the new MAC address.
|
(Enlarge)
|
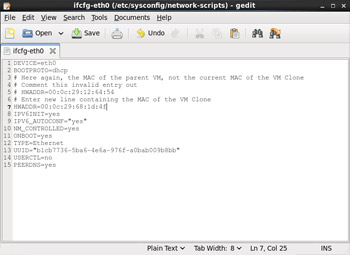
- The next file to modify is ifcfg-eth0. This is done via gedit /etc/sysconfig/network-scripts/ifcfg-eth0
|
(Enlarge)
|
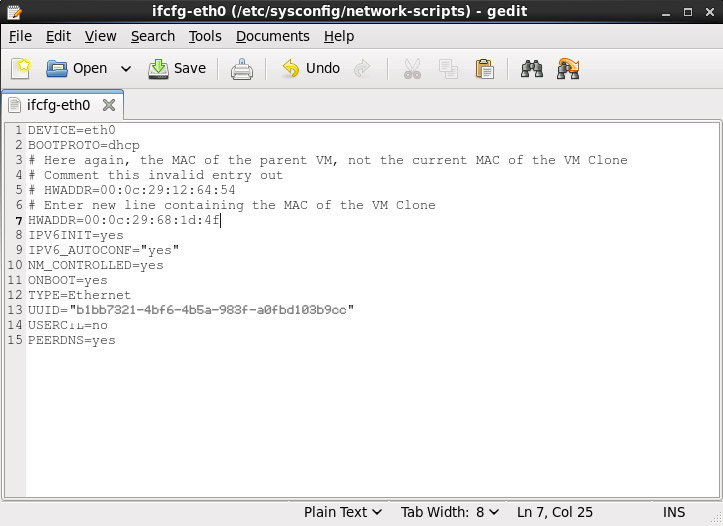
- Update "HWADDR" to be the new MAC address.
|
(Enlarge)
|
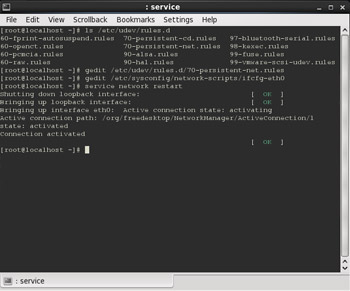
- Now, you should be able to enter "service network restart" at the prompt and eth0 will be ready to use!
|