(Enlarge)
|
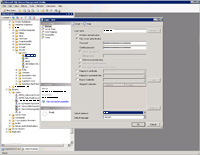
- The first few steps of an SQL Server 2008 R2 installation are straight-forward. However, you should consider installing SQL Server onto a different drive than the primary partition (usually C:).
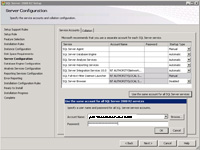
- The step "Server Configuration" you can specify different accounts associated to different services. In some cases, you may desire this degree of separation. In the example, the "ADAccount" account will be associated to each service.
|

(Enlarge)
|
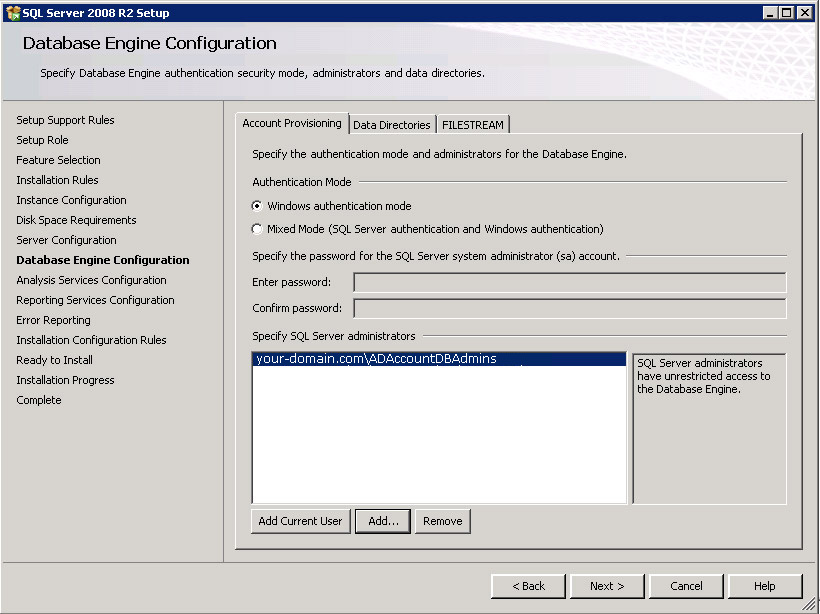
- The step "Database Engine Configuration" is where you enter the SA for the SQL Server. In this example, "Windows Authentication" is selected along with the AD (Active Directory) group defined for database administrators.
|
(Enlarge)
|
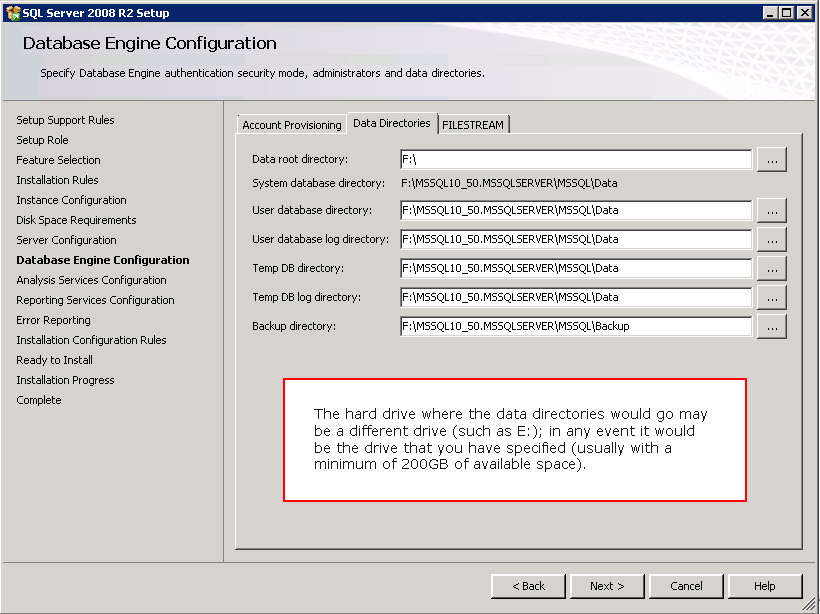
- Under the tab "Data Directories" you specify where you want the database and other items to reside. You should select a different drive than the primary partition (typically C:).
|
(Enlarge)
|
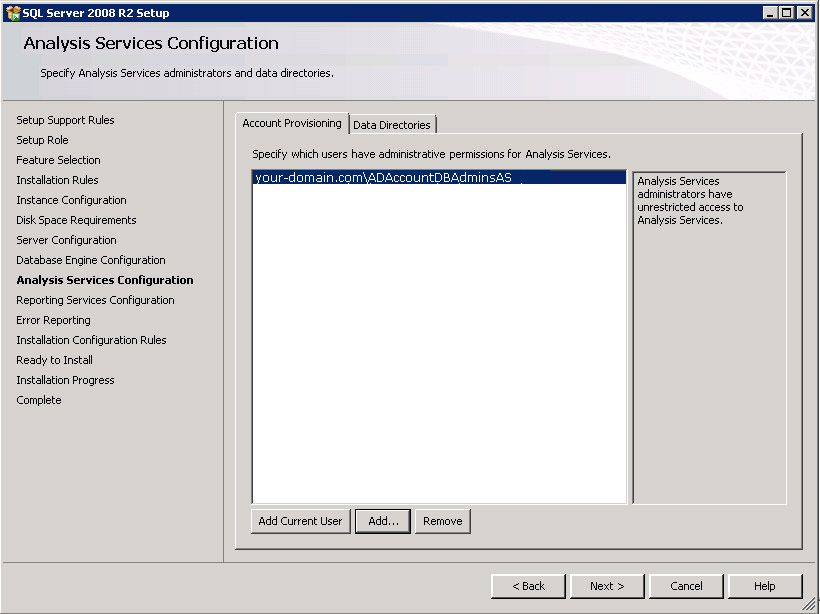
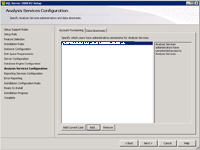
- The step "Analysis Services Configuration", if applicable, you should specify an account that will have administrative rights.
|

(Enlarge)
|
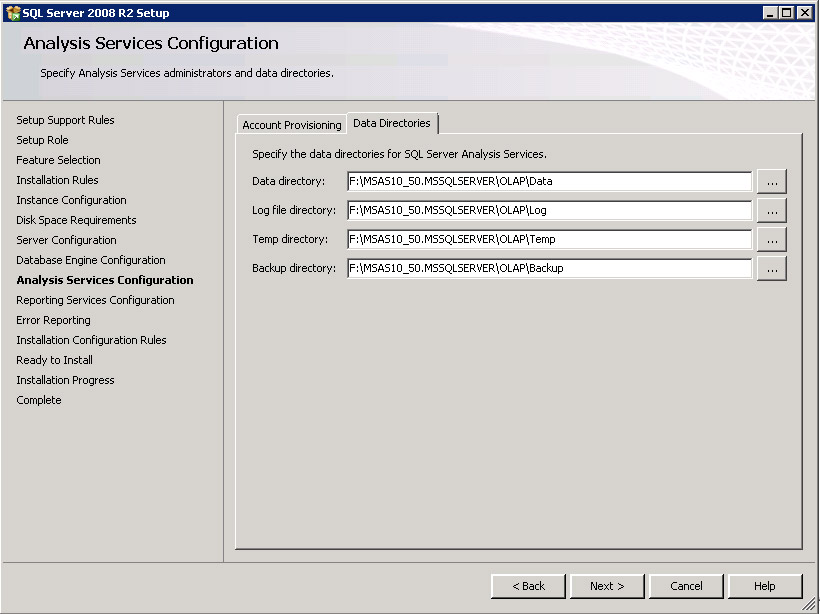
- Under the tab "Data Directories" you specify where you want analysis services to reside.
|

(Enlarge)
|
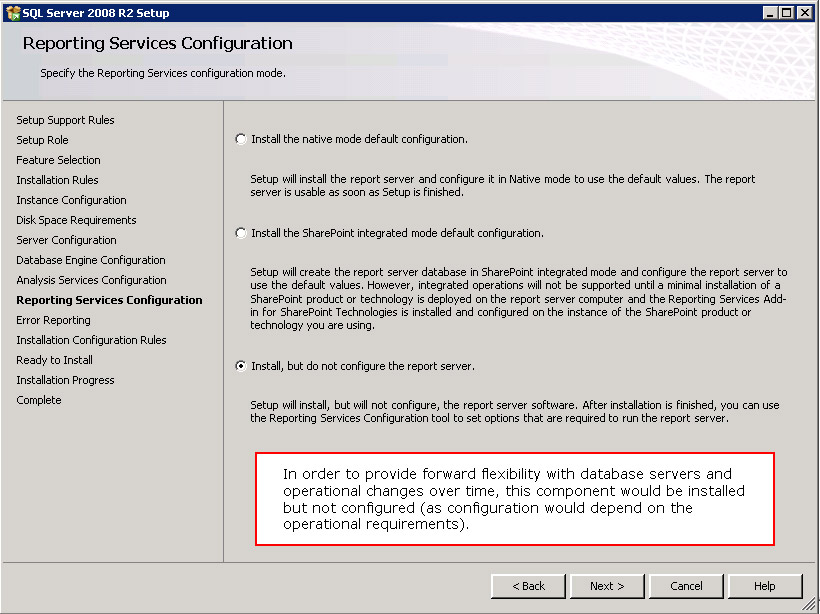
- The step "Reporting Services Configuration" is optional, but you may consider installing it now (so you don't have to later) if you ever think it will be used.
|
(Enlarge)
|
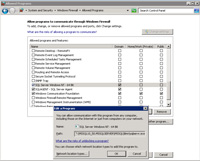
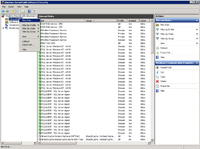
- If you want other servers/systems on your network to be able to communicate with the SQL Server you'll need to open up Windows Firewall on the server you've installed SQL Server on.
- Then, per your requirements, configure and allow "SQL Server Windows NT - 64 bit" (tcp/udp), "SQLAGENT - SQL Server Agent" (tcp/udp), and, "Windows Communication Foundation".
- NOTE: You may or may not need to allow Port 1433/1434 on the network firewall or another port which may be used.
|
(Enlarge)
|
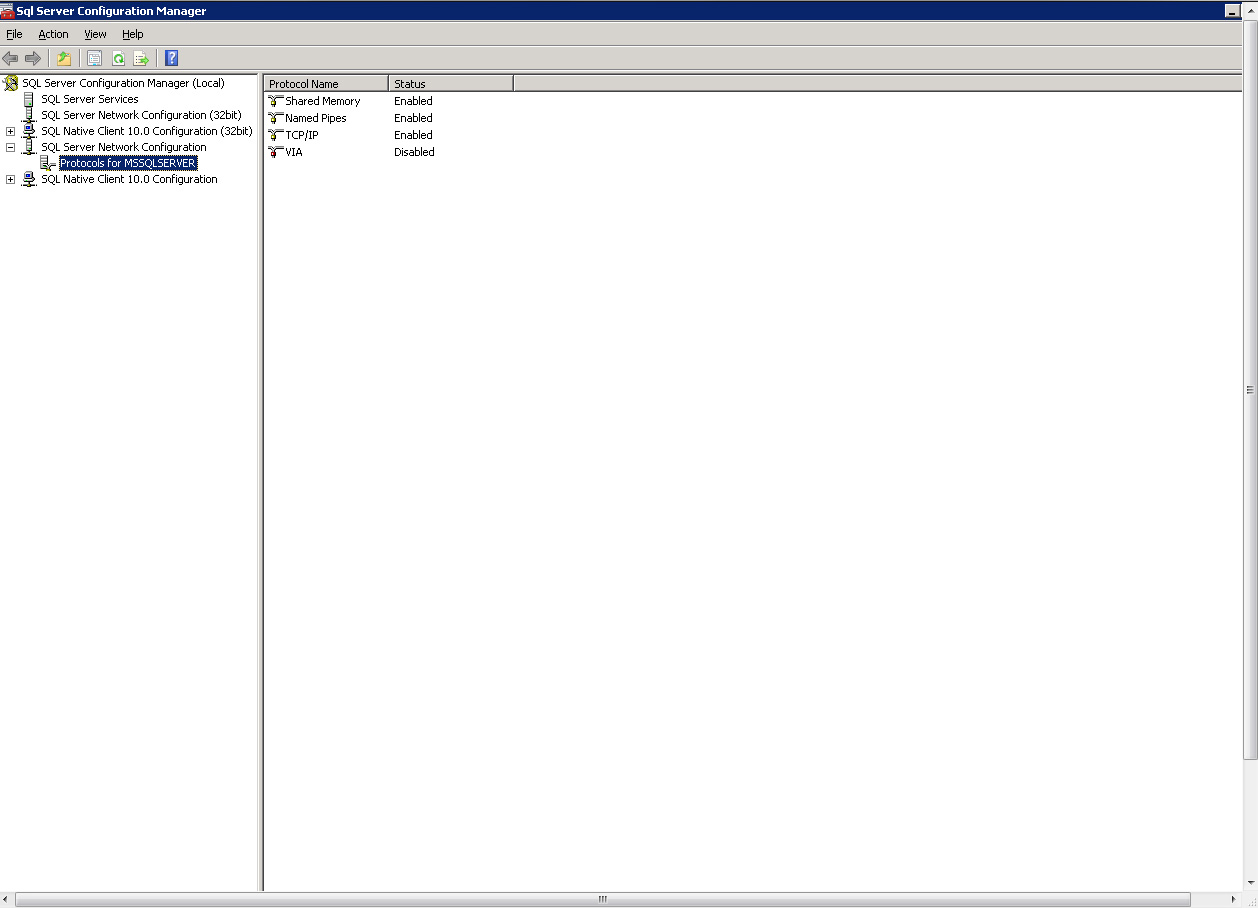
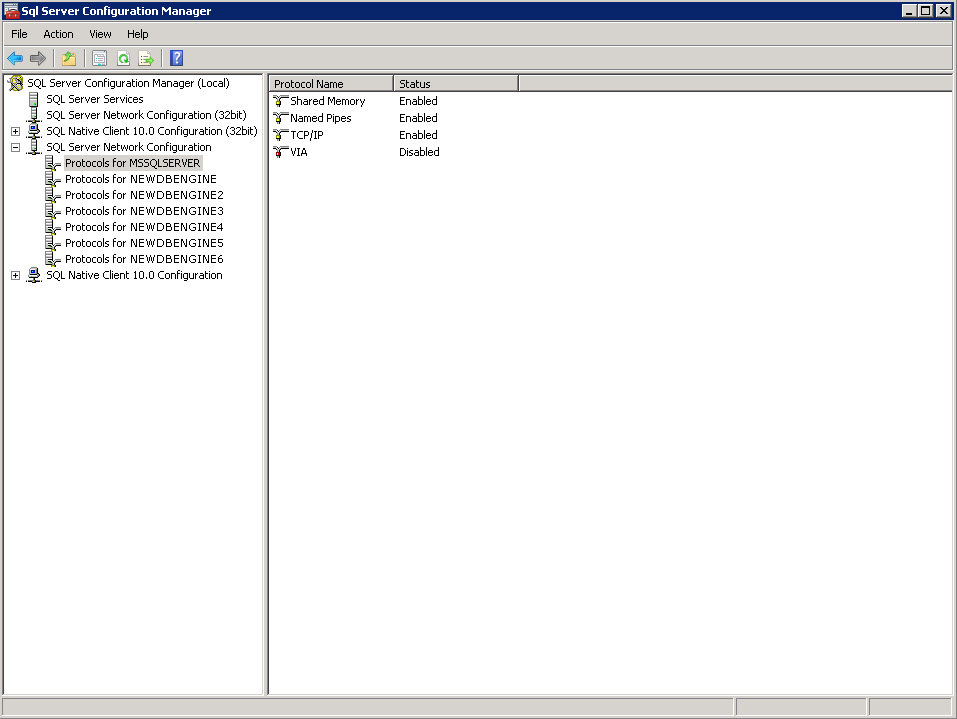
- Next, open "SQL Server Configuration Manager", expand "SQL Server Network Configuration" and select "Protocols for MSSQLSERVER".
- If needed, ensure that "Named Pipes" is enabled.
|
(Enlarge)
|
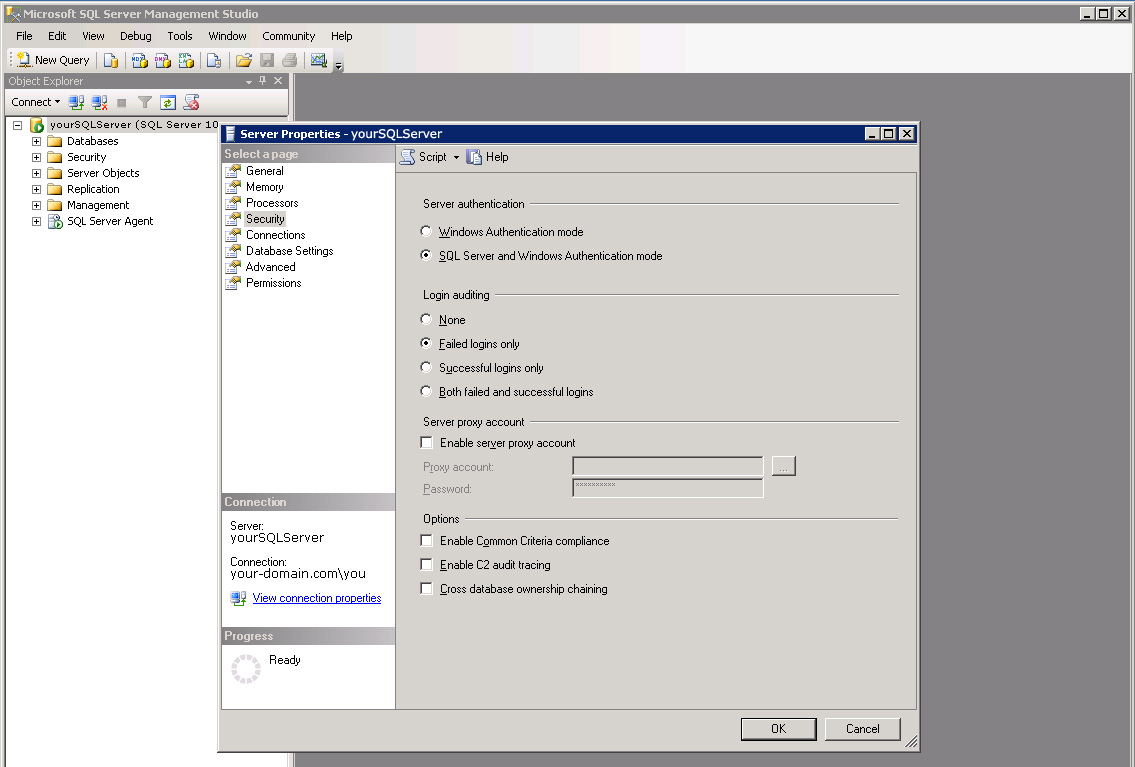
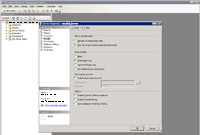
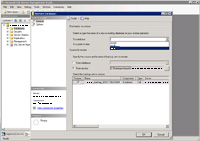
- Finally open "Microsoft SQL Server Management Studio" on the server, select the server to connect to and open Server Properties.
- In this example, under "Security" the following settings were specified:
- Server authentication -> SQL Server and Windows Authentication mode
- Login auditing -> Failed logins only
|
|
|
- Don't forget to get the latest service pack (at the time of this writing the latest service pack was #2 released July 2012).
- You can find the service pack here.
|
(Enlarge)
|
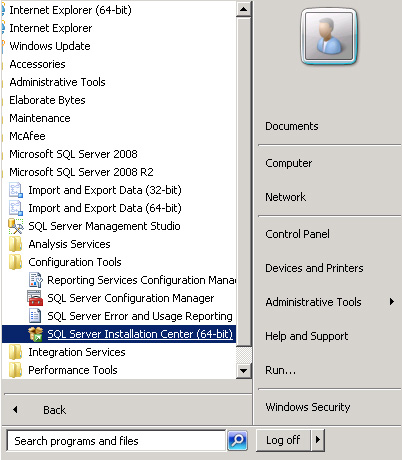
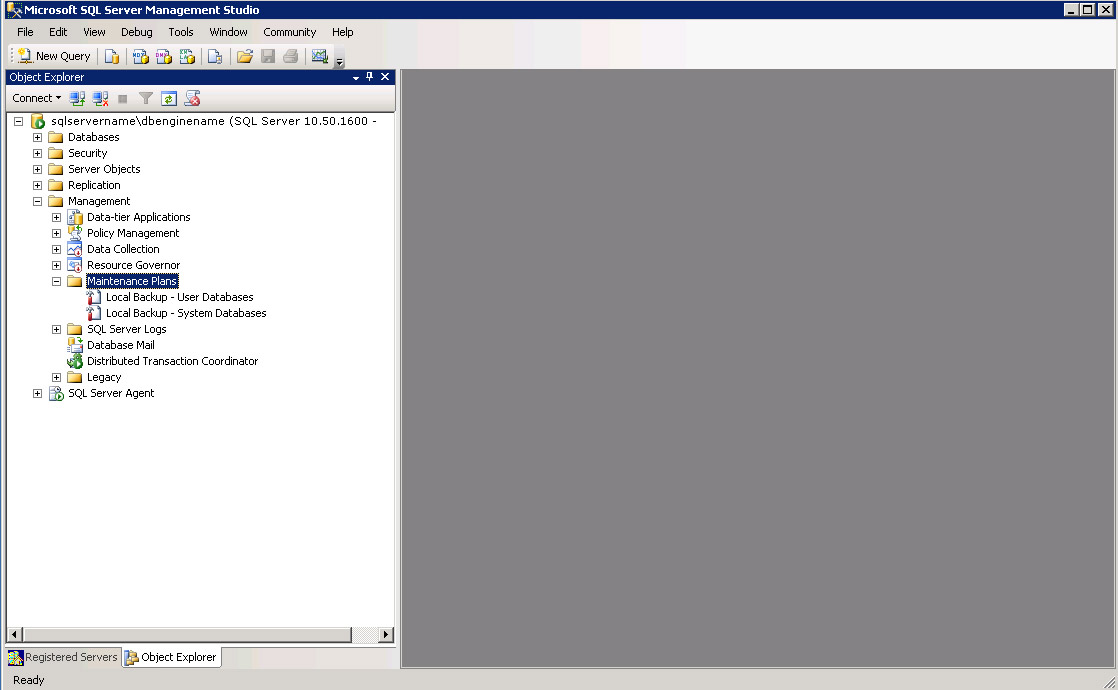
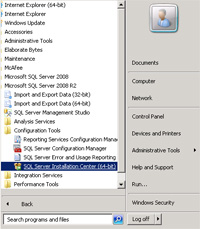
- You can run multiple SQL Server Database Engines on the same Windows Server. This allows you to reference them using the pattern "servername\database-engine-instance-name". This capability allows you, for instance, to consolidate database servers onto a single database server.
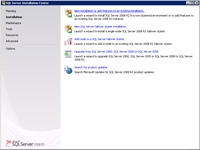
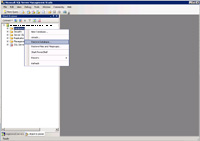
- To begin, open SQL Server Installation Center.
|
(Enlarge)
|
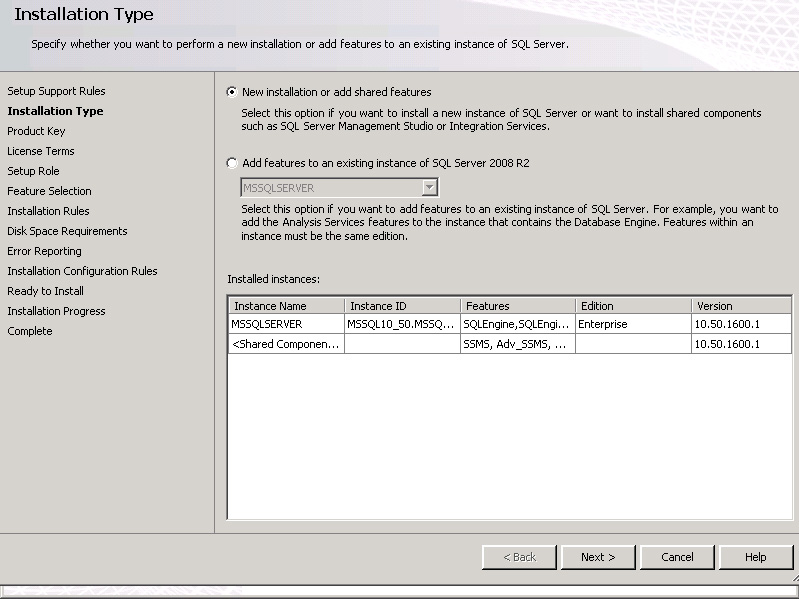
- Select "New installation or add features to an existing installation".
|
(Enlarge)
|
- Select "New installation or add shared features".
|
(Enlarge)
|
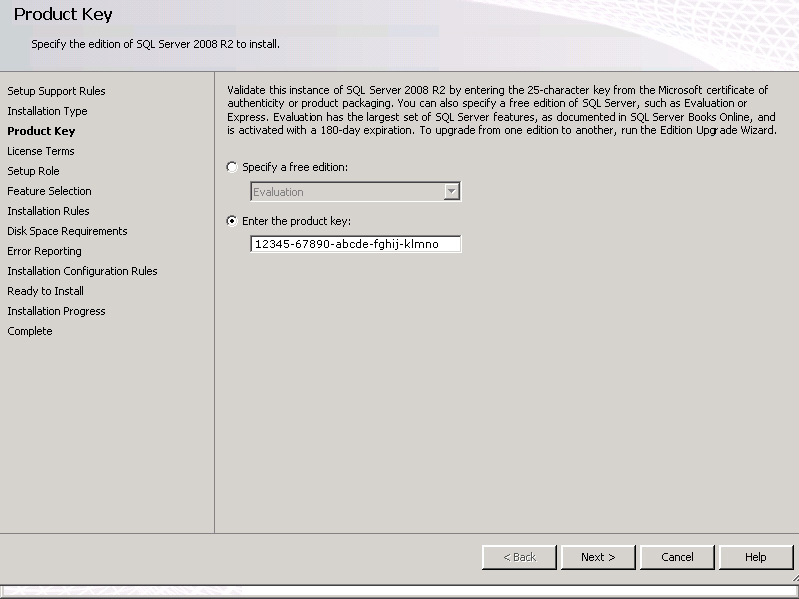
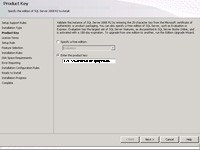
- Under Product Key, enter your product key.
|
(Enlarge)
|
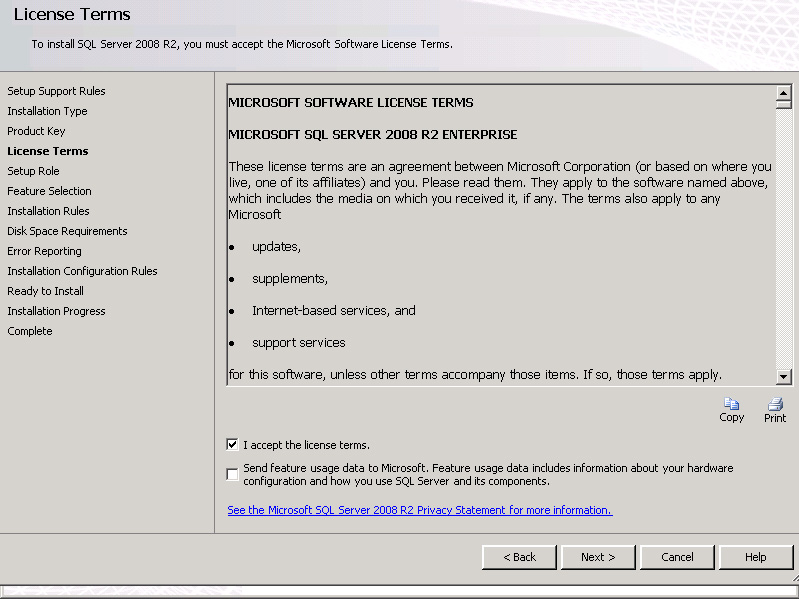
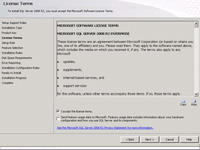
- Review the license terms.
|
(Enlarge)
|
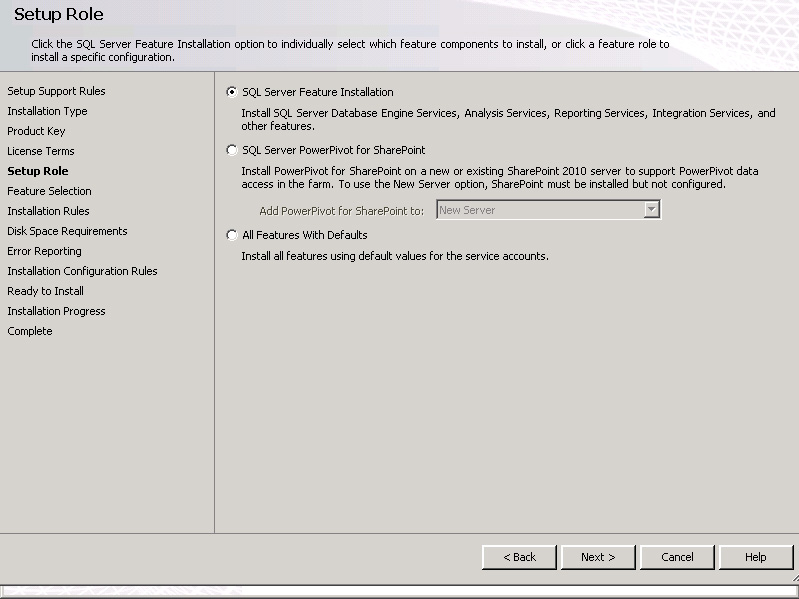
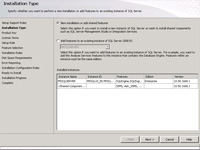
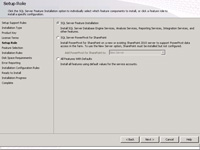
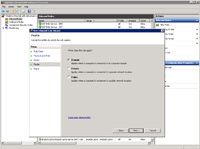
- Under "Setup Role" select "SQL Server Feature Installation".
|

(Enlarge)
|
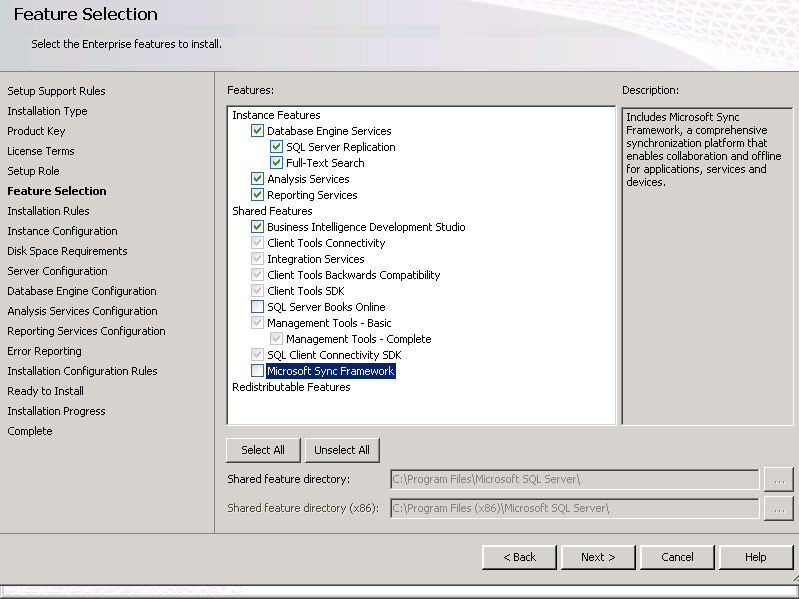
- Under Feature Installation, select what may be needed.
|
(Enlarge)
|
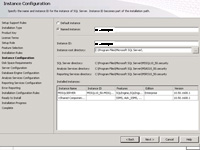
- Under "Instance Configuration" select "Named instance" and provide the name of the new instance. You may also want to change the location of the instance's root directory to another drive on the server so the default primary partition drive (usually C:) does not get bloated.
|
(Enlarge)
|
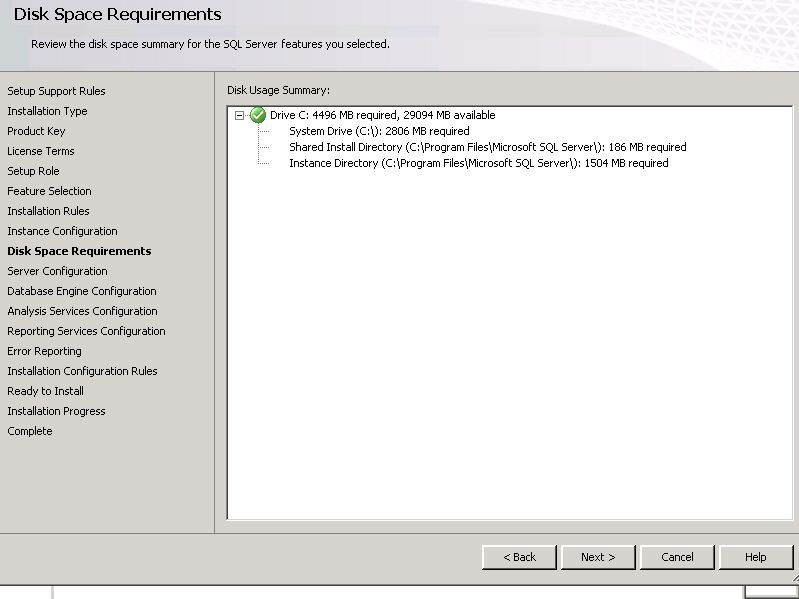
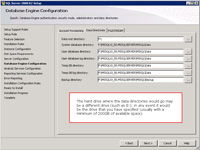
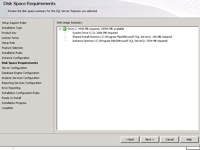
- Under Disk Space Requirements you can see that ~2GB of space is required (this is before you starting using, import a database, etc).
|

(Enlarge)
|
- Now you are ready to install the new database engine instance.
|
(Enlarge)
|
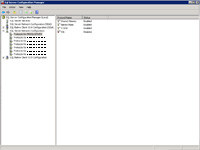
- Don't forget that you may need to enable/disable Named Pipes or other protocols under "SQL Server Network Configuration" found in the Sql Server Configuration Manager application.
|
(Enlarge)
|
- Once a new database engine instance has been created you can take a full backup of an individual database (perhaps from a separate database server) you wish to import onto the new instance.
- Begin by opening SSMS on the SQL database server your new instance is on, then right click on "Databases" and select "Restore Database".
|
(Enlarge)
|
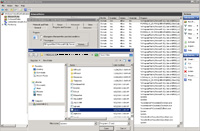
- Under "Source for restore" select "From device" and browse to where the .BAK is located (you may want to temporarily copy it so it is local to speed up the restore).
- Under "Select the backup sets to restore" check the .BAK.
- Under "Destination for restore" select the database.
|

(Enlarge)
|
- If everything goes well, you will be shown a success message.
|
(Enlarge)
|
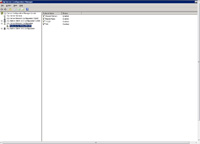
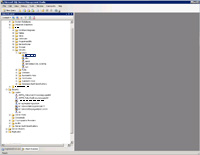
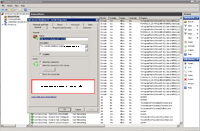
- If there were database users (such as one you created to perform select queries) attached to the individual database, they will not be present under the "Security -> Logins" as shown.
|
(Enlarge)
|
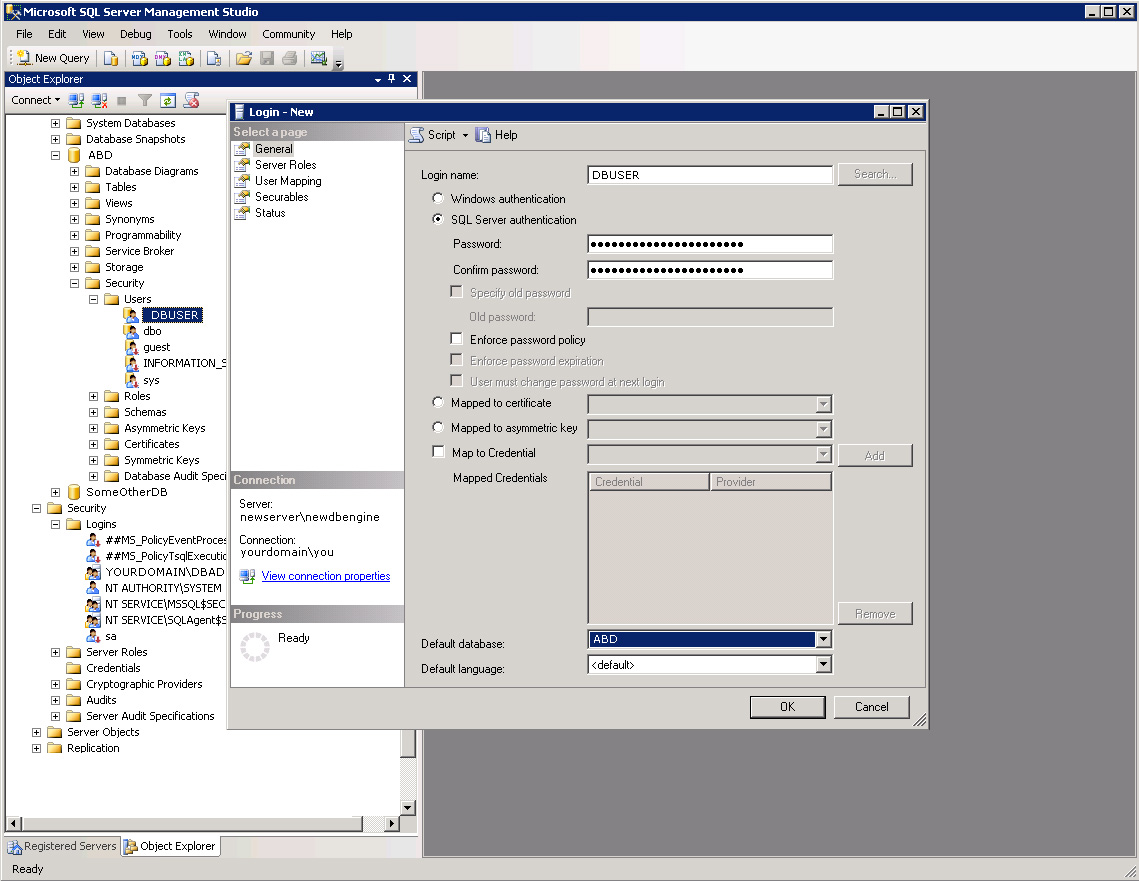
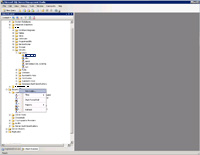
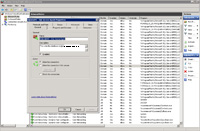
- Add the appropriate user under Logins of Security by selecting "New Login...".
|
(Enlarge)
|
- Complete the user's information as needed and select the database to which the account applies to.
- Once that is completed, open a new query window for the database and follow the following:
- use individual-database-name
-- find the orphaned users
sp_change_users_login 'report'
- If there are orphaned users, you will need to enter the following for each:
- -- reconnect the orphaned users found
sp_change_users_login 'update_one', 'dbuser', 'dbuser'
GO
- OPTIONAL
If the database you restored makes use of the master key (say some sort of custom encryption process) you may need to ensure that master key is opened for the individual database if your custom implimentation does not open and close the key with each request:
use individual-database-name
OPEN MASTER KEY DECRYPTION BY PASSWORD='somepassword'
ALTER MASTER KEY ADD ENCRYPTION BY SERVICE MASTER KEY
GO
|
|
|
NOTE: There are cases, commonly with using 3rd party software, a user may be denied connecting to a database. An error that may be seen in the logs of the server include:
- Login failed for user 'DOMAIN\abcd'. Reason: Token-based server access validation failed with an infrastructure error. Check for previous errors. [CLIENT: 1.2.3.4]
Tokens can be used to authenticate user accounts which are NOT database administrator accounts. For many reasons you may not want to give a user database administrator level permissions so it would be good to exhaust options pertaining to the 3rd party software to resolve the issue. There is a way to resolve token-based errors with a user account with the system database on the database server...however, that requires issuing grants to the specific user. See below:
- GRANT CONNECT SQL TO [DOMAIN\firstname.lastname]
GRANT CONNECT ON ENDPOINT::"TSQL Default TCP" TO [DOMAIN\firstname.lastname]
- More lenient method:
GRANT CONNECT ON ENDPOINT::[TSQL named Pipes] to PUBLIC
GRANT CONNECT ON ENDPOINT::[TSQL Local Machine] to PUBLIC
GRANT CONNECT ON ENDPOINT::[TSQL default TCP] to PUBLIC
GRANT CONNECT ON ENDPOINT::[TSQL default VIA] to PUBLIC
GRANT VIEW any database to PUBLIC
|
|
SQL Jobs
|
- It is important to note that, if there were SQL jobs running, those jobs are not carried over. However, you can manually recreate local SQL jobs. If possible, you could open an SQL job (in its old location) to modify/edit so that you can highlight the source. Then, under the master system database of the new location (in the query window), paste the source and execute it.
|
(Enlarge)
|
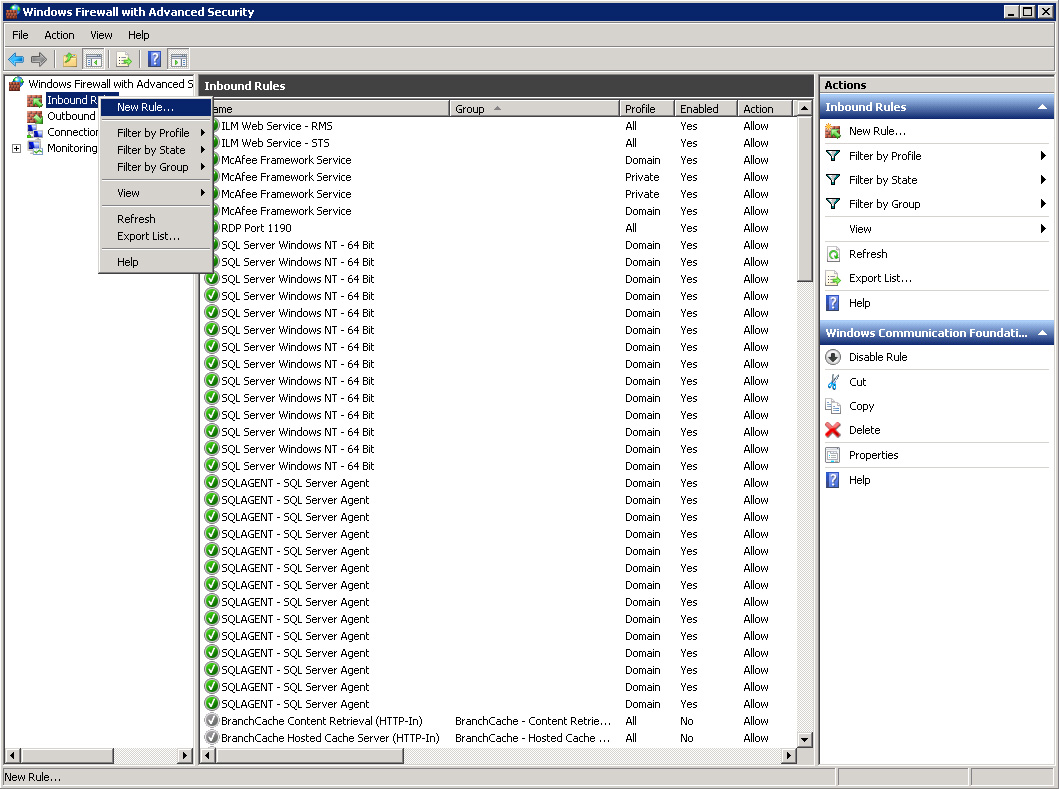
- When you have SQL Server 2008 running and you want to be able to connect to a database it remotely, the SQL Server Browser Service needs to be available through the local Firewall.
- You'll need to create a new Inbound Rule.
|
(Enlarge)
|
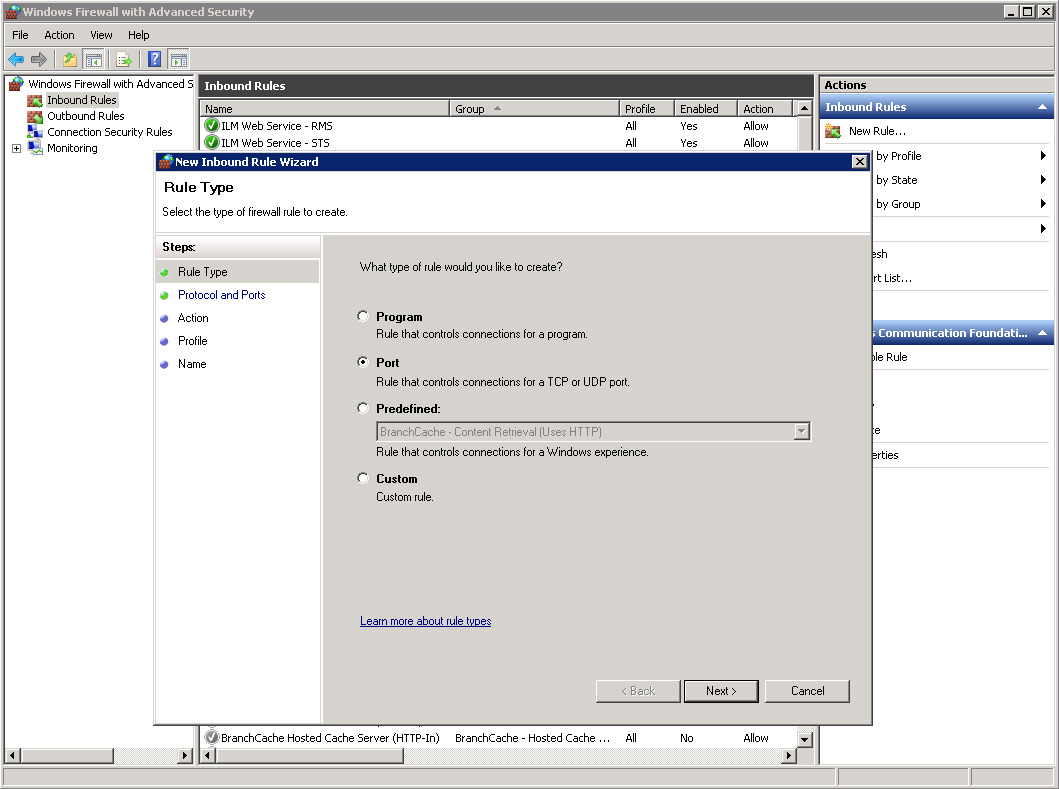
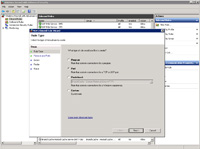
- Under Rule Type, select Port.
|

(Enlarge)
|
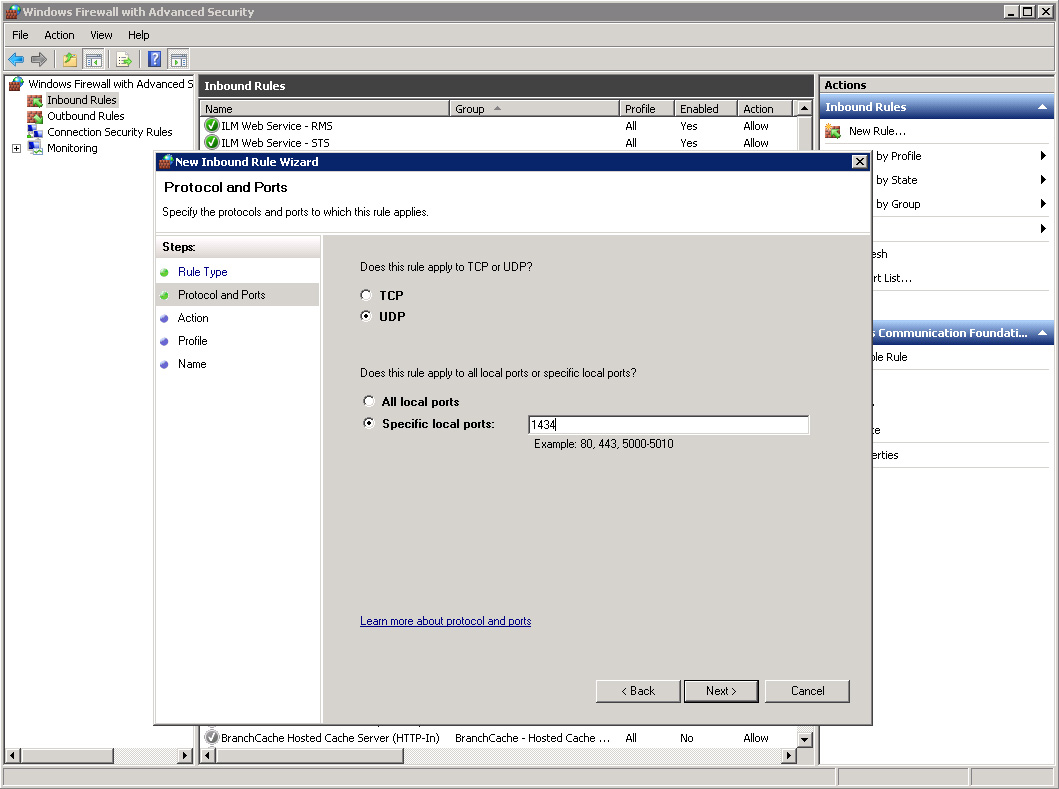
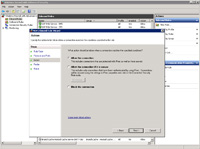
- Under Protocol and Ports select UDP, specific port and enter 1434.
|
(Enlarge)
|
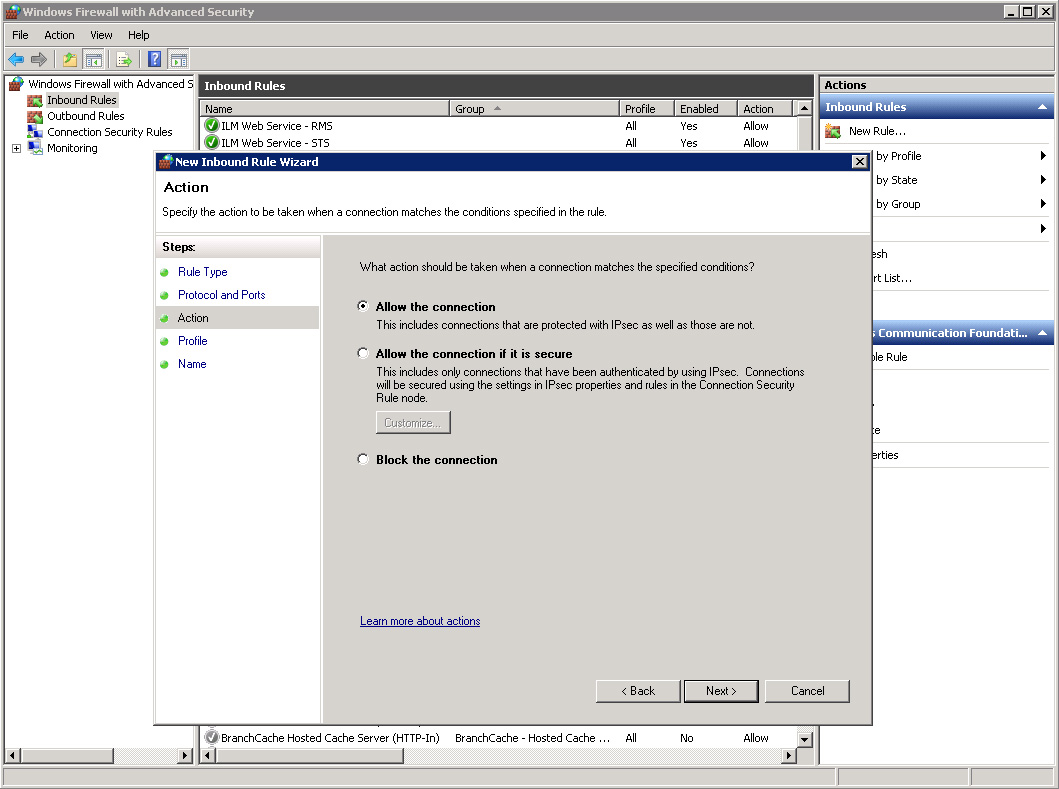
- Under Action select "Allow the connection".
|
(Enlarge)
|
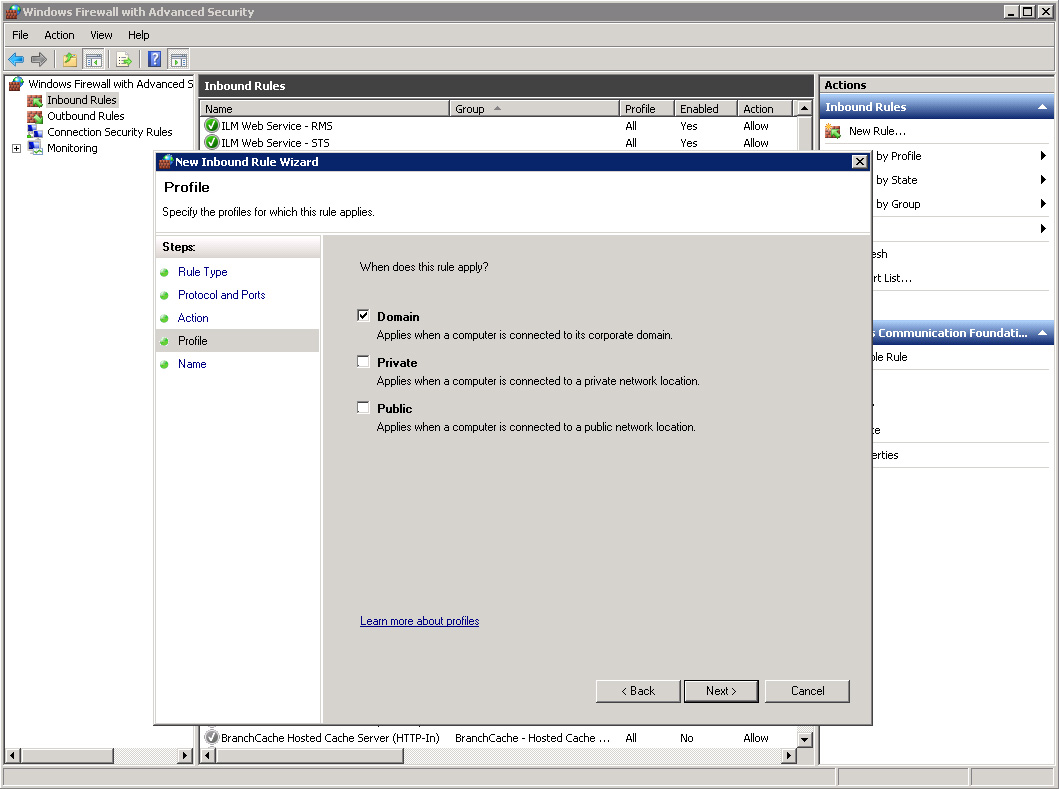
- Under Profile select what is most appropriate for "When does this rule apply?".
|

(Enlarge)
|
- Under Name, enter an intuitive name and description.
- Once the rule is created you should be able to edit it and point to the SQL browser service.
|
(Enlarge)
|
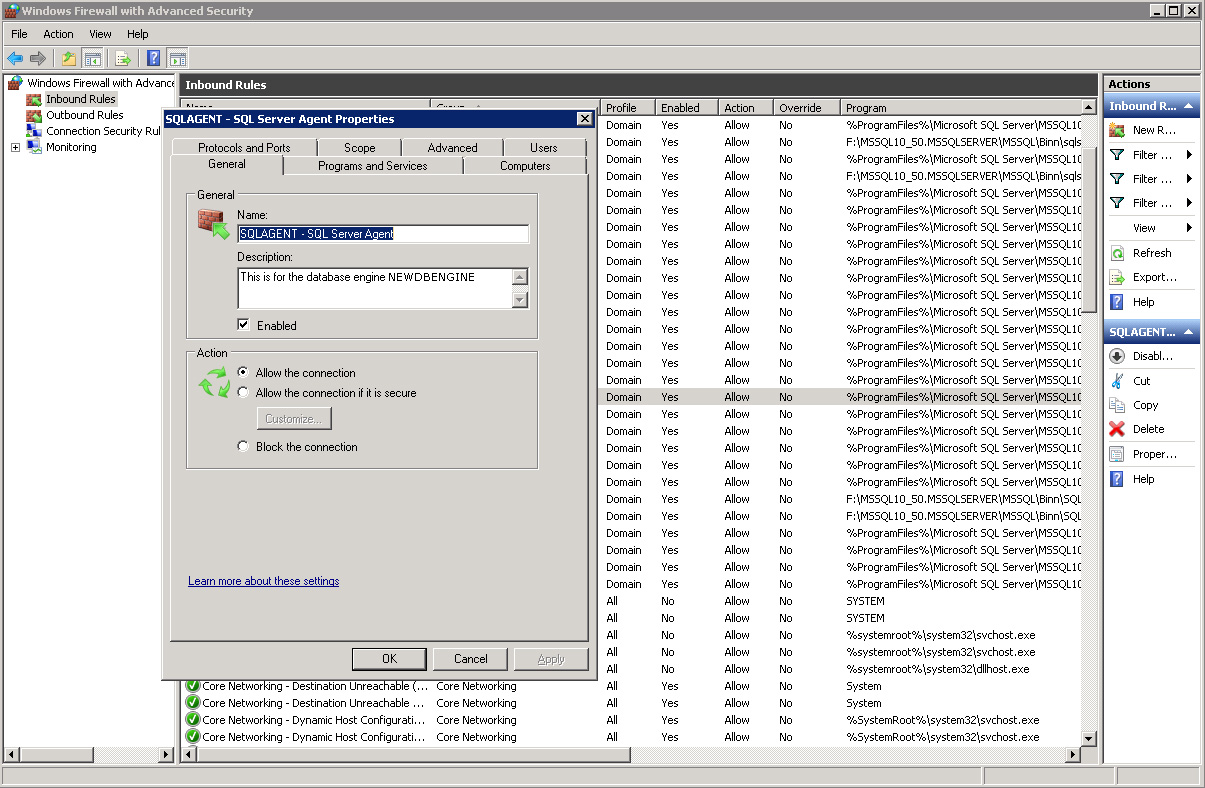
- Shifting gears back to a specific database engine instance - each database engine instance will need a TCP/UDP (in many cases) inbound rule setup in the Firewall for "SQL Server Windows NT - 64 bit" and "SQLAGENT - SQL Server Agent". The easiest way to do this is to copy the existing rule for the default database engine (MSSQLSERVER) and then revise it to point to the specific database engine instance's sql server and agent locations.
|
(Enlarge)
|
- Under the Programs and Services tab, browse to the sqlservr.exe for the database engine instance.
|
(Enlarge)
|
- Copy the SqlAgent firewall rule and edit the copy for the database engine instance.
|
(Enlarge)
|
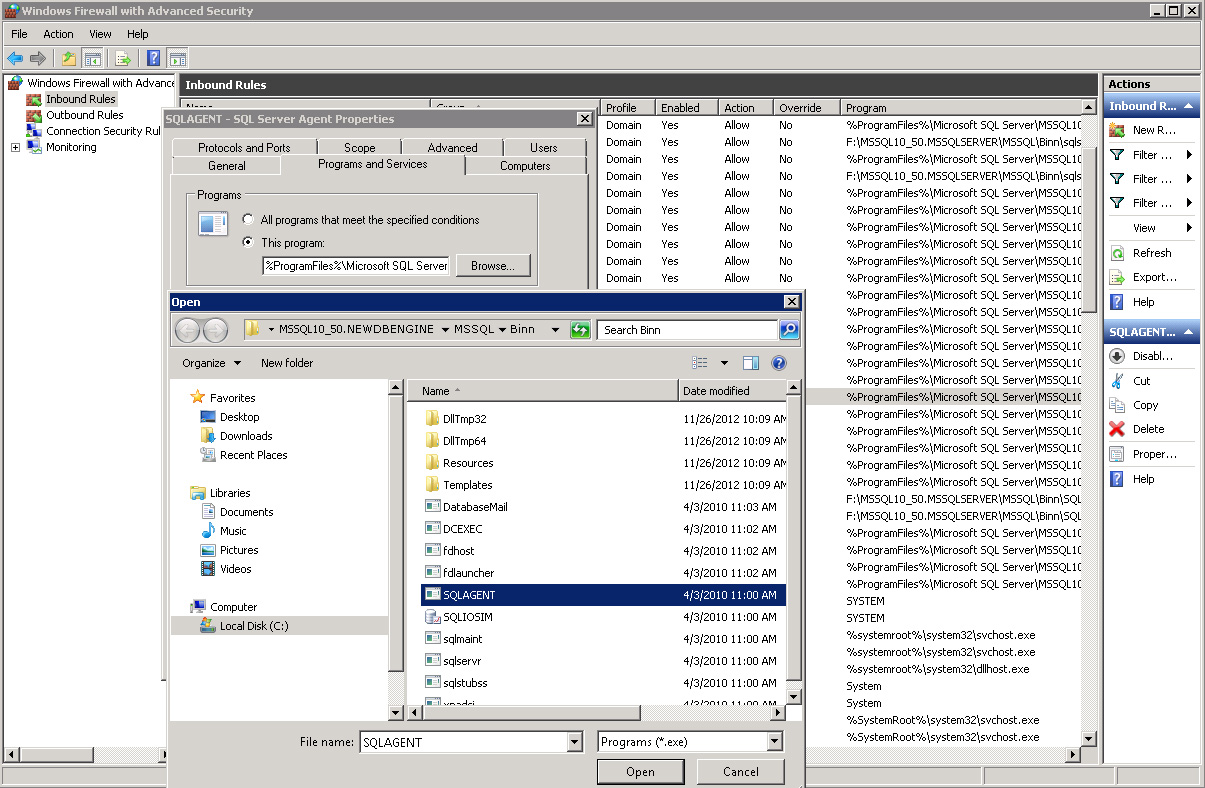
- Under the Programs and Services tab, browse to the sqlagent.exe for the database engine instance.
|
|
NOTE
|
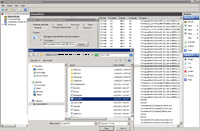
- If your database server, web server, or another resource is protected by a firewall (for example you have servers that need to communicate across vlans), you may need to know what port the SQL Server is communicating on for each database engine instance. You could use a network utility such as WireShark to monitor network traffic and identify the port by filtering by the IP address of the database server and then initiate a SQL request. It is important to note that Wireshark just needs to be on the same network as the database server (so you don't necessarily need to install it on the database server - which, for security reasons, you probably would not want to do anyway).
|
(Enlarge)
|
- An SQL job is similar to a scheduled task (under task manager) or a cron job. An SQL job allows you to execute some type of database related action under with a schedule. The SQL job can do many things (as will be shown) but if you end up needing to do something such as creating a CSV file from returned rows of data you would need to use something known as a SSIS package - the caveat with an SSIS package and a CSV file you will need an example CSV file already constructed for the SSIS package to read so that it can create CSV files. SSIS is accessed by using SSMS and selecting Integration Services instead of Database Engine for the connection. Another caveat with an SSIS package is that if you reference a stored procedure which is using temporary tables like "CREATE TABLE #rawData", SSIS will fail until you change how you reference the temporary tables so something like "Declare @rawData Table"; becuase the table is "declared" you don't need to drop it. Finally, SSIS can connect to other database engines to gather data which is why, in many cases, a server would be built in order to run SSIS packages.
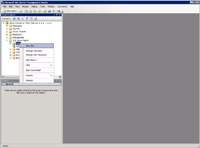
- Getting back to SQL jobs, to create one select "New Job" under "Jobs".
|
(Enlarge)
|
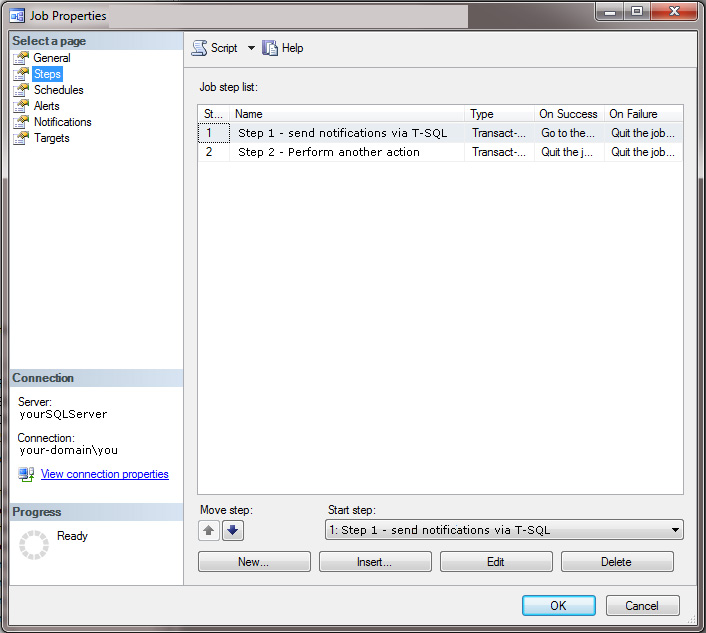
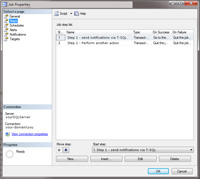
- With an SQL job you can have multiple steps (you always need at least one step).
|

(Enlarge)
|
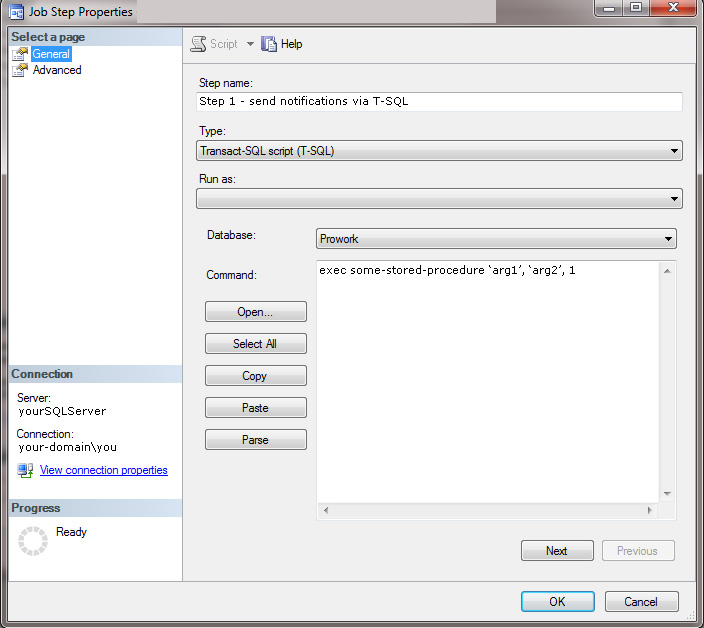
- For security and to make maintenance easier, in a step you can specify "T-Sql" and execute a stored procedure attached to a database along with an account to run that stored procedure under (if needed - select type stored procedures referenced may not need to have a specific database user account in order to return data).
|

(Enlarge)
|
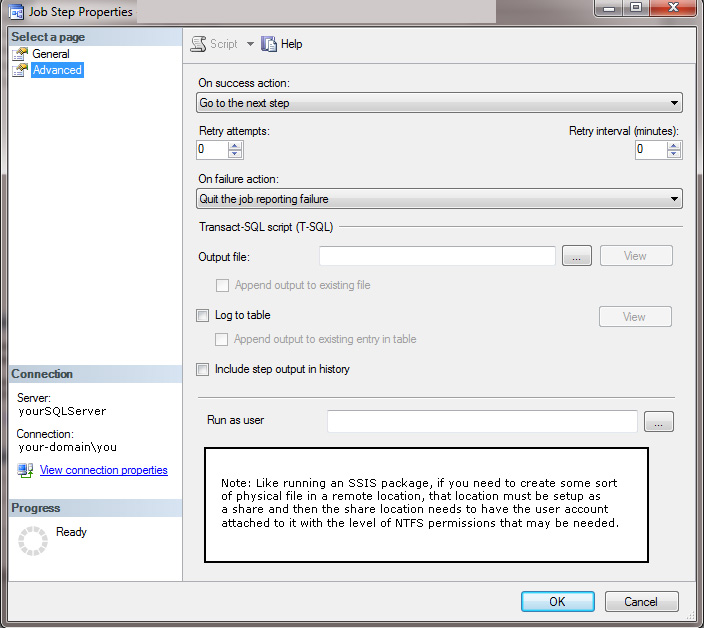
- From here you can specify what action to perform when the action is successful or fails. If you write failure output somewhere ensure that, like an SSIS package generating files, that the appropriate permissions are available to the target file location.
|
(Enlarge)
|
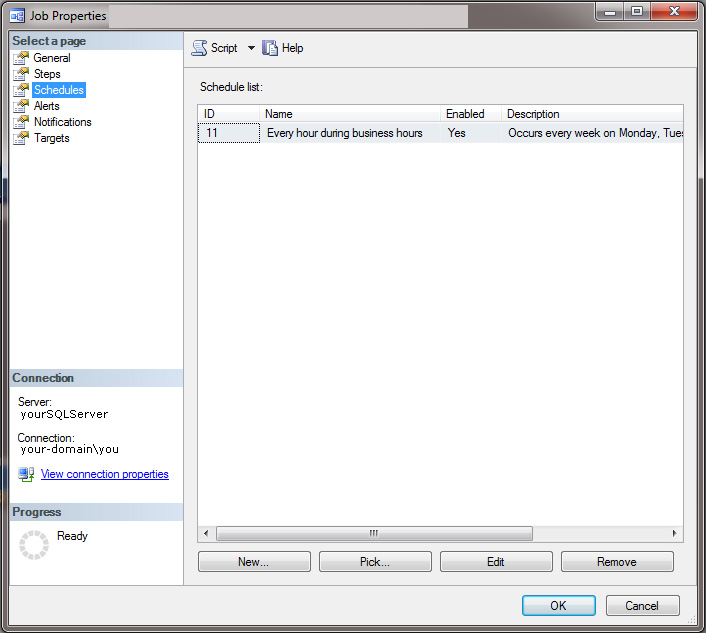
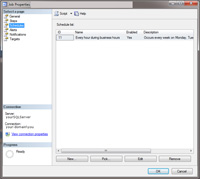
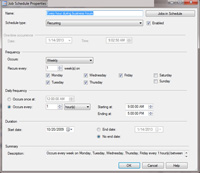
- Under "Schedule" you can specify various parameters for when the SQL Job runs.
|
(Enlarge)
|
- This shows the type of scheduling options that you have.
|
(Enlarge)
|
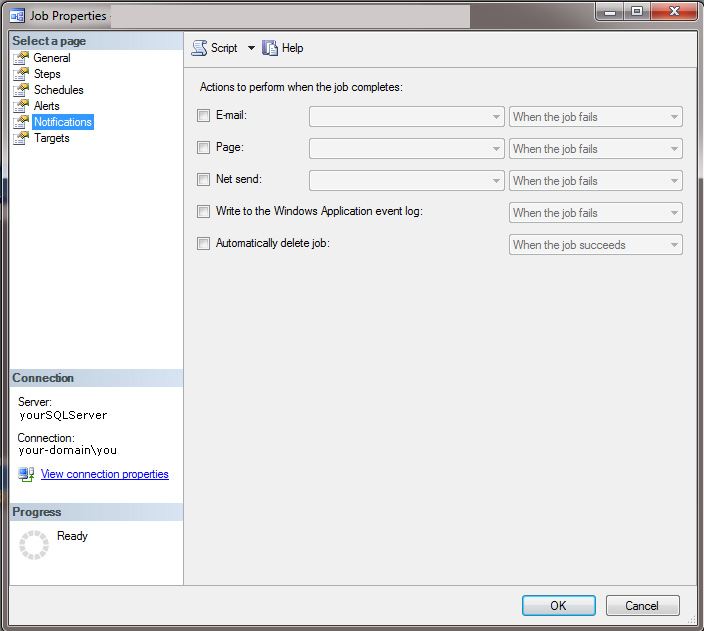
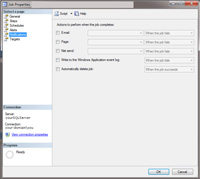
- Under "Notifications" you can specify various notification mechanisms (such as sending an email when the job fails). It is important to remember that, in order to send an email, the email user has to be added BEFORE you start creating the SQL job so you can select it. Additionally you'll have to ensure email can be sent off of the server. Don't forget that if you are in a firewalled environment that you may also have to ensure the IP address/port of the server is allowed to send SMTP mail; as well, if using Exchange , that the IP address of the server is allowed.
|
(Enlarge)
|
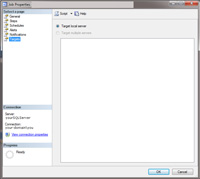
- Here, you can specify what database server to target; in this case it would be the local server that the SQL job resides on.
|
|
|
- After the SQL Job has been created you can run it immediately to see if it is working as expected.
|