Main Page
 The gatekeeper of reality is
 quantified imagination.

Stay notified when site changes by adding your email address:

Your Email:

Bookmark and Share
Email Notification
Project "ASP.Net 3.5 Master Pages"
    Purpose
The purpose of this project is to demonstrate how to create and utilize .Net 3.5 master pages in conjunction with ASPX web pages.

How I Approach This Project
As a web researcher/developer I had the opportunity to get rolling with .Net 3.5 months before it was released. Because of this I've developed a variety of ASP.NET 3.5 web applications; this is among one of them which was taken out of a larger context. In this case, there is no CSS stylesheet or Javascript file. However, in order to demonstrate how to reference those types of objects, the .Net placeholders remain for them so that you can see how to reference those types of external files.


Typically I conduct research and development on a test web server (Windows-based in this case) and conduct project builds on the test web server. When everything is working as scoped, I'll do a publish to a separate production web server. If you happen to create and build your projects on your local computer, please keep that in mind when I mention network paths (which .Net 3.5 actually can work with).

What Will You Need?
You will need Visual Studio 2008, Microsoft Office Word 2007 and the location you'll build at (in my case the web server) will need to be able to run .Net 3.5 applications.

Let's Begin
To begin with, you will need to download the following three Microsoft Office Word 2007 docx files. Each file contains complete source code for a specific part of this project.
  1. Default_aspx.docx - ASP.NET web page source code containing placeholders
  2. Default_aspx_vb.docx - ASP.NET VB (code-behind) page for default.aspx triggering a master page
  3. Default_MasterPage_master.docx - ASP.NET master page referencing placeholders
Please follow the step by step guide below if master pages under .Net 3.5 is a fairly new subject to you. Otherwise you may prefer to skip to the next section.

STEP 1

(Enlarge)
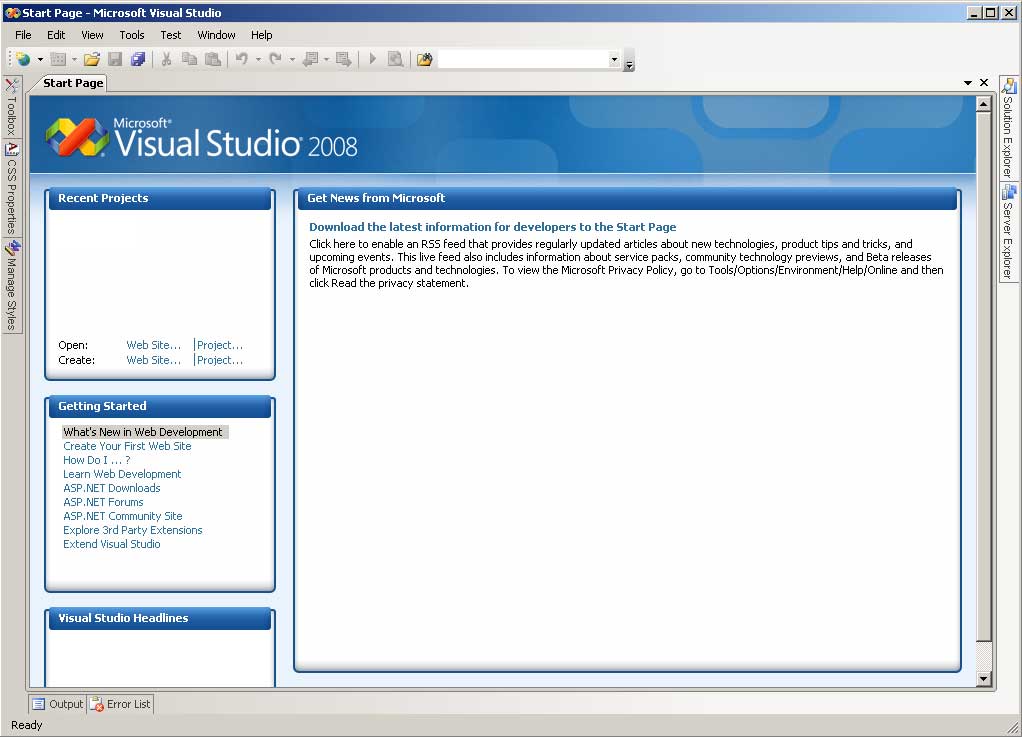
Open Visual Studio 2008.
STEP 2

(Enlarge)
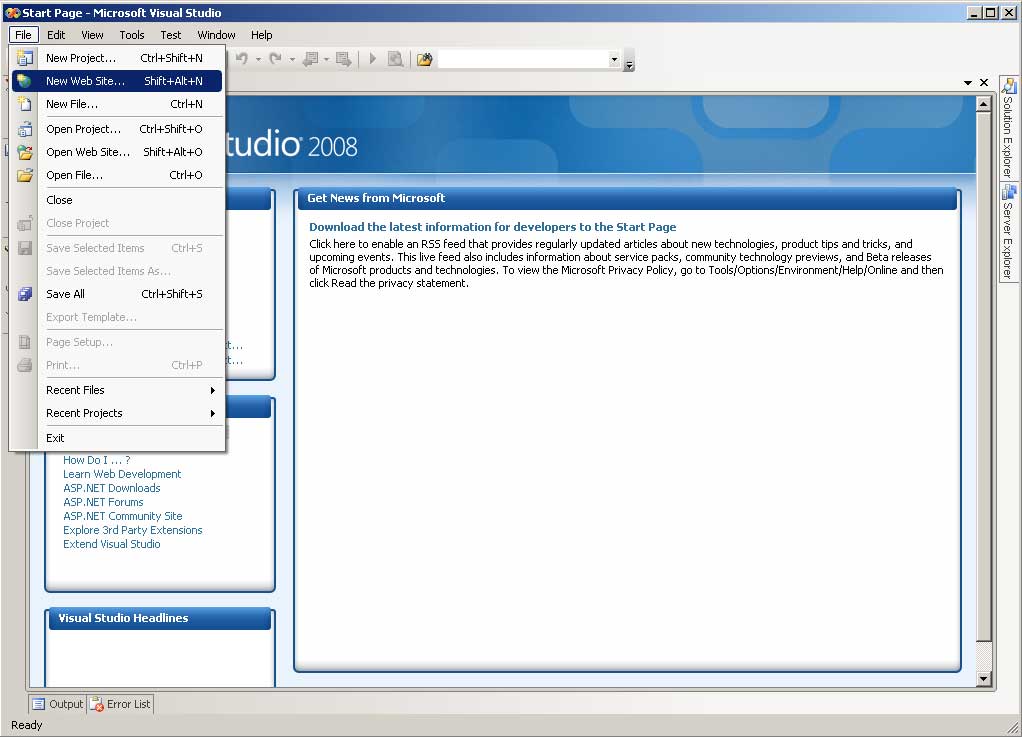
Under the File Menu select "New Web Site".
STEP 3

(Enlarge)
  1. Under "New Web Site" select ASP.NET Web Site.
  2. Specify Location as "File System".
  3. Specify Language as "Visual Basic".
  4. Type in the network path to the web server, a web site on that web server, and a folder that the project or "ASP.NET Web Site" will reside at.
STEP 4

(Enlarge)
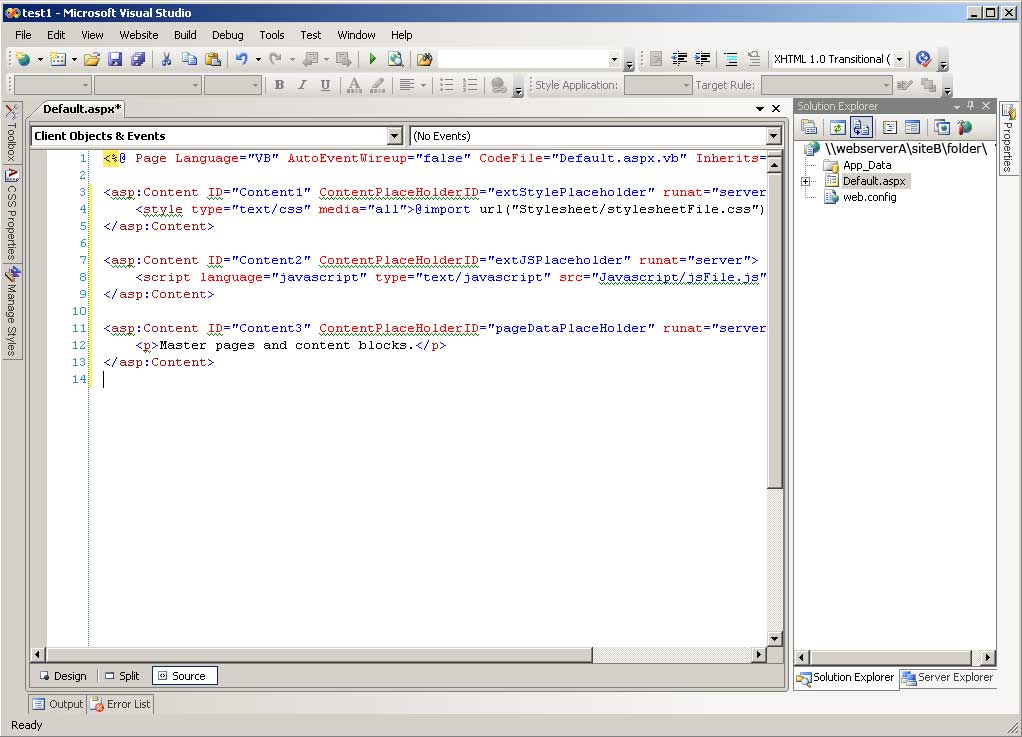
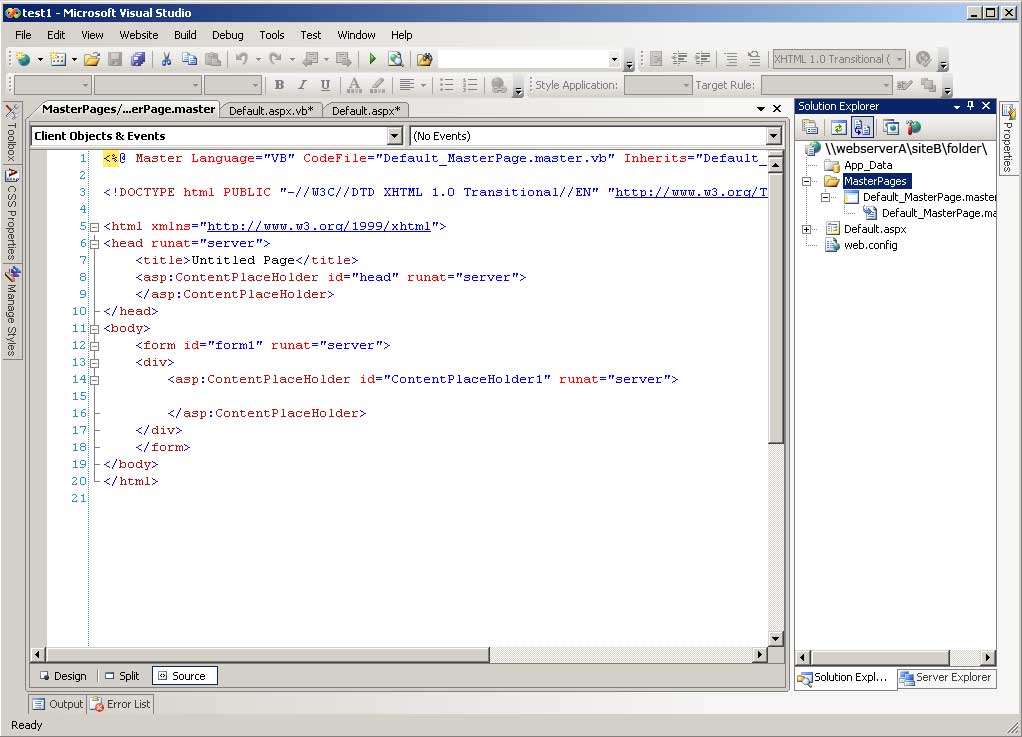
You will notice that a default web page has been created (Default.aspx).
STEP 5

(Enlarge)
  1. Open "Default_aspx.docx" (the source code file mentioned at the top of this web page) with Microsoft Office Word 2007.
  2. Highlight and copy the contents of the page.
  3. Highlight the source code section of "Default.aspx".
  4. Paste the contents you had copied. This will remove the default code that was generated with what is contained in the docx file.
STEP 6

(Enlarge)
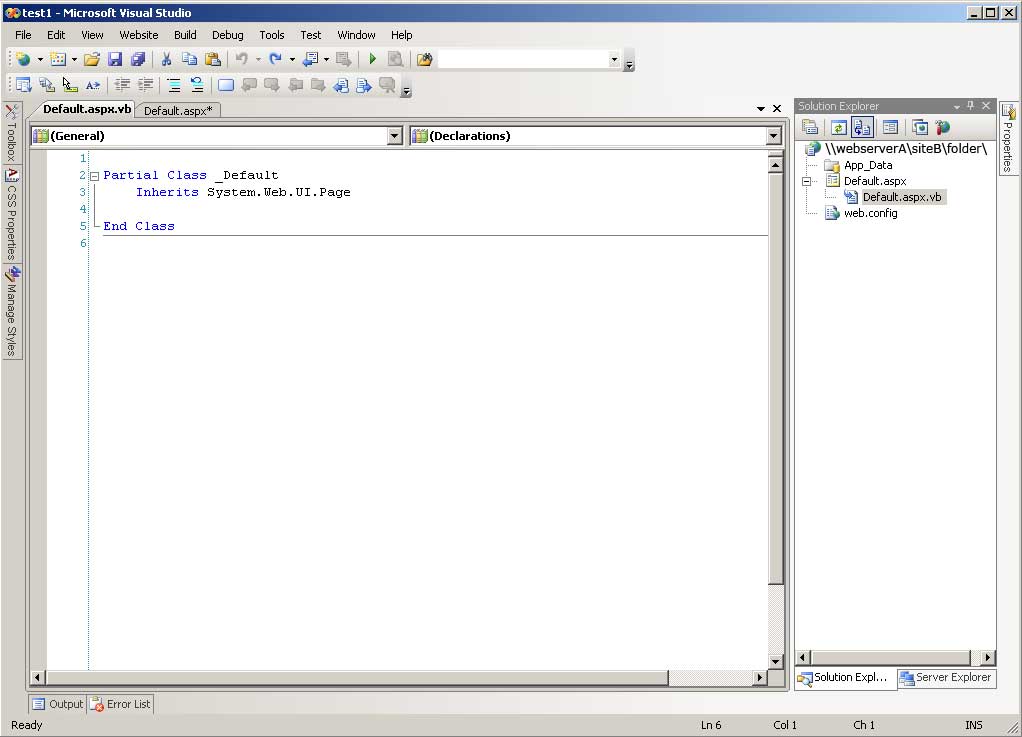
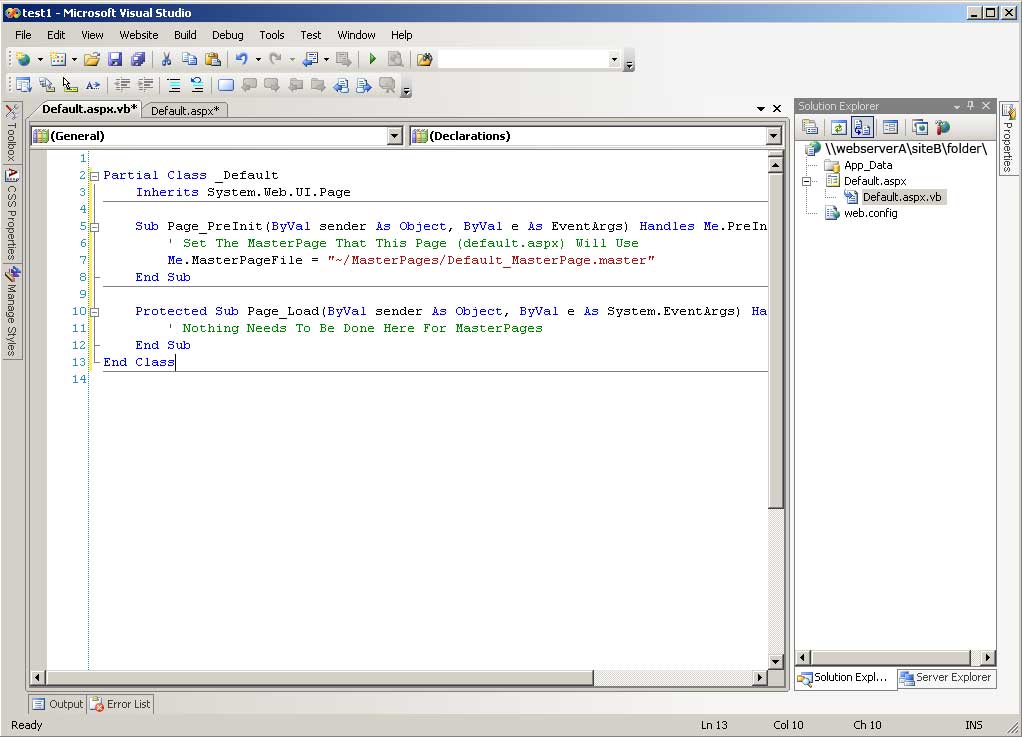
Under Solution Explorer, expand "Default.aspx". The VB (code-behind) page will be revealed.
STEP 7

(Enlarge)
  1. Right-click on "Default.aspx.vb.
  2. From the pop-up menu select "Open".
STEP 8

(Enlarge)
  1. Open "Default_aspx_vb.docx" (the source code file mentioned at the top of this web page) with Microsoft Office Word 2007.
  2. Highlight and copy the contents of the page.
STEP 9

(Enlarge)
  1. Highlight the source code section of "Default.aspx.vb".
  2. Paste the contents you had copied. This will remove the default code that was generated with what is contained in the docx file.
STEP 10

(Enlarge)
  1. Under Solution Explorer, right-click on the network path.
  2. From the pop-up menu, select "New Folder".
STEP 11

(Enlarge)
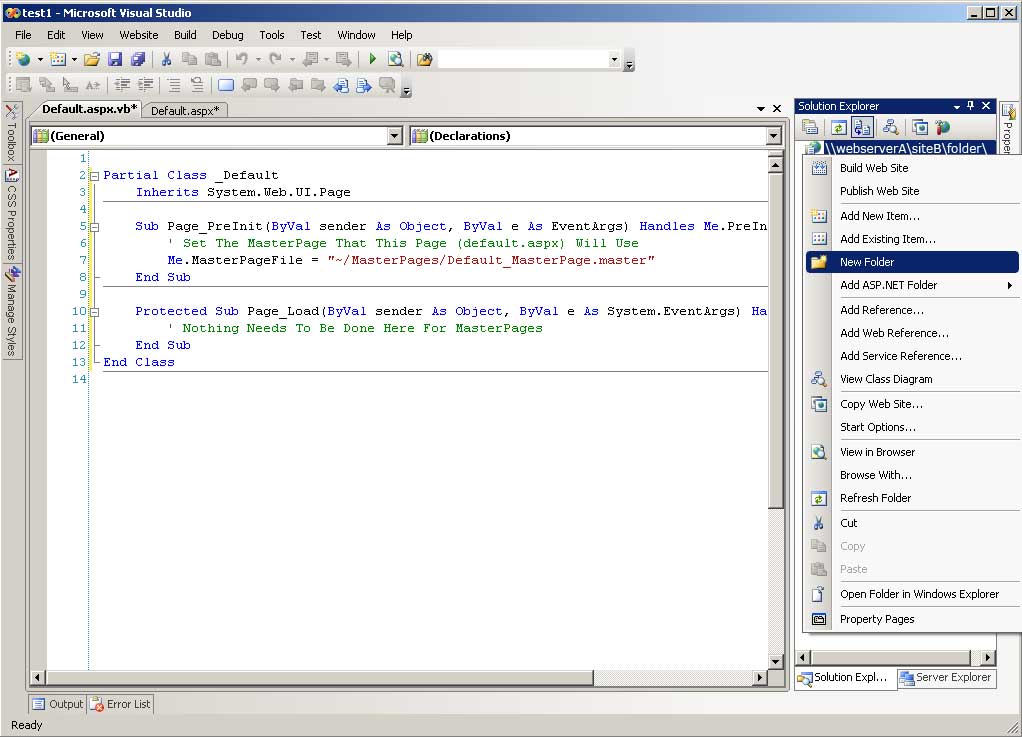
Enter the name of the folder as "MasterPages".
STEP 12

(Enlarge)
  1. Under Solution Explorer, right-click on the network path.
  2. From the pop-up menu, select "Add New Item".
STEP 13

(Enlarge)
  1. Select "Master Page".
  2. Under Name specify "Default_MasterPage.master".
  3. Under Language specify "Visual Basic".
  4. Check the option "Place code in separate file".
  5. Uncheck the option "Select master page".
  6. Click on the "Add" button.
STEP 14

(Enlarge)
  1. Under Solution Explorer, right-click on the network path.
  2. From the pop-up menu, select "Cut".
STEP 15

(Enlarge)
  1. Under Solution Explorer, right-click on the folder named "MasterPages".
  2. From the pop-up menu, select "Paste".
STEP 16

(Enlarge)
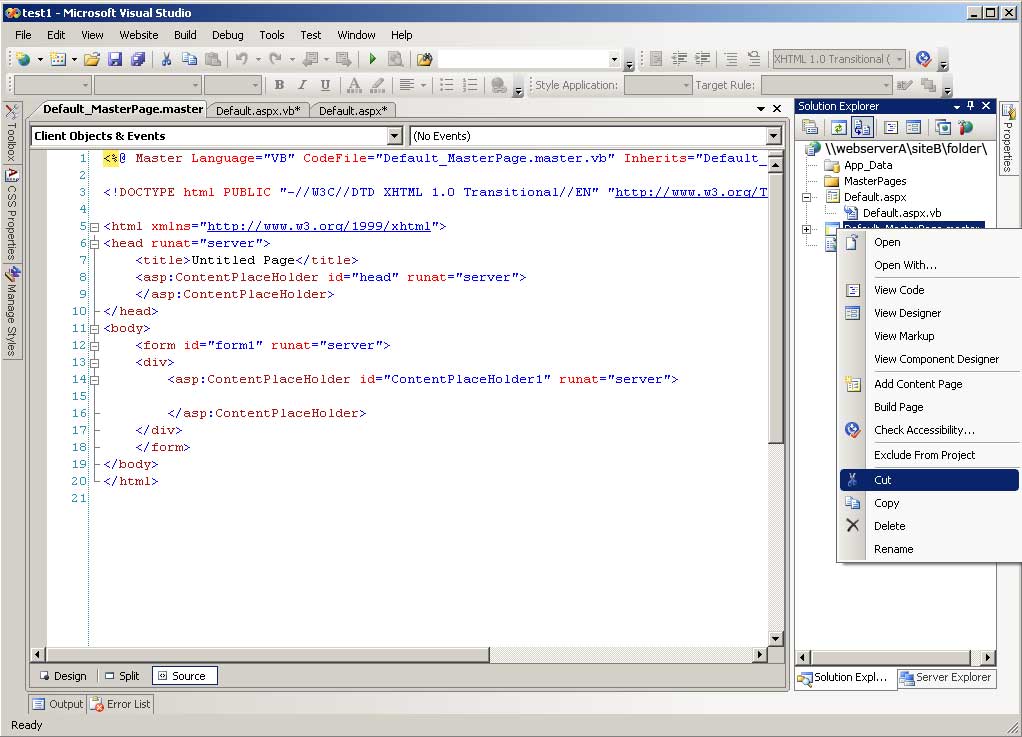
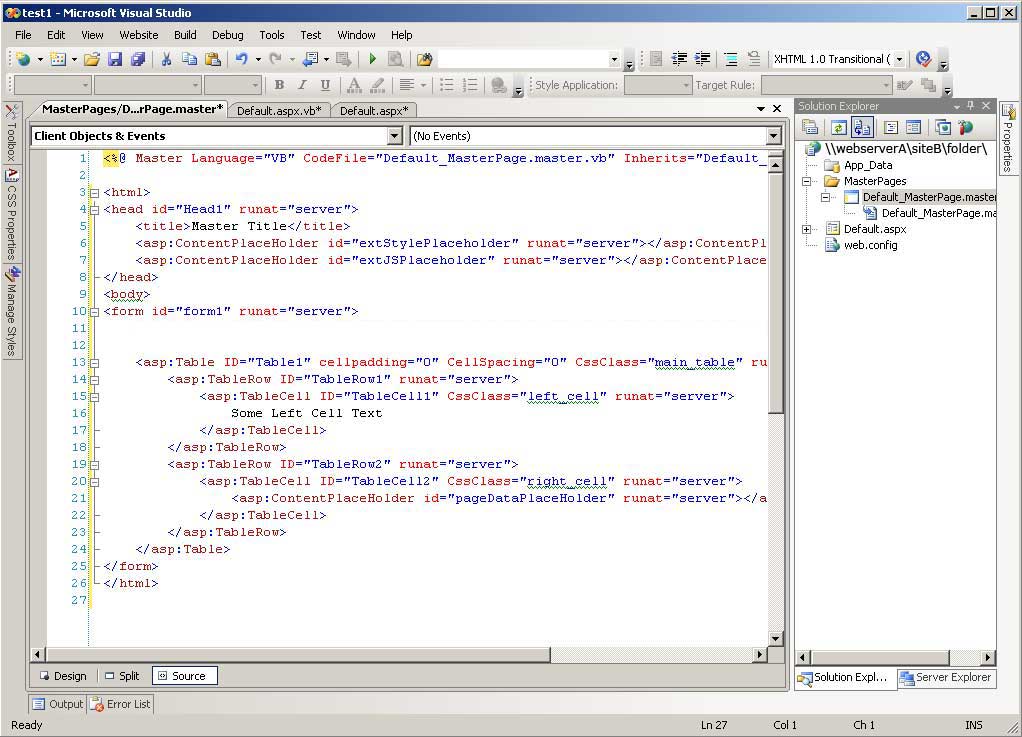
The master page and its code-behind page should now be under the folder named "MasterPages".
STEP 17

(Enlarge)
  1. Open "Default_MasterPage_master.docx" (the source code file mentioned at the top of this web page) with Microsoft Office Word 2007.
  2. Highlight and copy the contents of the page.
  3. Highlight the source code section of "Default_MasterPage.master".
  4. Paste the contents you had copied. This will remove the default code that was generated with what is contained in the docx file.
STEP 18

(Enlarge)
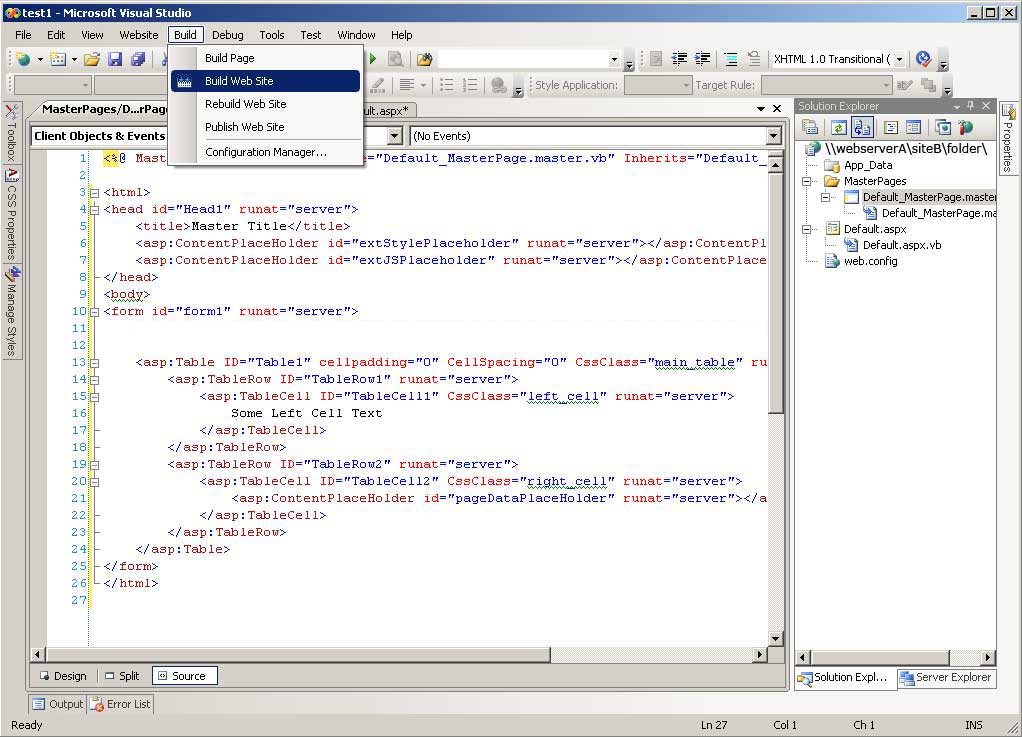
Congratulations! We are now ready to build what we've put together.

Under the Build menu, select "Build Web Site".
STEP 19

(Enlarge)
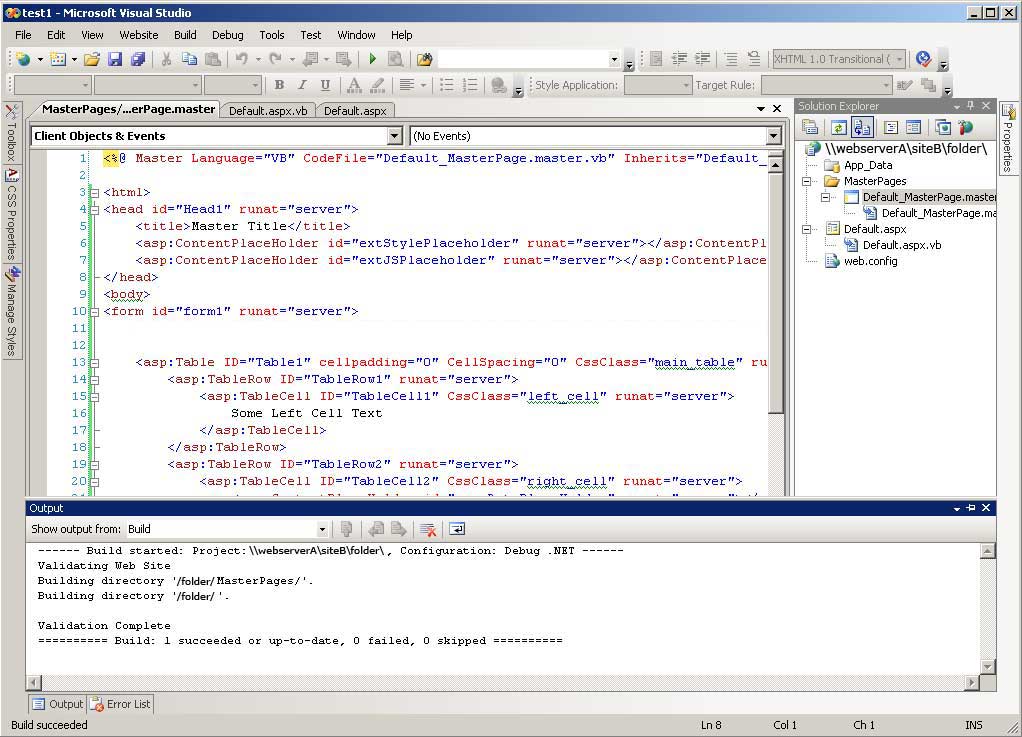
The build should succeed and you can now begin experimenting with Default.aspx by typing in the URL of that web page in your web browser and studying the output.


Overview: How A Master Page Works
Think of a master page as a template which can serve as the visual design of all or part of a web site. In locations of that master page where you want to insert content which may change between ASPX web pages, you insert what is referred to as a "content placeholder" (or you can omit it).

Now that a "content placeholder" has been defined in a master page, you will need to actually define the source code that is associated to the "content placeholder". You do this by adding a "content" to the ASPX web page which will use the master page in order to generate the look of the ASPX web page. Inside the "content" you place html code and so forth which will be rendered in the master page template.

That sounds kind of confusing to me so let's examine some simplified source code. First, let's look a master page:
<html>
<head id="Head1" runat="server">
	<asp:ContentPlaceHolder id="extStylePlaceholder" runat="server"></asp:ContentPlaceHolder>
</head>
<body>
</body>
</html>

In our master page template you'll see we have defined a "content placeholder". Data will be inserted into that location when an ASPX page is requested.

In our ASPX page (such as Default.aspx) we have to define a "content" which matches the "content placeholder" defined in the master page. So, we define the matching "content" (notice the ID is the same):
<asp:Content ID="Content1" ContentPlaceHolderID="extStylePlaceholder" runat="server">
	<style type="text/css" media="all">@import url("Stylesheet/stylesheetFile.css");</style>
</asp:Content>

Now, when the ASPX page is requested (such as Default.aspx), it will call the master page in order for it to determine where it should place its "content" blocks. However, there is one catch!

Don't Forget About "Page_PreInit"
In order for your ASPX page to use a master page, you need to add a little source code to its VB (code-behind) page. The source code that you will add is a pre-defined subroutine which .Net 3.5 looks for before it does any processing related to the ASPX page. Within this subroutine "Page_PreInit" which you place in your VB (code-behind) page (in our case, Default.aspx.vb), you actually specify the master page to use. Here's an example:
Sub Page_PreInit(ByVal sender As Object, ByVal e As EventArgs) Handles Me.PreInit
	' Set The MasterPage That This Page (Default.aspx) Will Use
	Me.MasterPageFile = "~/MasterPages/Default_MasterPage.master"
End Sub


That is all you need to do in order to work with master pages inside your .Net 3.5 ASPX web pages.

About Joe