(Enlarge)
|
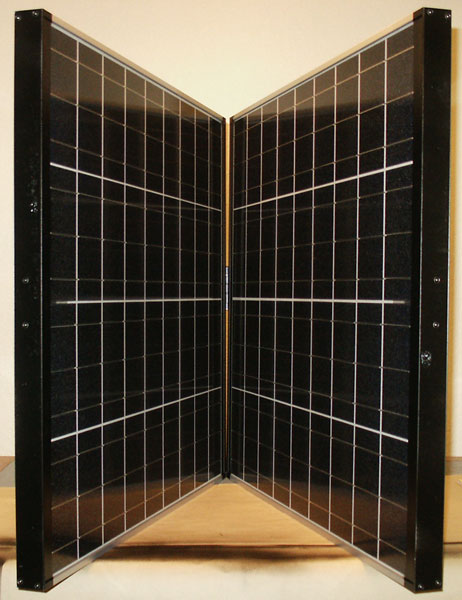
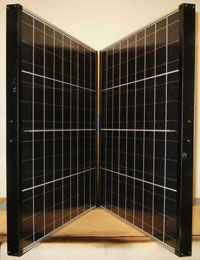
- Since I was interested in using solar panels inside, I chose to use smaller solar panels such as these 65 Watt solar panels.
- You'll notice that I've connected them together with a hinge. This allows them to be manuvered more easily inside (around doors, furniture, etc).
- Two of the panels are hinged together. There are four panels total.
- The two power outputs of one panel set are connected together in parallel (to have power output of 12VDC at 130 Watts per set of two panels). That output is then connected to a charge controller that charges two batteries connected together in parallel (shown later).
|

(Enlarge)
|
- This is a view of the panels mounted on a wooden frame, inside, in front of a south-facing window.
|
(Enlarge)
|
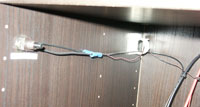
- This is a close view of the connections of one of the solar panel sets (the key note is the switch so power can be turned off during daylight if needed).
|
(Enlarge)
|
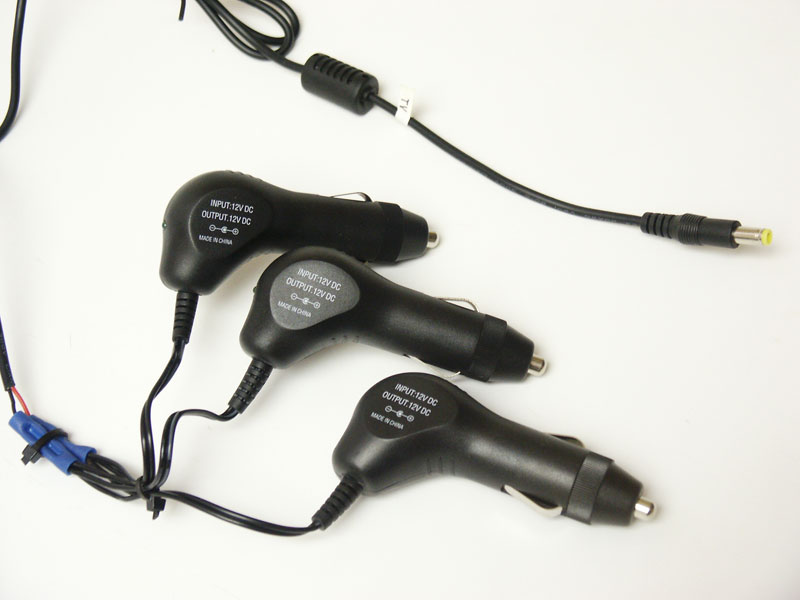
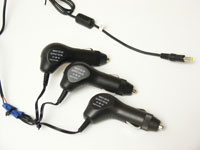
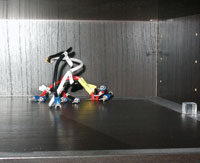
- Earlier I mentioned that a custom adapter was made for the Insignia TV being used. In this case 3 12VDC/1Amp car plugs were connected together in parallel to create 12VDC/3Amp output for the TV.
|

(Enlarge)
|
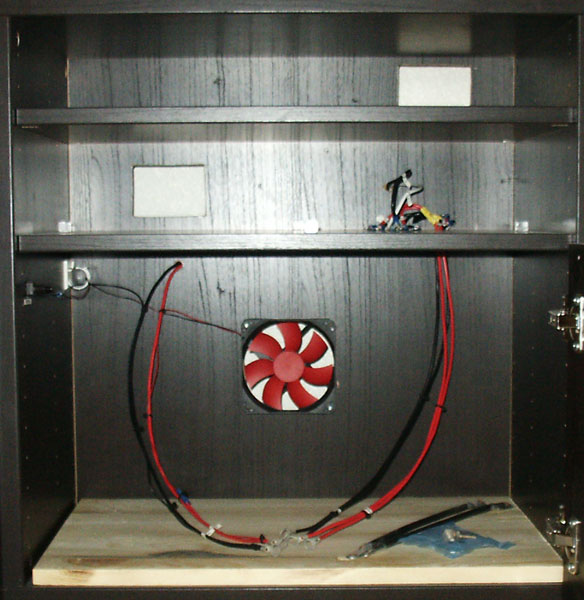
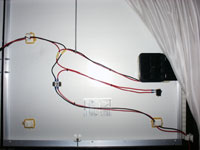
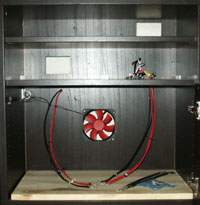
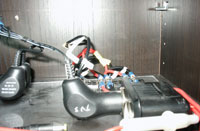
- The particular entertainment center used for this project did not have punch out areas in the back wall. Therefore I had to cut out two holes for cabling as well as a hole for a ventilation/cooling fan for each side. What is shown here is the right side of the entertainment center (when viewed from the front).
- You'll notice that the solar charge regulator is mounted in the center. One of the solar panel sets will be connected to this regulator and its output will be connected to two batteries (whom are connected in parallel).
|
(Enlarge)
|
- From the front of the entertainment center you can see the cables on the left (cables from the solar charge regulator and small wire for the ventilation/cooling fan). The 12 guage cables on the right are actually used to send power to the power system (shown later).
- To help reinforce the bottom of the entertainment center, a formed piece of 1/4" plywood is used. The batteries in the project are heavy.
|
(Enlarge)
|
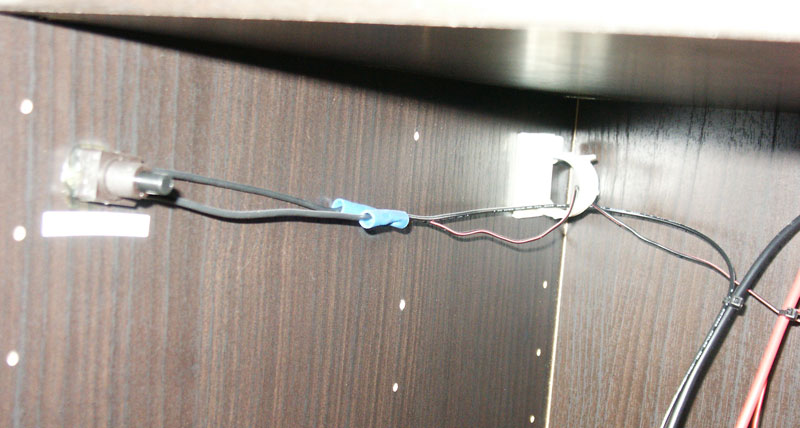
- The next part was wiring up the ventilation/cooling fan to a switch as shown here.
|
(Enlarge)
|
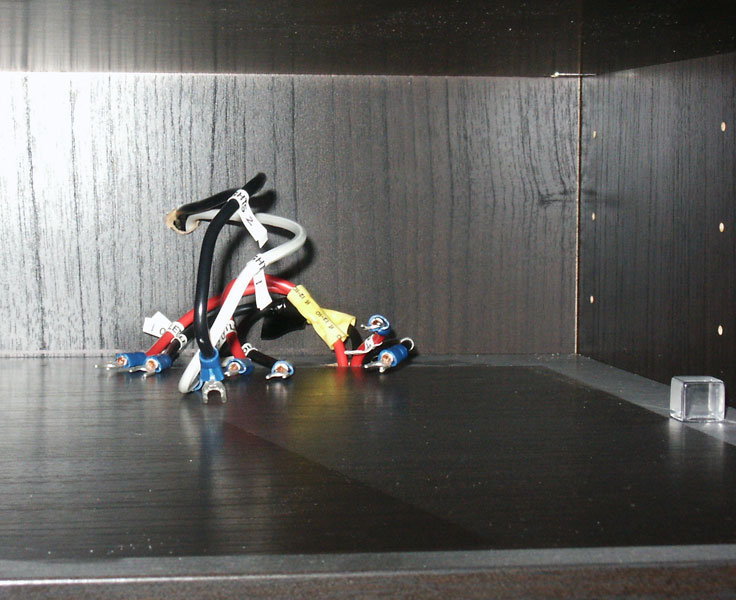
- The entertainment center included a shelf; in this case, to get the power cables to the power system a 3/4" hole needed to be drilled through the shelf.
- As shown here, the connections that the wires go to should be uniquely labeled.
|

(Enlarge)
|
- This shows the power system for the right side of the entertainment center (there's a separate one for the left side with the same components), all mounted to a sheet of acrylic sheet.
- The Samulex 450 Watt DC to AC Inverter is used for devices that don't have a DC adapter (such as the refrigerator).
- All of the car adapter plugs (4 of them) are what most devices are powered from and every two of them are connected to a switch. In this case, one of the plug sockets is used for the netbook.
- Finally a digital multimeter is also present (with a switch) so that a simple means to get the state of the batteries can be done.
|
(Enlarge)
|
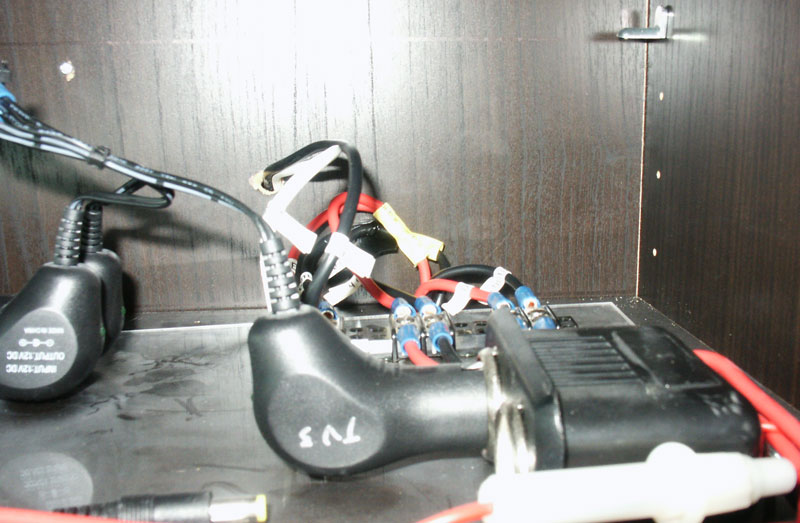
- After the power system is placed on the shelf, all of the wires are connected to the connectors.
|
(Enlarge)
|
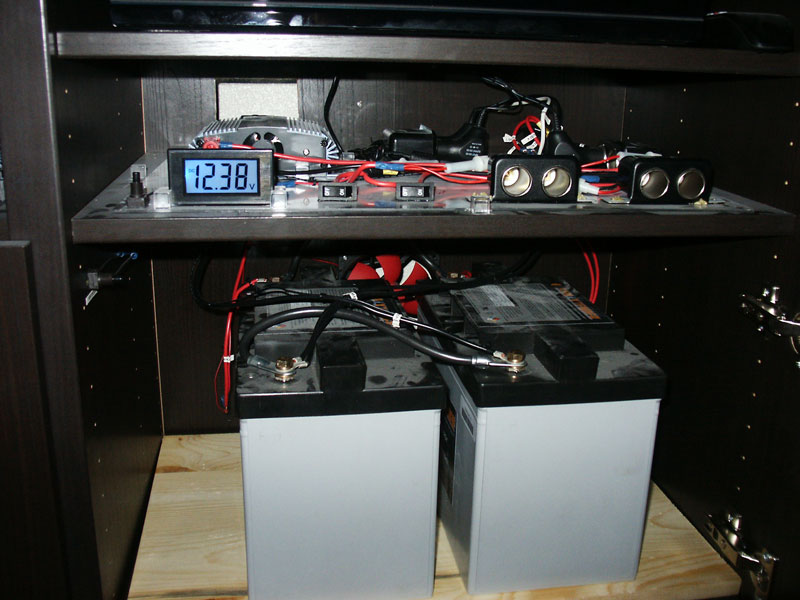
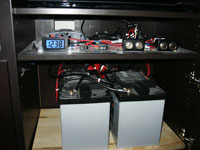
- After sliding in two 12VDC batteries (connected together in parallel); okay more like groaning, the charge control regulator and the power cables were connected to the appropriate battery posts.
- The negative side of the batteries are closest to the entertainment center door so they can be disconnected if needed.
- I did the same for the left side of the entertainment center with its own power system as well.
|
(Enlarge)
|
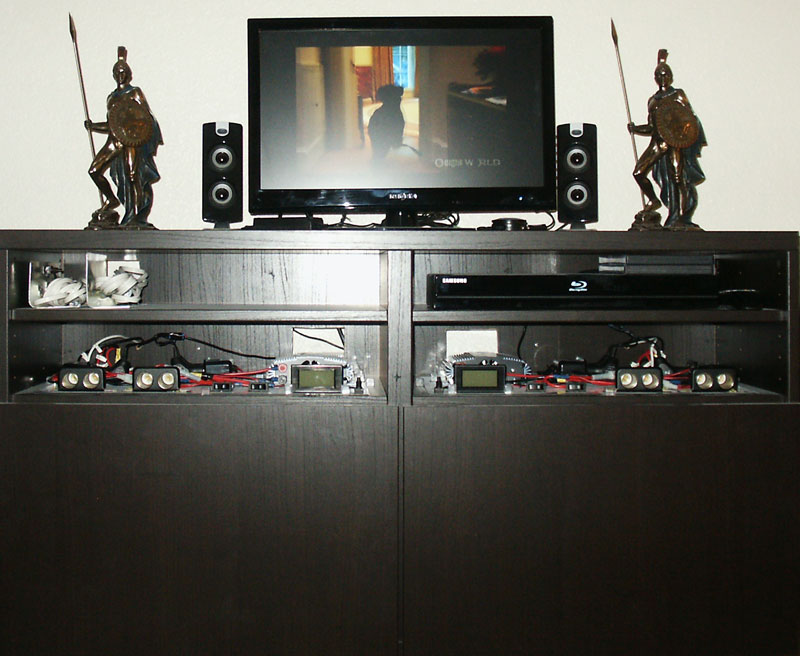
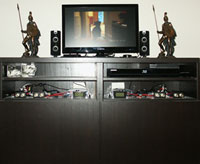
- With both sides of the entertainment center are assembled, it's time for some entertainment!
- NOTE: The left side of the entertainment center (with its own power system) powers the TV and netbook, while the right side of the entertainment center (with its own power system) powers the refrigerator and LEDs. As you can guess, one of the solar panel sets provides power to the power system of the left side of the entertainment center while another solar panel set provides power to the right side.
|