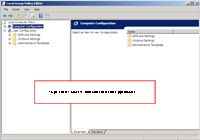
(Enlarge)
|
- The first step is to open the policy editor by running (as administrator) gpedit.msc.
|
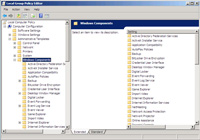
(Enlarge)
|
- Expand "Administrative Templates" and then "Windows Components".
|
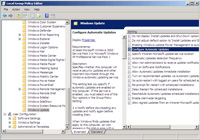
(Enlarge)
|
- Select "Windows Update" and from the right part of the pane select "Configure Automatic Updates".
|
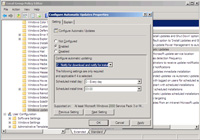
(Enlarge)
|
- Under the tab "Setting" choose "Enabled" under "Configure Automatic Updates".
- Under "Configure automatic updating" select "2 - Notify for download and notify for install" (you may want to choose something else).
- Click "Apply" and "OK".
|
(Enlarge)
|
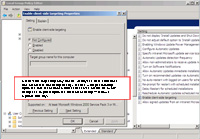
- Select "Enable client-side targeting". This may not be visibly enabled or set (for these tips it should not be enabled).
- There is a way to find out if client-side targeting is used and that's by cracking open the registry.
|
(Enlarge)
|
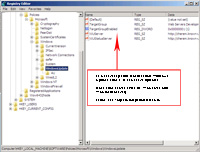
- While running regedit as an administrator drill down to "HKEY_LOCAL_MACHINE\SOFTWARE\Policies\Microsoft\Windows\WindowsUpdate".
- If the update server is not available, change "TargetGroupEnabled" to a value of 0. You don't have to worry about changing "WUServer" or "WUStatusServer" which is the location of the update server on your network.
|
(Enlarge)
|
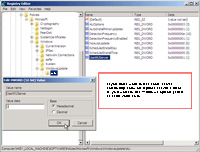
- Now click on "AU" under "WindowsUpdate".
- Set "UseWUServer" to a value of zero.
- Exit the registry and restart the server. After restarting you should see that the message about the system administrator performs updates is gone. As well you should be able to perform updates with Windows Update!
|


