(Enlarge)
|
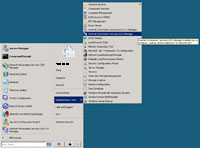
- Access the IIS Manager.
|
(Enlarge)
|
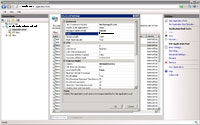
- Create the new website application pool. If 32-bit based, be sure to select classic mode; if ASP, no managed code and the running identity of network service.
|
(Enlarge)
|
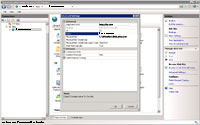
- Create the new website. Associate it to the application pool you just created for the website and specify the internal IP address (binding) allocated to the new website.
|
(Enlarge)
|
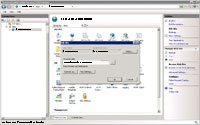
- Don't forget to specify the physical path to the website.
|
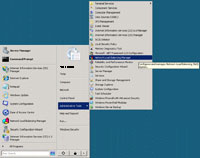
(Enlarge)
|
- You're not going to get too far with the website until you add its new internal IP address (for HTTP and a separate IP address for HTTPS - if SSL is used) into the NLB (network load balancing) manager.
|
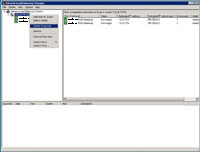
(Enlarge)
|
- Select Cluster Properties.
|
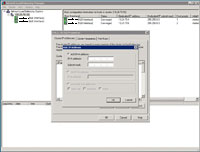
(Enlarge)
|
- Select Cluster IP Addresses.
- Enter the IP Address(s) and subnet mask.
|
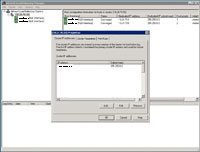
(Enlarge)
|
- When completed you should see the IP address added. Note: in most cases you won't have to repeat the process on each server in the cluster.
|
(Enlarge)
|
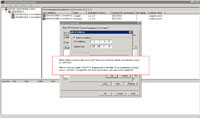
- Under normal circumstances the IP address of a new website is added to the NLB cluster.
|
(Enlarge)
|
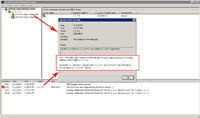
- However, for whatever reason, the remaining servers in the cluster rejected the request, rebooted themselves and the NLB cluster then said "The interface is misconfigured" for those servers.
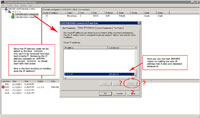
- You may think you could go back to the original server that you had added the IP address through and remove that IP. Unfortunately, the action will only be successful on that server; the rest of the servers in the cluster will ignore the request.
|
(Enlarge)
|
- Then you may think you could get on each server in the NLB cluster and remove the IP address as shown.
- Unfortunately that would be too simple a solution, so it is not possible.
|
(Enlarge)
|
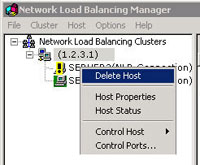
- Instead, you must basically destroy and re-create the entire NLB cluster (if you have many servers, be prepared to spend a lot of time doing it).
- You will need to remove each host (server) from the cluster on the server which did not originally reject the addition of the IP address.
- Be sure to write down how the server was setup in the cluster, port rules and so forth.
|
(Enlarge)
|
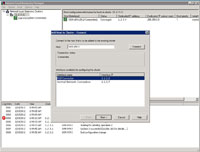
- Once all of the servers have been removed, begin re-adding them.
- The first step will be to name the server and specify its network interfaces.
|
(Enlarge)
|
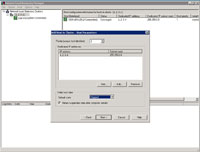
- From the next pane you will be able to set the Priority (rank in the cluster) and its default state.
|
(Enlarge)
|
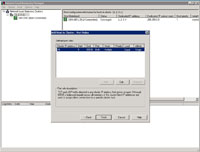
- Set up the port rules (hopefully you had it written down somewhere if you didn't use defaults).
|
(Enlarge)
|
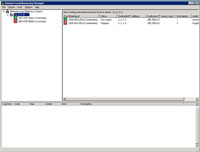
- At this point the server (host) should be part of the cluster again.
|


