(Enlarge)
|
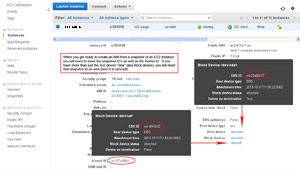
- Before you begin, you'll need to determine the snapshot ID of the /dev/sda1. If additional device(s), or volume(s), are attached you will need to get the snapshot ID(s) of those as well such as /dev/sdf.
- Deriving the snapshot ID is achieved by matching the volume ID. If you use an automated snapshot system, hopefully snapshots are intuitively named or has good descriptions.
- You will also need to note the kernel ID of the EC2 Instance.
|
(Enlarge)
|
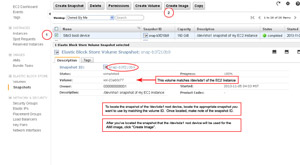
- Once you have located the snapshot of the /dev/sda1, select it and click "Create Image".
|
(Enlarge)
|
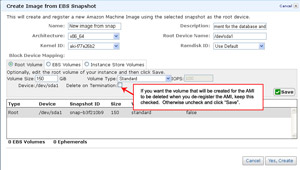
- Next enter an good name for your AMI Image along with a description. It should be clear enough that if you didn't look at it for a year, you would know what it was for without making those awesome "guesses".
- Select the architecture and kernel ID along with the snapshot representing the root volume (the /dev/sda1).
- Some other options will vary depending on what you have setup, but the "Delete on Termination" should only be checked if you want to have the AMI deleted when it is terminated.
|
(Enlarge)
|
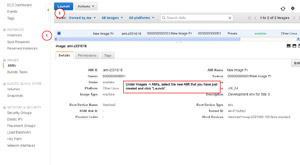
- After the AMI Image is created (may take a few minutes), you should be able to select it and click "Launch".
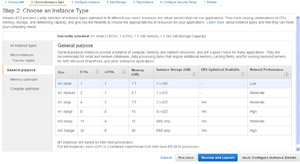
- At "Launch" you will select a variety of parameters that will control how the new EC2 Instance is created.
|
(Enlarge)
|
- What is important to note here (since we're using EBS) is that the column "Instance Storage" does not apply.
|
(Enlarge)
|
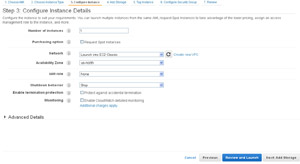
- Usually, unless you've setup a custom VPC, you'll select "Launch into EC2-Classic". This option, while convenient, has some big drawbacks such as: (1) if you stop and restart the new EC2 Instance, it will be assigned a new internal IP address which may cause extra work for you, (2) if you have an elastic IP assigned to the new EC2 instance and you perform an activity like changing the instance type, the association of the elastic IP to the new EC2 instance will be dropped (again, more possible work to put back into place).
|
(Enlarge)
|
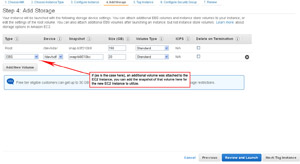
- Under "Add Storage", if you had additional devices associated to the EC2 Instance (and you have them snap-shotted), you can select those snapshots here. If you don't, that makes it even easier.
|
(Enlarge)
|
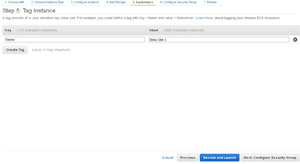
- Here's a chance to enter an intuitive name for the EC2 Instance (that you'll see in the Instances section of the Amazon AWS control panel). The name may be a domain name or someting else short and easily identifiable.
|
(Enlarge)
|
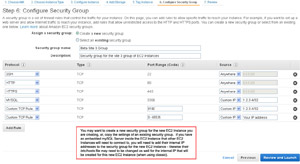
- Since you're basing the new EC2 Instance off of one that already exists, you may elect to "Create as new" (or "clone") the security group and then tweak it as may be needed.
- If you create a new security group, consider limiting the SSH (port 22) to your IP address. By default, SSH, HTTP, HTTPS are setup to be accessible to everyone.
|
(Enlarge)
|
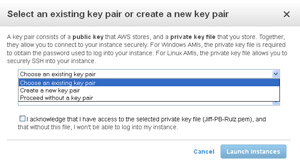
- Lastly, specify the key-pair that will enable to you connect to your fresh new EC2 Instance. As you can see here, you can create one or select an existing key-pair you have already created.
- It may not be a good idea to proceed to creating the new EC2 Instance with no key-pair.
|


